跳转到主内容

Eureka EasyClean 71C Casing Replacement

你所需要的

  1. Eureka EasyClean 71C Casing Replacement, Bottom Cover: 步骤 1 中的图像 1,1
    • Unscrew the two 18.1 mm PH2 Phillips head screws on the bottom of the vacuum.

  2. Eureka EasyClean 71C Casing Replacement: 步骤 2 中的图像 1,1
    • Pry off the Riser Visor using the plastic opening tool.

  3. Eureka EasyClean 71C Casing Replacement: 步骤 3 中的图像 1,1
    • Remove the screw cap using the metal spudger.

    • First-time removal of the screw cap can be difficult. The screw cap isn’t vital, so don’t worry about damaging the screw cap and just keep trying until it comes out.

  4. Eureka EasyClean 71C Casing Replacement: 步骤 4 中的图像 1,2 Eureka EasyClean 71C Casing Replacement: 步骤 4 中的图像 2,2
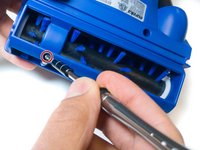
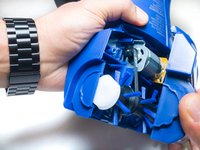
    • Unscrew the 14mm PH2 Phillips head screw.

    • Pull the bottom cover off of the rest of the casing.

  5. Eureka EasyClean 71C Casing Replacement, Casing: 步骤 5 中的图像 1,1
    • Pull the power switch all the way up and remove the dust cup.

  6. Eureka EasyClean 71C Casing Replacement: 步骤 6 中的图像 1,2 Eureka EasyClean 71C Casing Replacement: 步骤 6 中的图像 2,2
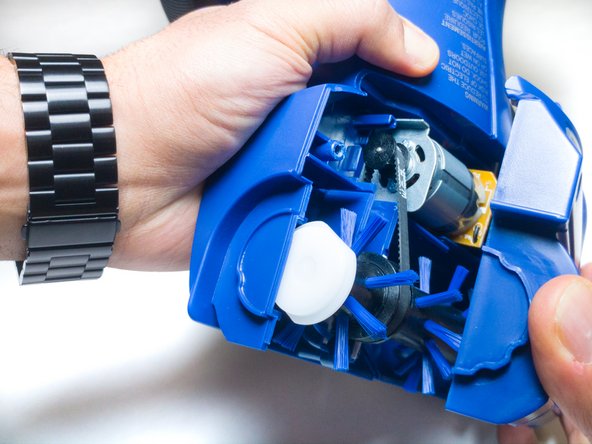
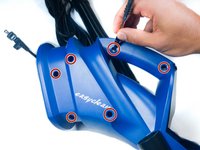
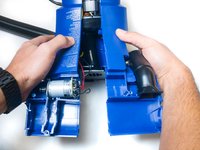
    • Unscrew the six 18.1mm PH2 Phillips head screws on the side of the vacuum.

    • Pull the casing apart.

结论

To reassemble your device, follow these instructions in reverse order.

另外一个人完成了本指南。

Tanner Durnil

于11/06/17注册

631 声望

创作了6篇指南

团队

IUPUI, Team S6-G4, Baechle Fall 2017 IUPUI, Team S6-G4, Baechle Fall 2017 的会员

IUPUI-BAECHLE-F17S6G4

3 名成员

创作了12篇指南

0条评论

添加评论

浏览统计数据:

过去 24 小时: 0

过去 7 天: 2

过去 30 天: 4

总计 367