简介
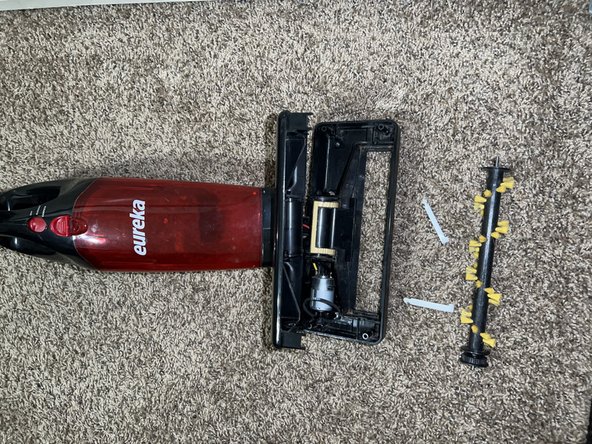
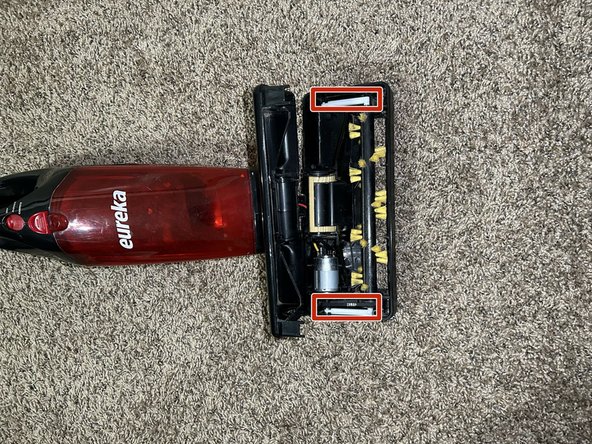
The Eureka 169 J 2-in-1 Quick-Up is a vacuum that relies solely on its brush roll for cleaning. The brush rolls purpose is to pick up debris from surfaces as the device passes by them. If the brush roll is nonfunctional, the appliance cannot pick up dust and debris and cannot perform its intended use. Replacing the brush roll is also much cheaper than buying a brand-new vacuum.
Follow this guide to replace the brush roll on your Eureka 169 J 2-in-1 Quick-Up bagless stick vacuum cleaner.
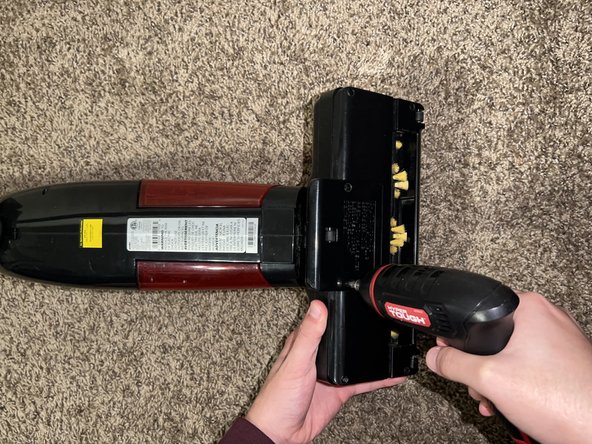
Before beginning this guide, turn off the vacuum and unplug it from the outlet.
你所需要的


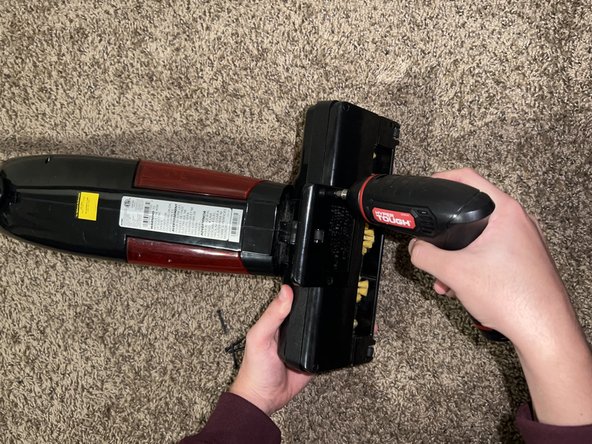
Plug in your device and test it to ensure that you have reassembled it correctly.
Plug in your device and test it to ensure that you have reassembled it correctly.
团队

CSU Los Angeles, Team 1-8, Briggs Fall 2022 CSU Los Angeles, Team 1-8, Briggs Fall 2022 的会员
CSULA-BRIGGS-F22S1G8
1 名成员
创作了1篇指南