跳转到主内容

Epson VS250 Feet Replacement

你所需要的

  1. Epson VS250 Feet Replacement, Lamp: 步骤 1 中的图像 1,1
    • Place the projector on a flat surface.

    • Orient the projector so that the the word "Epson" is facing you.

    • Use Phillips #1 screwdriver to loosen the 10 mm screw on the top right corner of the projector.

    • The screw does not need to come all the way out.

  2. Epson VS250 Feet Replacement: 步骤 2 中的图像 1,1
    • Slide the cover to the right and lift the cover up and out to remove.

  3. Epson VS250 Feet Replacement: 步骤 3 中的图像 1,1
    • Use a Phillips #1 screwdriver to loosen the two 10 mm screws that hold the lamp in place.

    • The two 10 mm screws do not need to come all the way out. Just ensure they are loose.

  4. Epson VS250 Feet Replacement: 步骤 4 中的图像 1,2 Epson VS250 Feet Replacement: 步骤 4 中的图像 2,2
    • After loosening both screws, remove the lamp from the projector by pulling it up and out.

  5. Epson VS250 Feet Replacement, Feet: 步骤 5 中的图像 1,1
    • Use a Phillips #1 screwdriver to remove the three 6 mm screws that hold the side portion of the projector in place.

  6. Epson VS250 Feet Replacement: 步骤 6 中的图像 1,1
    • Use a Phillips #1 screwdriver to remove the single 10 mm screw that is holding the side cover of the projector in place.

  7. Epson VS250 Feet Replacement: 步骤 7 中的图像 1,1
    • Use a Phillips #1 screwdriver to remove the two 10.00mm screws that are holding the side cover of the projector in place.

  8. Epson VS250 Feet Replacement: 步骤 8 中的图像 1,1
    • Flip the projector so that it lays upside down.

    • Using a Phillips #1 screwdriver, remove the three 10 mm screws that secure the side portion of the projector.

  9. Epson VS250 Feet Replacement: 步骤 9 中的图像 1,1
    • Remove the front cover from the projector by pulling it off.

  10. Epson VS250 Feet Replacement: 步骤 10 中的图像 1,1
    • Twist the two feet in the counterclockwise direction until both feet are full extended to their maximum lengths.

  11. Epson VS250 Feet Replacement: 步骤 11 中的图像 1,2 Epson VS250 Feet Replacement: 步骤 11 中的图像 2,2
    在这个步骤中使用的工具:
    Tweezers
    $4.99
    购买
    • Place the tweezers into the hole where the foot is connected.

    • Use one of your hands to squeeze the tweezers on the top of the foot. Use your free hand to wiggle the bottom of the foot while pulling outward to remove it.

    • Repeat this step for any additional feet.

结论

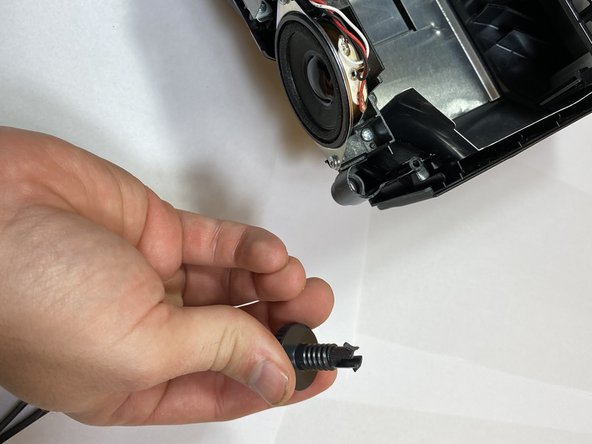
To reassemble your device, follow these instructions in reverse order.

Warren Cutlip

于09/28/21注册

604 声望

创作了5篇指南

团队

Clemson, Team 4-2, Hunter Fall 2021 Clemson, Team 4-2, Hunter Fall 2021 的会员

CLEM-HUNTER-F21S4G2

5 名成员

创作了5篇指南

0条评论

添加评论

浏览统计数据:

过去 24 小时: 0

过去 7 天: 1

过去 30 天: 9

总计 354