跳转到主内容

Epson VS240 Buttons Replacement

你所需要的

  1. Epson VS240 Buttons Replacement, Shell: 步骤 1 中的图像 1,3 Epson VS240 Buttons Replacement, Shell: 步骤 1 中的图像 2,3 Epson VS240 Buttons Replacement, Shell: 步骤 1 中的图像 3,3
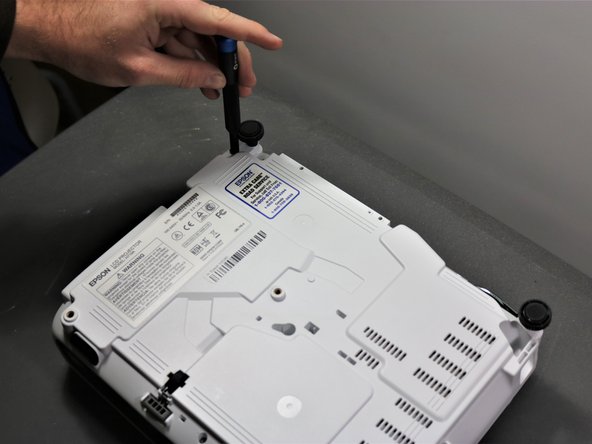
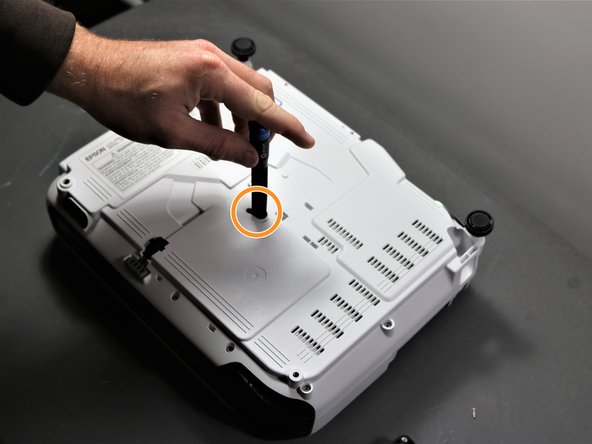
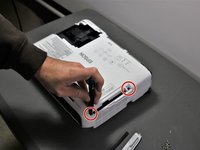
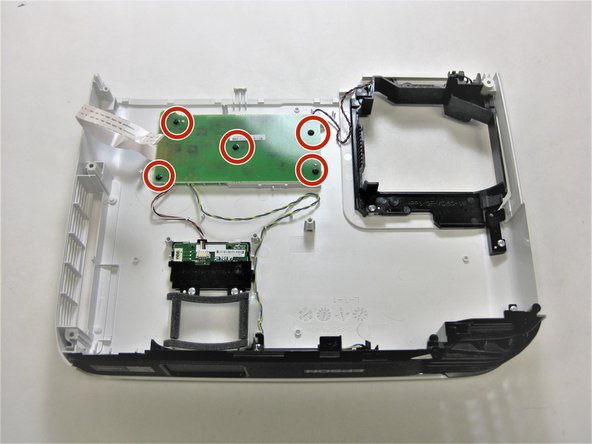
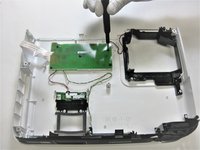
    • Using the Phillips #2 screwdriver, loosen the single captive screw on the left side of the projector.

    • The captive screw will loosen, but it cannot be fully removed.

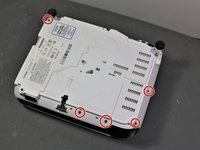
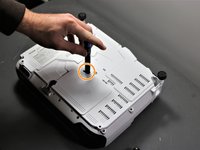
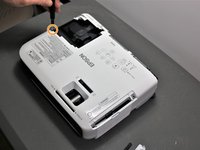
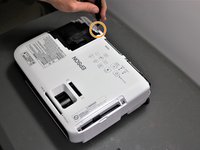
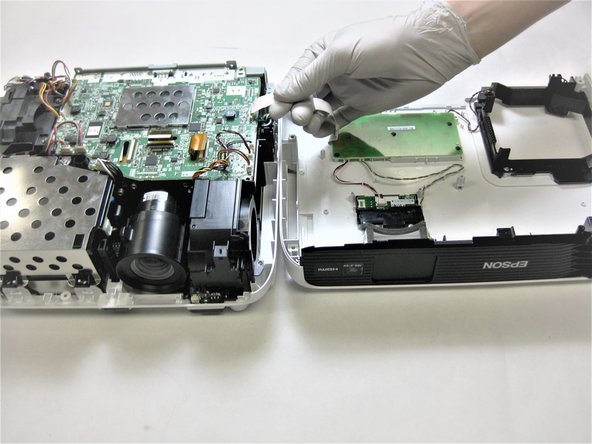
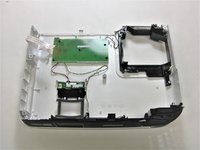
    • Slide the panel off and remove it from the device.

  2. Epson VS240 Buttons Replacement: 步骤 2 中的图像 1,2 Epson VS240 Buttons Replacement: 步骤 2 中的图像 2,2
    • Use the Phillips #2 screwdriver to remove the three 5 mm screws.

    • Using the same Phillips #2 screwdriver, remove the single 8 mm silver screw.

  3. Epson VS240 Buttons Replacement: 步骤 3 中的图像 1,1
    • Use a Phillips #1 screwdriver to remove the two 10 mm silver screws from the bottom of the device.

  4. Epson VS240 Buttons Replacement: 步骤 4 中的图像 1,1
    • Use a Phillips #1 screwdriver to remove the single 10 mm screw where the panel was removed in Step 1.

    • Remove the white back plate from the device.

  5. Epson VS240 Buttons Replacement: 步骤 5 中的图像 1,3 Epson VS240 Buttons Replacement: 步骤 5 中的图像 2,3 Epson VS240 Buttons Replacement: 步骤 5 中的图像 3,3
    • Flip the projector over so that the underside (side with the feet) is facing you.

    • Use a Phillips #1 screwdriver to remove five 10 mm screws on the underside of projector.

    • Using the same Phillips #1 screwdriver, remove a single 10 mm screw in the center hole.

    • You may need to use a screwdriver extender to reach the single screw.

  6. Epson VS240 Buttons Replacement: 步骤 6 中的图像 1,3 Epson VS240 Buttons Replacement: 步骤 6 中的图像 2,3 Epson VS240 Buttons Replacement: 步骤 6 中的图像 3,3
    • Use a Phillips #1 screwdriver to remove two 10 mm screws from the openings on each side of the air filter, on the topside of the projector.

    • You may need to use a screwdriver extender to reach the two screws.

    • Using the same Phillips #1 screwdriver, remove the two 10 mm screws where the white panel was removed on the topside of the projector in Step 1.

  7. Epson VS240 Buttons Replacement: 步骤 7 中的图像 1,2 Epson VS240 Buttons Replacement: 步骤 7 中的图像 2,2
    • Be careful when removing the top cover of projector as there is as white ribbon cable connecting it to the motherboard.

    • Gently lift top cover and place it on its top next to the projector so that the ribbon has no tension on it.

    • Gently pull the brown tape connecting the cable to the motherboard and then remove the shell from the device.

  8. Epson VS240 Buttons Replacement, Buttons: 步骤 8 中的图像 1,3 Epson VS240 Buttons Replacement, Buttons: 步骤 8 中的图像 2,3 Epson VS240 Buttons Replacement, Buttons: 步骤 8 中的图像 3,3
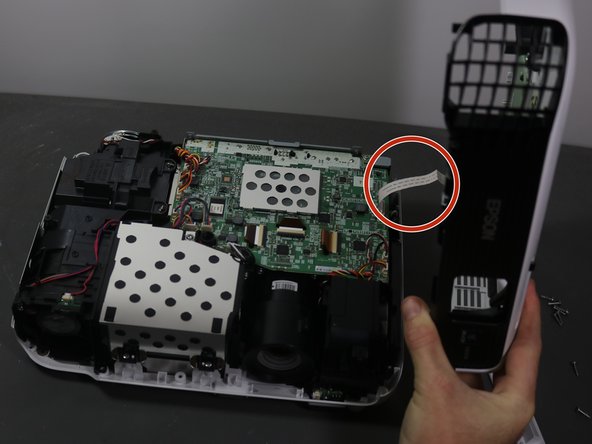
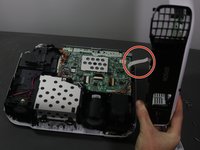
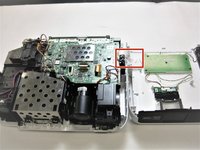
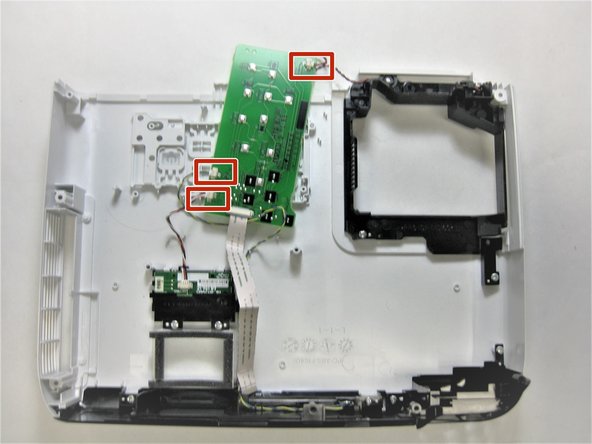
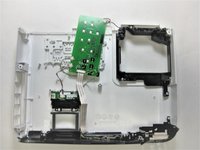
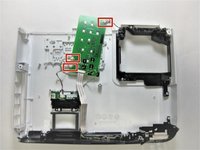
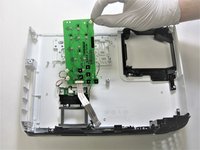
    • Gently disconnect the white ribbon cable connecting the motherboard to the button panel.

  9. Epson VS240 Buttons Replacement: 步骤 9 中的图像 1,3 Epson VS240 Buttons Replacement: 步骤 9 中的图像 2,3 Epson VS240 Buttons Replacement: 步骤 9 中的图像 3,3
    • Use a Phillips #1 screwdriver to remove the five 3 mm screws securing the button panel to the shell.

  10. Epson VS240 Buttons Replacement: 步骤 10 中的图像 1,3 Epson VS240 Buttons Replacement: 步骤 10 中的图像 2,3 Epson VS240 Buttons Replacement: 步骤 10 中的图像 3,3
    • Disconnect the three cables connected to the button panel.

    • Lift the button panel up and out.

结论

To reassemble your device, follow these instructions in reverse order.

0条评论

添加评论

浏览统计数据:

过去 24 小时: 0

过去 7 天: 0

过去 30 天: 1

总计 67