跳转到主内容

Ematic Genesis 2 Charging Port Replacement

你所需要的

  1. Ematic Genesis 2 Charging Port Replacement, Charging Port: 步骤 1 中的图像 1,2 Ematic Genesis 2 Charging Port Replacement, Charging Port: 步骤 1 中的图像 2,2
    • With your fingers, carefully pry off the back plastic casing. Starting at the corners is usually the easiest.

  2. Ematic Genesis 2 Charging Port Replacement: 步骤 2 中的图像 1,3 Ematic Genesis 2 Charging Port Replacement: 步骤 2 中的图像 2,3 Ematic Genesis 2 Charging Port Replacement: 步骤 2 中的图像 3,3
    • Remove all four screws surrounding the battery with the Phillips head screwdriver.

    • Carefully remove the battery from the device using the Metal Spudger tool to gently separate the battery by wedging it between the device and the battery.

  3. Ematic Genesis 2 Charging Port Replacement: 步骤 3 中的图像 1,2 Ematic Genesis 2 Charging Port Replacement: 步骤 3 中的图像 2,2
    • Remove both screws on either side of the audio jack using the Philips head screwdriver.

    • Detach audio jack from device.

  4. Ematic Genesis 2 Charging Port Replacement: 步骤 4 中的图像 1,2 Ematic Genesis 2 Charging Port Replacement: 步骤 4 中的图像 2,2
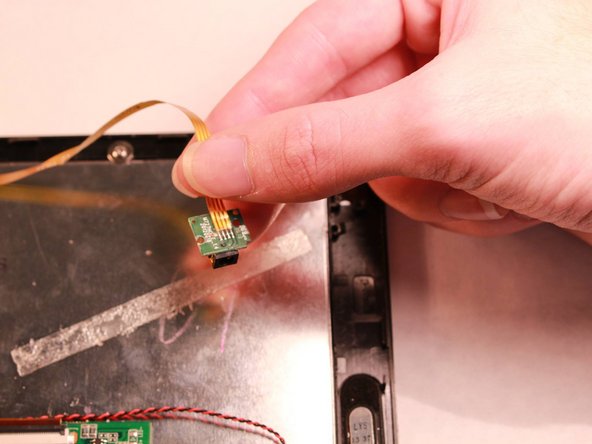
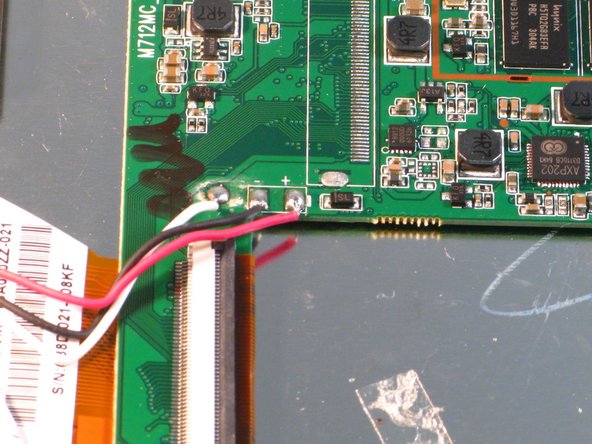
    • Remove the 3 screws surrounding the circuit board using the Philips head screwdriver.

    • Carefully disconnect the circuit board from the device by detaching the copper flexible PCB ribbon cable.

  5. Ematic Genesis 2 Charging Port Replacement: 步骤 5 中的图像 1,2 Ematic Genesis 2 Charging Port Replacement: 步骤 5 中的图像 2,2
    在这个步骤中使用的工具:
    Tweezers
    $4.99
    购买
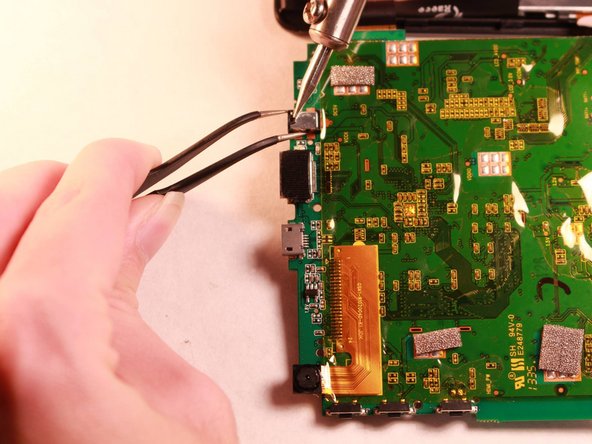
    • Use a soldering iron to heat the solder holding the charging port to the circuit board.

    • Remove the charging port from board using tweezers.

  6. Ematic Genesis 2 Charging Port Replacement: 步骤 6 中的图像 1,1
    • Solder replacement port into place.

    • Make sure all connections match original.

结论

To reassemble your device, follow these instructions in reverse order.

另外一个人完成了本指南。

0条评论

添加评论

浏览统计数据:

过去 24 小时: 1

过去 7 天: 1

过去 30 天: 3

总计 544