跳转到主内容

Echo Chain Saw CS590 2019 Starter Assembly Replacement

你所需要的

  1. Echo Chain Saw CS590 2019 Starter Assembly Replacement, Turn off the chainsaw: 步骤 1 中的图像 1,2 Echo Chain Saw CS590 2019 Starter Assembly Replacement, Turn off the chainsaw: 步骤 1 中的图像 2,2
    • Make sure you have the ignition switch turned off before starting your repair.

    • The chainsaw should be cool to the touch before continuing.

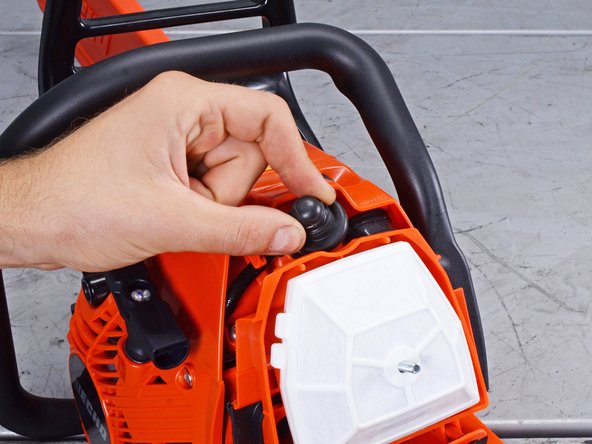
  2. Echo Chain Saw CS590 2019 Starter Assembly Replacement, Loosen the air filter cover: 步骤 2 中的图像 1,2 Echo Chain Saw CS590 2019 Starter Assembly Replacement, Loosen the air filter cover: 步骤 2 中的图像 2,2
    • Use your fingers to loosen the air filter cover knob.

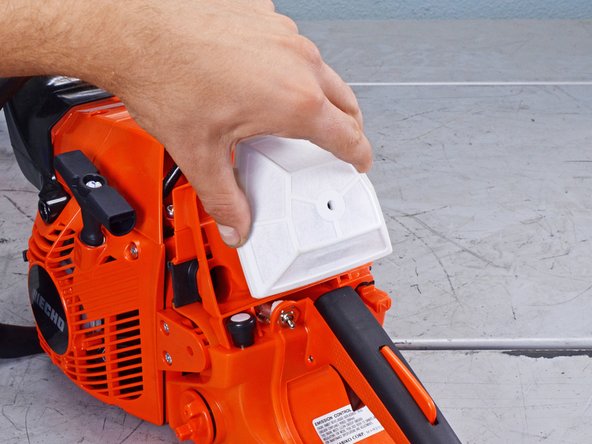
  3. Echo Chain Saw CS590 2019 Starter Assembly Replacement: 步骤 3 中的图像 1,3 Echo Chain Saw CS590 2019 Starter Assembly Replacement: 步骤 3 中的图像 2,3 Echo Chain Saw CS590 2019 Starter Assembly Replacement: 步骤 3 中的图像 3,3
    • Remove the air filter cover.

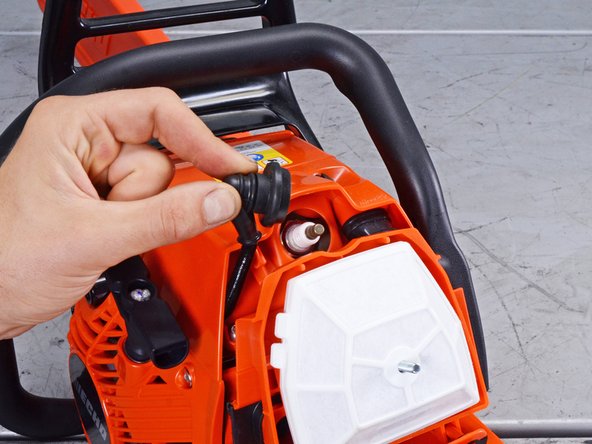
  4. Echo Chain Saw CS590 2019 Starter Assembly Replacement, Disconnect the spark plug: 步骤 4 中的图像 1,3 Echo Chain Saw CS590 2019 Starter Assembly Replacement, Disconnect the spark plug: 步骤 4 中的图像 2,3 Echo Chain Saw CS590 2019 Starter Assembly Replacement, Disconnect the spark plug: 步骤 4 中的图像 3,3
    • Use your fingers to pull up and disconnect the spark plug boot.

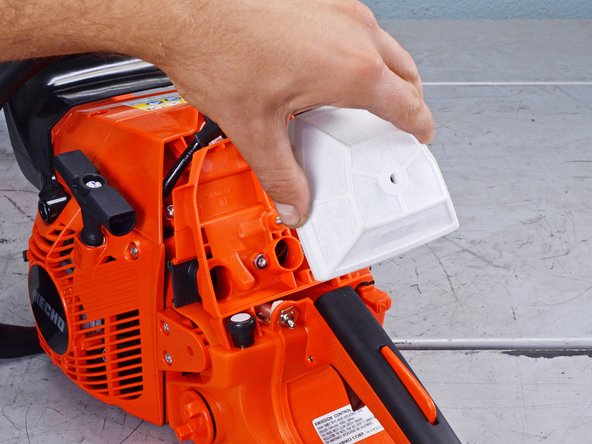
  5. Echo Chain Saw CS590 2019 Starter Assembly Replacement, Remove the air filter: 步骤 5 中的图像 1,3 Echo Chain Saw CS590 2019 Starter Assembly Replacement, Remove the air filter: 步骤 5 中的图像 2,3 Echo Chain Saw CS590 2019 Starter Assembly Replacement, Remove the air filter: 步骤 5 中的图像 3,3
    • To minimize debris entering the intake, pull the choke shut before continuing.

    • Remove the air filter

    • During reassembly, clean the air filter with compressed air or with light brushing before reinstalling it.

  6. Echo Chain Saw CS590 2019 Starter Assembly Replacement, Unfasten the front handle: 步骤 6 中的图像 1,2 Echo Chain Saw CS590 2019 Starter Assembly Replacement, Unfasten the front handle: 步骤 6 中的图像 2,2
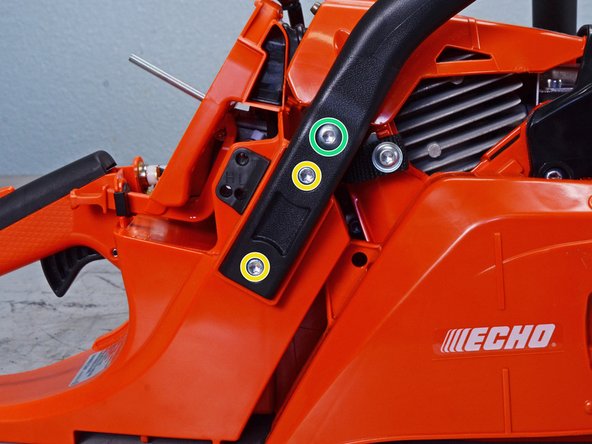
    • Use a T25 Torx screwdriver to remove the five screws securing the front handle to the bottom and right side of the device:

    • Four 24 mm-long screws

    • One 25 mm-long screw

  7. Echo Chain Saw CS590 2019 Starter Assembly Replacement, Remove the front handle: 步骤 7 中的图像 1,3 Echo Chain Saw CS590 2019 Starter Assembly Replacement, Remove the front handle: 步骤 7 中的图像 2,3 Echo Chain Saw CS590 2019 Starter Assembly Replacement, Remove the front handle: 步骤 7 中的图像 3,3
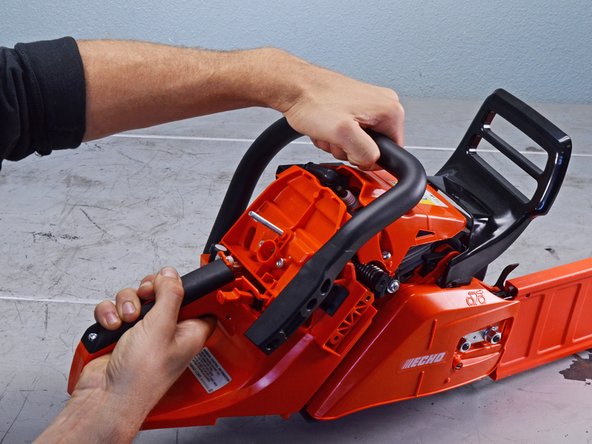
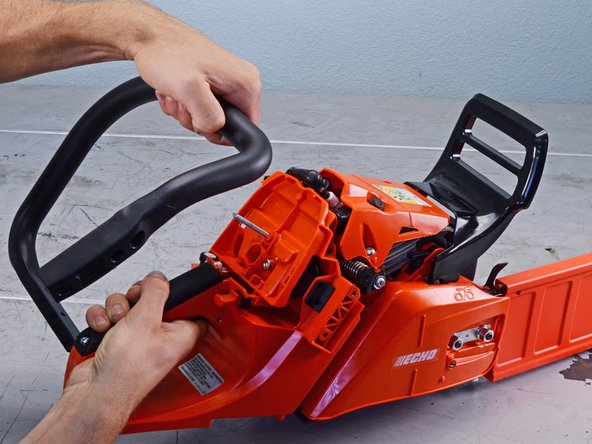
    • Pull the handle toward the rear of the device to remove it.

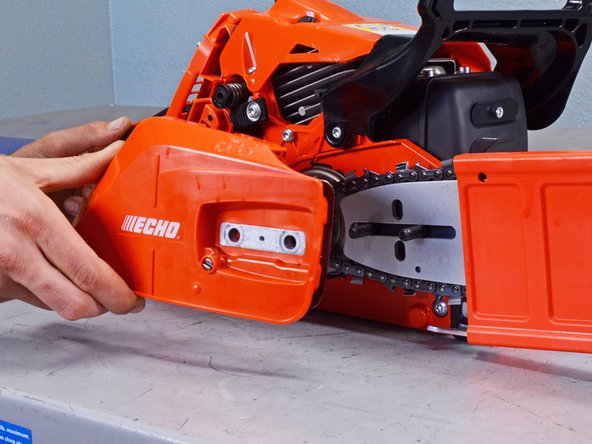
  8. Echo Chain Saw CS590 2019 Starter Assembly Replacement, Remove the sprocket guard: 步骤 8 中的图像 1,2 Echo Chain Saw CS590 2019 Starter Assembly Replacement, Remove the sprocket guard: 步骤 8 中的图像 2,2
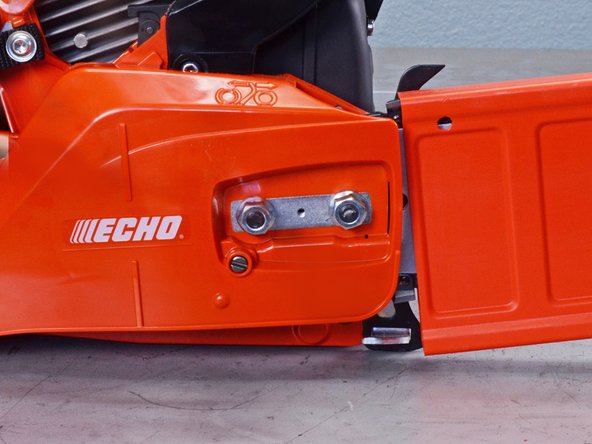
    • Use a 13 mm wrench to remove the two nuts securing the sprocket guard.

  9. Echo Chain Saw CS590 2019 Starter Assembly Replacement: 步骤 9 中的图像 1,3 Echo Chain Saw CS590 2019 Starter Assembly Replacement: 步骤 9 中的图像 2,3 Echo Chain Saw CS590 2019 Starter Assembly Replacement: 步骤 9 中的图像 3,3
    • Remove the sprocket guard.

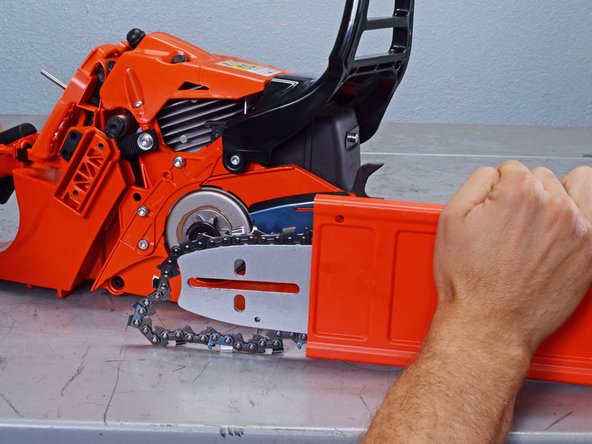
  10. Echo Chain Saw CS590 2019 Starter Assembly Replacement, Remove the guide bar: 步骤 10 中的图像 1,3 Echo Chain Saw CS590 2019 Starter Assembly Replacement, Remove the guide bar: 步骤 10 中的图像 2,3 Echo Chain Saw CS590 2019 Starter Assembly Replacement, Remove the guide bar: 步骤 10 中的图像 3,3
    • Push the guide bar towards the back of the device to create slack in the saw chain.

    • Pull the guide bar away from the device to separate the saw chain from the clutch drum.

    • Remove the guide bar.

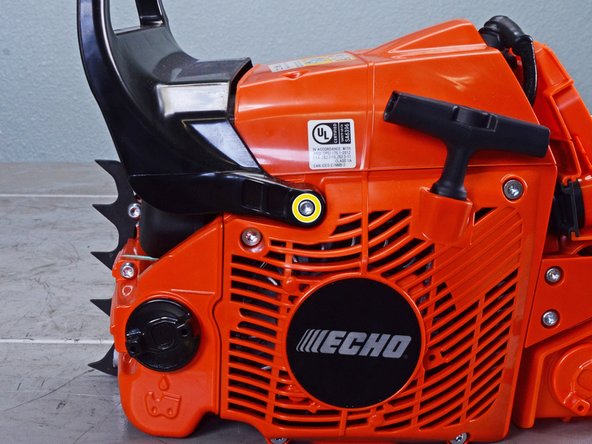
  11. Echo Chain Saw CS590 2019 Starter Assembly Replacement, Unfasten the front hand guard: 步骤 11 中的图像 1,2 Echo Chain Saw CS590 2019 Starter Assembly Replacement, Unfasten the front hand guard: 步骤 11 中的图像 2,2
    • Make sure the front hand guard is in the unlocked position before continuing.

    • Use a T25 Torx screwdriver to remove the two 20 mm screws securing the front hand guard.

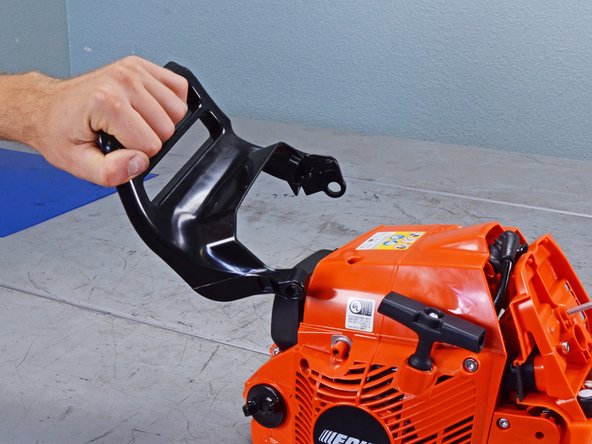
  12. Echo Chain Saw CS590 2019 Starter Assembly Replacement, Remove the front hand guard: 步骤 12 中的图像 1,2 Echo Chain Saw CS590 2019 Starter Assembly Replacement, Remove the front hand guard: 步骤 12 中的图像 2,2
    • Pull the front hand guard toward the rear of the device to remove it.

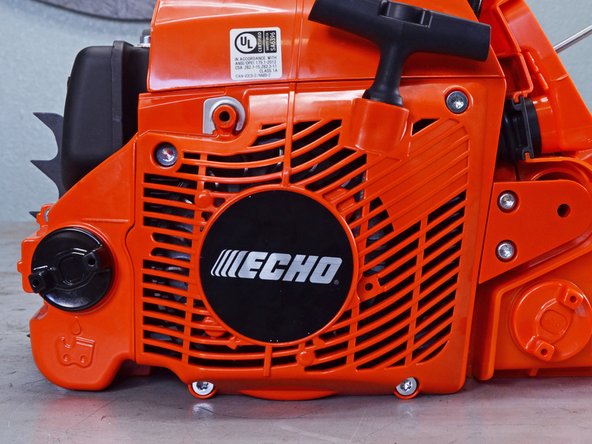
  13. Echo Chain Saw CS590 2019 Starter Assembly Replacement, Unfasten the starter case: 步骤 13 中的图像 1,2 Echo Chain Saw CS590 2019 Starter Assembly Replacement, Unfasten the starter case: 步骤 13 中的图像 2,2
    • Use a T25 Torx screwdriver to remove the four 24 mm screws securing the starter case.

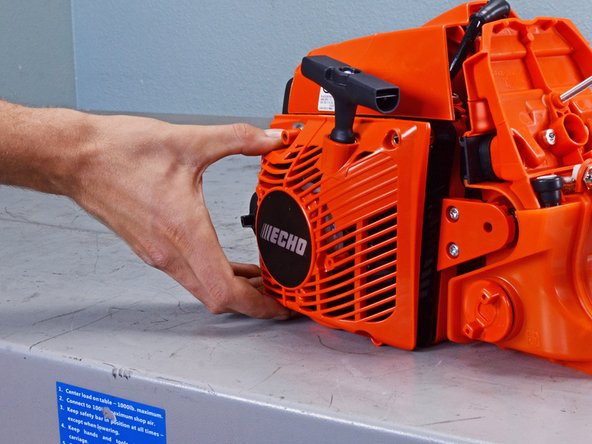
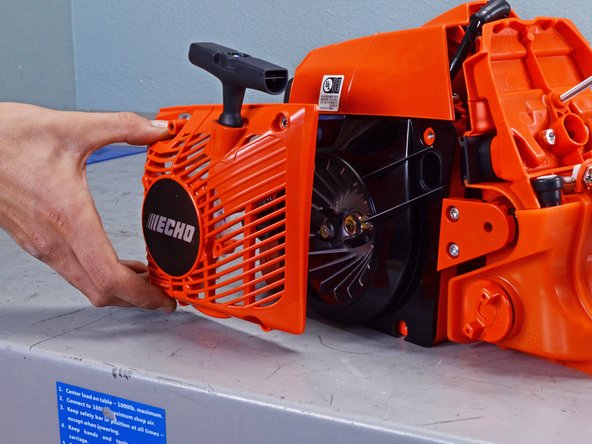
  14. Echo Chain Saw CS590 2019 Starter Assembly Replacement, Remove the starter cover: 步骤 14 中的图像 1,3 Echo Chain Saw CS590 2019 Starter Assembly Replacement, Remove the starter cover: 步骤 14 中的图像 2,3 Echo Chain Saw CS590 2019 Starter Assembly Replacement, Remove the starter cover: 步骤 14 中的图像 3,3
    • Pull the starter cover straight off its housing to remove it.

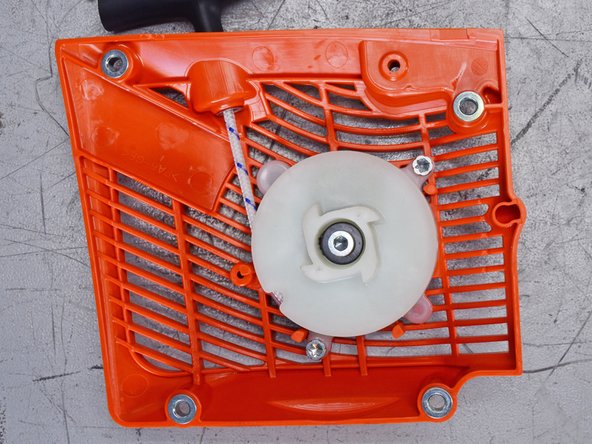
  15. Echo Chain Saw CS590 2019 Starter Assembly Replacement, Unfasten the starter plate: 步骤 15 中的图像 1,2 Echo Chain Saw CS590 2019 Starter Assembly Replacement, Unfasten the starter plate: 步骤 15 中的图像 2,2
    • Use a T25 Torx screwdriver to remove the three screws securing the starter plate:

    • Two 15 mm-long screws

    • One 14 mm-long screw

  16. Echo Chain Saw CS590 2019 Starter Assembly Replacement, Remove the starter plate: 步骤 16 中的图像 1,3 Echo Chain Saw CS590 2019 Starter Assembly Replacement, Remove the starter plate: 步骤 16 中的图像 2,3 Echo Chain Saw CS590 2019 Starter Assembly Replacement, Remove the starter plate: 步骤 16 中的图像 3,3
    • Be very careful with this step, as there's a lot of tension in the recoil spring. If you remove the starter plate too quickly, you may unravel the coil.

    • Carefully lift the starter plate straight out of its recess and remove it.

  17. Echo Chain Saw CS590 2019 Starter Assembly Replacement, Remove the starter grip: 步骤 17 中的图像 1,3 Echo Chain Saw CS590 2019 Starter Assembly Replacement, Remove the starter grip: 步骤 17 中的图像 2,3 Echo Chain Saw CS590 2019 Starter Assembly Replacement, Remove the starter grip: 步骤 17 中的图像 3,3
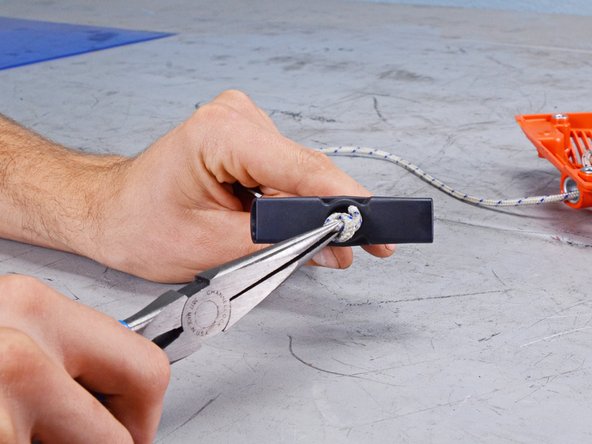
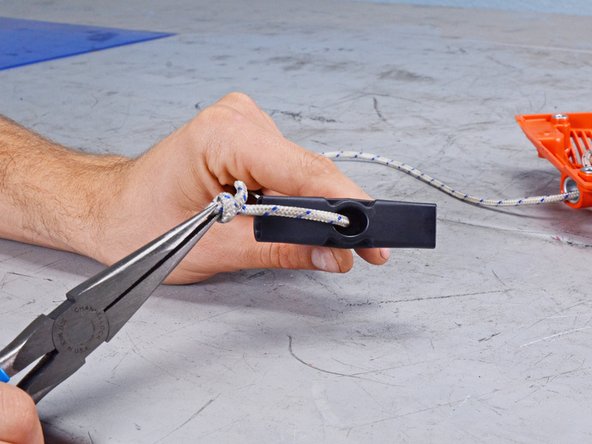
    • Use pliers, or your fingers, to pull the rope knot out of the top of the starter grip.

    • Undo the knot and remove the grip.

结论

To reassemble your device, follow these instructions in reverse order.

Alex Diaz-Kokaisl

于01/16/22注册

124,295 声望

创作了581篇指南

团队

iFixit iFixit 的会员

Staff

135 名成员

创作了17,199篇指南

一条评论

Although safety is foremost when I work, steps 2 through 12 are not really necessary. Step 1 is important for sure but then all you need to do to before Step 13 is to remove the screw near the upper-left of the Starter Case holding the Front Hand Guard in place and pull the Guard up and away from the Starter Case.

HANS - 回复

添加评论

浏览统计数据:

过去 24 小时: 4

过去 7 天: 12

过去 30 天: 30

总计 390