简介
This is a brief guide on how to remove the DC17's canister and clean its cyclone assembly. If a DC17 filter is loading with more fines and hair debris than usual or struggling to make vacuum as noted by the noise the DC17's motor emits, it may be because a portion of the cyclone's internal assembly is blocked. If portions of the cyclone assembly are blocked, the remaining open portions will encourage air to pass at a higher velocity, which keeps debris suspended until it hits the filter further downstream. Following these steps will clean the cyclone's internal channels and allow debris to once again fall out inside the canister.
你所需要的
-
-
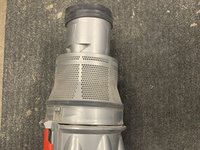
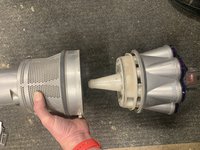
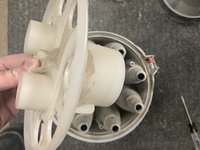
The canister contains the cyclone assembly, comprised of gray plastic housing, as pictured to the left.
-
Remove the canister by pressing the gray button on the vacuum cleaner's front and at the top of the clear plastic handle.
-
-
-
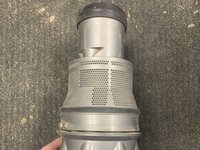
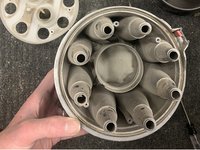
The canister's clear plastic cylinder must be removed to access and clean the cyclone's internals.
-
Over a garbage receptacle, press the red button near the clear handle's top to disengage the canister's bottom lid.
-
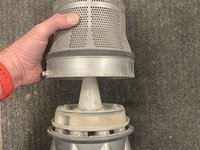
Press the gray plastic button near the top of the canister to disengage the canister's clear plastic housing and separate it from the cyclone assembly.
-
-
-
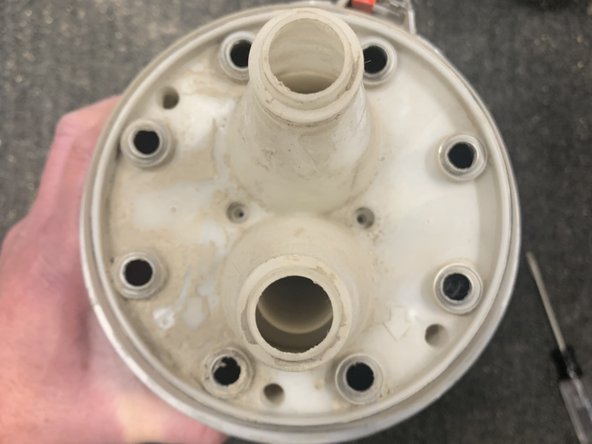
The bottom needs to be rocked off slowly to disengage three clips.
-
To see this in action, consider watching this video.
-
-
-
-
The cyclone's lower portion, between the black gasket and the gap shown in the pictures, is removed by gently applying lateral force toward the black gasket while holding the upper portion of the cyclone steady.
-
This video shows the removal process in detail.
-
-
-
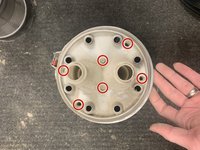
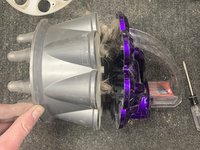
Disassemble cyclone by pointing white plastic portion upward and remove 6 T15 screws.
-
-
-
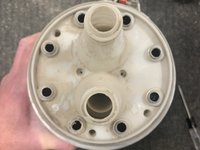
The handle can now be removed or loosened (picture 2) to allow observation of the cyclone's inner channels.
-
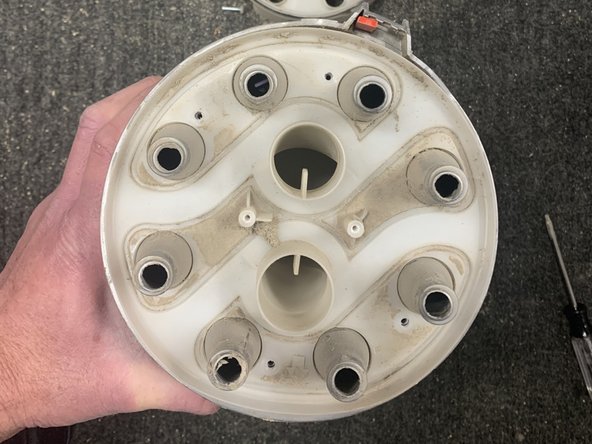
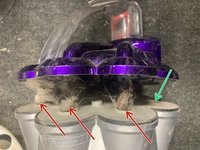
Remove any hair or debris blocking the cyclone's inner channels.
-
Red arrows indicated blocked cyclone areas and green arrow points to an open cyclone area. There are cyclone channels that should be observed.
-


To reassemble your device, follow these instructions in reverse order.
