跳转到主内容

Dyson Ball Multi Floor Upright Electrical Cord Replacement

你所需要的

  1. Dyson Ball Multi Floor Upright Electrical Cord Replacement, Electrical Cord: 步骤 1 中的图像 1,2 Dyson Ball Multi Floor Upright Electrical Cord Replacement, Electrical Cord: 步骤 1 中的图像 2,2
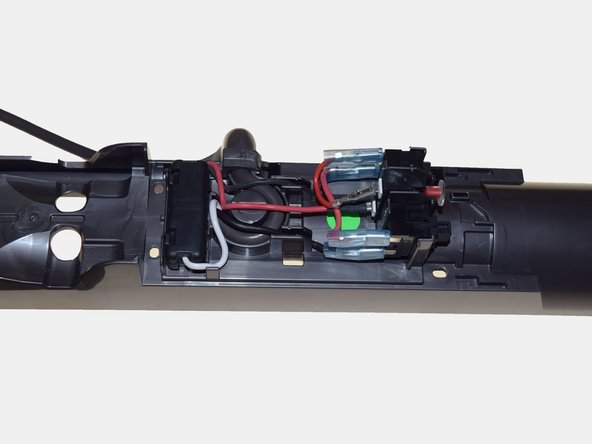
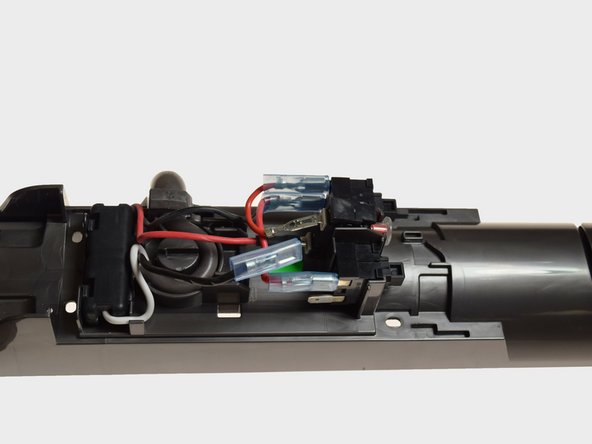
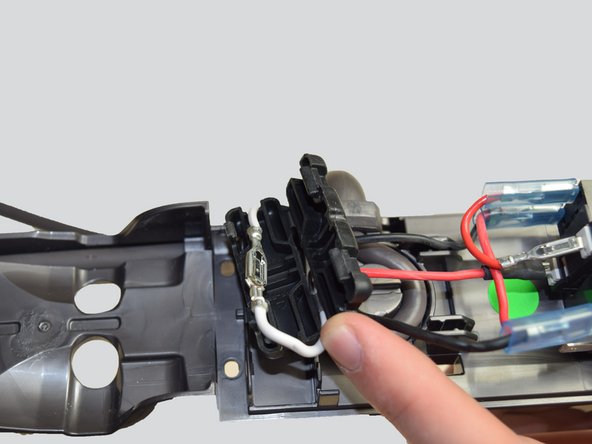
    • Press the red button on the back to release the hose and allow for easy access to the back

  2. Dyson Ball Multi Floor Upright Electrical Cord Replacement: 步骤 2 中的图像 1,1
    • Remove the four 15 mm T-10 black screws now showing in the back of the vacuum hose track, using the Phillips 0 screwdriver found in the iFixit tool kit.

  3. Dyson Ball Multi Floor Upright Electrical Cord Replacement: 步骤 3 中的图像 1,2 Dyson Ball Multi Floor Upright Electrical Cord Replacement: 步骤 3 中的图像 2,2
    • Use a pair of needle nosed pliers to press both tabs simultaneously.

    • Hold onto the front hatch while doing this or it will fall off and a spring and lever will fall out with it.

    • Remove the hatch carefully exposing the wiring underneath

  4. Dyson Ball Multi Floor Upright Electrical Cord Replacement: 步骤 4 中的图像 1,2 Dyson Ball Multi Floor Upright Electrical Cord Replacement: 步骤 4 中的图像 2,2
    • Remove the black wire from its connection near the top of the hatch

  5. Dyson Ball Multi Floor Upright Electrical Cord Replacement: 步骤 5 中的图像 1,2 Dyson Ball Multi Floor Upright Electrical Cord Replacement: 步骤 5 中的图像 2,2
    • Open the black box near the bottom of the hatch area using the two push tabs

    • This exposes the white wire's connection

  6. Dyson Ball Multi Floor Upright Electrical Cord Replacement: 步骤 6 中的图像 1,1
    • Disconnect the white wire using the small metal tab.

    • Do not damage the wire during the process.

  7. Dyson Ball Multi Floor Upright Electrical Cord Replacement: 步骤 7 中的图像 1,1
    • Pull vertically on the grey cord now and it should separate from the rest of the vacuum

    • To replace the cord, slide the new grey cord into place and connect the two wires again then complete the steps in reverse

结论

To reassemble your device, follow these instructions in reverse order.

另外一个人完成了本指南。

Nicole Abraham

于01/26/17注册

839 声望

创作了5篇指南

团队

Cal Poly, Team 21-2, Maness Winter 2017 Cal Poly, Team 21-2, Maness Winter 2017 的会员

CPSU-MANESS-W17S21G2

4 名成员

创作了10篇指南

一条评论

Supposing that one doesn't hold onto the front part, and the spring and lever fall out, how does one replace said spring and lever?

Jordan Adams - 回复

添加评论

浏览统计数据:

过去 24 小时: 0

过去 7 天: 8

过去 30 天: 54

总计 3,657