跳转到主内容

Dynex DX-WBRDVD1 Power Supply Board Replacement

你所需要的

  1. Dynex DX-WBRDVD1 Power Supply Board Replacement, Top Cover: 步骤 1 中的图像 1,2 Dynex DX-WBRDVD1 Power Supply Board Replacement, Top Cover: 步骤 1 中的图像 2,2
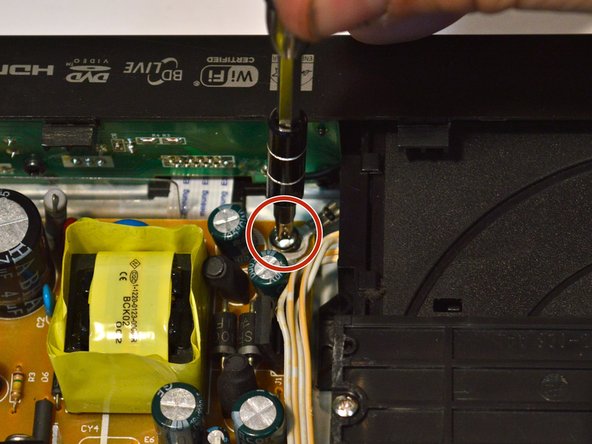
    • Remove the four 5mm Phillips #1 screws that connect the black outer shell to the silver back of the device.

  2. Dynex DX-WBRDVD1 Power Supply Board Replacement: 步骤 2 中的图像 1,1
    • Remove the two 5mm screws on the left and right side panels.

    • There is one screw on each side that secures the cover to the body of the device.

  3. Dynex DX-WBRDVD1 Power Supply Board Replacement: 步骤 3 中的图像 1,1
    • Lift the black cover to a 45 degree angle from the rear of the device and pull the cover away entirely.

    • Check that the power cord is not preventing the device from opening or closing.

  4. Dynex DX-WBRDVD1 Power Supply Board Replacement, Power Supply Board: 步骤 4 中的图像 1,2 Dynex DX-WBRDVD1 Power Supply Board Replacement, Power Supply Board: 步骤 4 中的图像 2,2
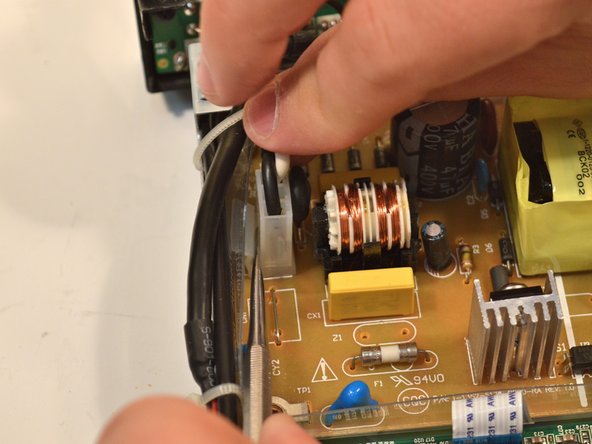
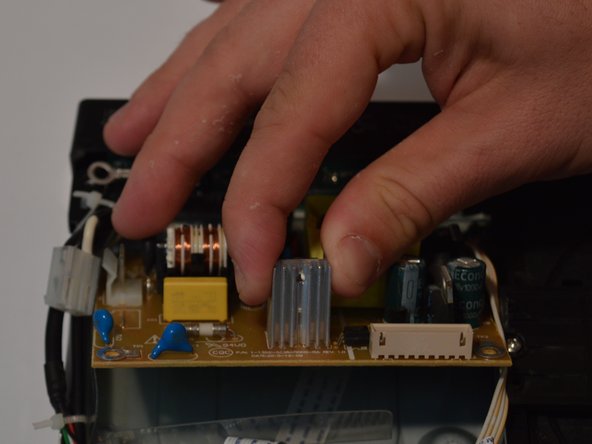
    • Remove the 9-pin white wire from the power board (brown) that connects to the motherboard (green).

  5. Dynex DX-WBRDVD1 Power Supply Board Replacement: 步骤 5 中的图像 1,2 Dynex DX-WBRDVD1 Power Supply Board Replacement: 步骤 5 中的图像 2,2
    • Remove the front plate of the device by removing the top two screws on either side and pulling the plate away.

    • Make sure to place the grounding wire between the screw and the device when reassembling.

  6. Dynex DX-WBRDVD1 Power Supply Board Replacement: 步骤 6 中的图像 1,2 Dynex DX-WBRDVD1 Power Supply Board Replacement: 步骤 6 中的图像 2,2
    • Remove the 4 screws holding the power board to the body of the device.

    • Remember to connect a grounding wire to the screw next to the front panel and optical drive when reassembling.

  7. Dynex DX-WBRDVD1 Power Supply Board Replacement: 步骤 7 中的图像 1,2 Dynex DX-WBRDVD1 Power Supply Board Replacement: 步骤 7 中的图像 2,2
    • Press down on the plastic flap to unlatch the white clip on the edge of the power supply board.

  8. Dynex DX-WBRDVD1 Power Supply Board Replacement: 步骤 8 中的图像 1,1
    • Remove the power supply board.

结论

To reassemble your device, follow these instructions in reverse order.

3等其他人完成本指南。

0条评论

添加评论

浏览统计数据:

过去 24 小时: 2

过去 7 天: 5

过去 30 天: 11

总计 679