-
-
从任一手柄的外边缘开始,将打开工具插入前面板和后面板相交的折痕中。
-
轻轻地将后面板从前面板撬开,直到它们部分分离。
easy, but quite brute way of opening the rear panel without the opening tool: https://www.youtube.com/watch?v=wYybiBBL...
watch the opening from the back part only, then return here.
That worked but a couple clips broke in the process. Beware for people trying this method.
There are 4 tab clips total, 2 at the top corners (very easy to break) and 2 at the bottom near the ports. The screws will keep it together even if they do break but be careful if you don’t want to break them.
Fungi -
I've written a guide to help others find the clips and unlatch them.
Hi Richard,
Thanks for writing this up! I'm going to link your guide into the step.
-
-
-
使用打开工具通过松开控制器周边的塑料夹来分离面板。
I've written a guide to help others find and unlatch these clips
-
-
-
-
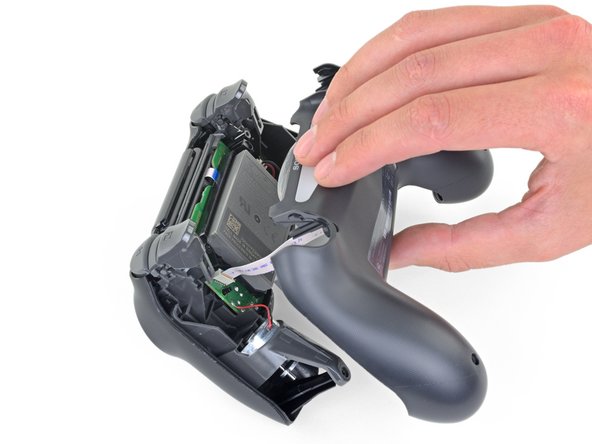
用手指轻轻地将带状电缆从主板上的连接器中直接拉出。
-


23等其他人完成本指南。


3条评论
For this DualShock 4 CHU-ZCT2U Battery Replacement, shouldn’t the battery model be JDM-040 and not JDM-030 for this controller. I ordered the battery listed but the connector was too large. So I believe this needs to be edited to match accordingly to avoid confusion and incorrect orders. Thanks!
Tom Nguyen - 回复
Good catch! I just pulled apart the ZCT1U and ZCT2U models and you are right. I will fix this in the guide. Thank you!