跳转到主内容

Dragon Touch Y88X Plus Camera Replacement

  1. Dragon Touch Y88X Plus Camera Replacement, Camera: 步骤 1 中的图像 1,2 Dragon Touch Y88X Plus Camera Replacement, Camera: 步骤 1 中的图像 2,2
    • First, start by removing the backplate from the device using your IFixit opening tool.

  2. Dragon Touch Y88X Plus Camera Replacement: 步骤 2 中的图像 1,1
    • Next, remove any adhesives that are keeping internal components of the device in place.

  3. Dragon Touch Y88X Plus Camera Replacement: 步骤 3 中的图像 1,1
    • Carefully peel the old battery from the adhesive using your iFixit pry tool.

  4. Dragon Touch Y88X Plus Camera Replacement: 步骤 4 中的图像 1,2 Dragon Touch Y88X Plus Camera Replacement: 步骤 4 中的图像 2,2
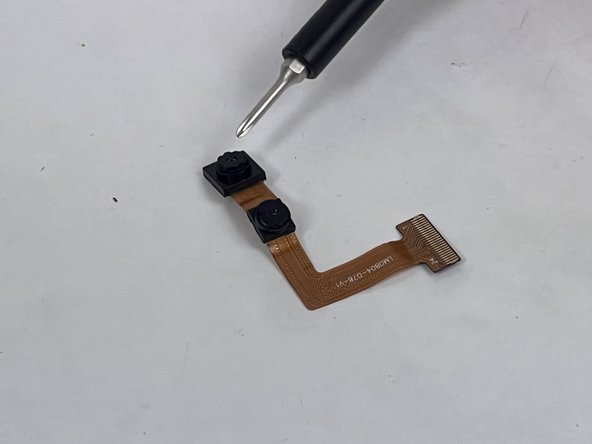
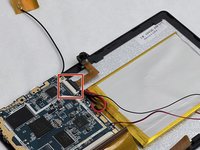
    • In order to remove the old camera, you must disconnect the ribbon that connects to the camera.

    • To remove the ribbon, flip the black switch where it is connected to the motherboard and gently pull the ribbon out and replace it with your replacement Dragon Touch Y88X Plus camera.

结论

To reassemble your device, follow these instructions in reverse order.

另外一个人完成了本指南。

Craig B

于10/30/23注册

247 声望

创作了2篇指南

团队

UMass Dartmouth, Team 1-4, Petersen Fall 2023 UMass Dartmouth, Team 1-4, Petersen Fall 2023 的会员

UMASSD-PETERSEN-F23S1G4

4 名成员

创作了4篇指南

0条评论

添加评论

浏览统计数据:

过去 24 小时: 1

过去 7 天: 1

过去 30 天: 4

总计 41