简介
Purchasing a new or used display/digitizer will be necessary if yours is broken.
你所需要的
-
-
-
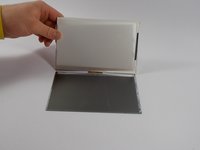
The rear panel is secured to the front case and can simply be pried apart without damage.
 询问修复机器人
-
-
-
-
-
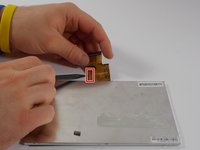
在这个步骤中使用的工具:Tweezers$4.99
-
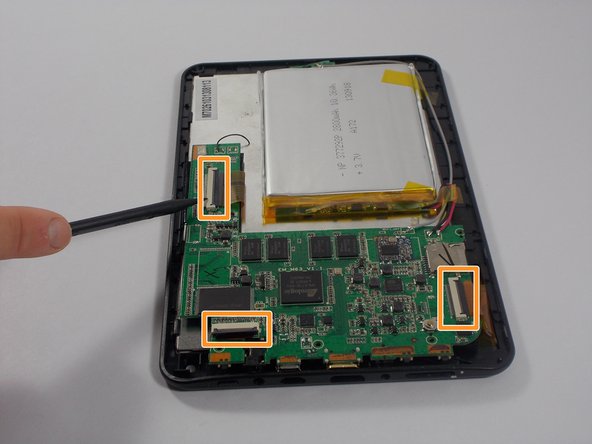
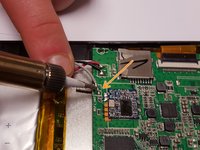
Remove the four screws holding the motherboard inplace.
-
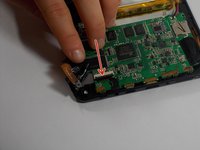
Using the flat end of a spudger or tweezers, remove the three cables connected to the motherboard.
-
The cables can be disconnected by lifting up on the black section of the socket.
-
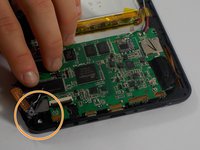
Once the lever is lifted, pull out the cable by gently tugging on it.
-
-


To reassemble your device, follow these instructions in reverse order.
2等其他人完成本指南。

团队

UMass Dartmouth, Team 1-2, Miles Fall 2015 UMass Dartmouth, Team 1-2, Miles Fall 2015 的会员
UMASSD-MILES-F15S1G2
4 名成员
创作了12篇指南