简介
This guide will show you the quickest way to remove the front of the device so you can get to deeper parts of the device.
你所需要的
-
-
Using a Phillips screwdriver, remove the eight 9.5 mm screws on the left and right sides of the device.
-
-
-
-
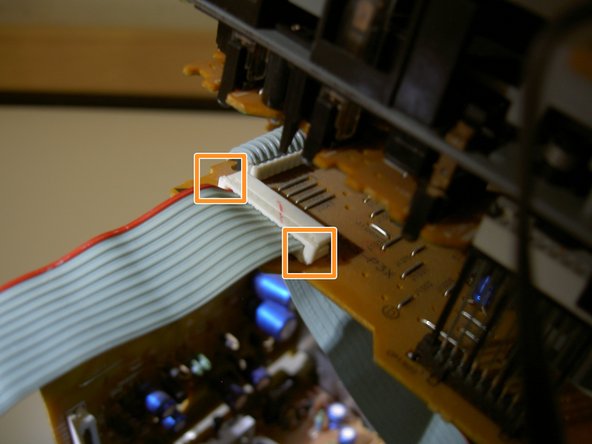
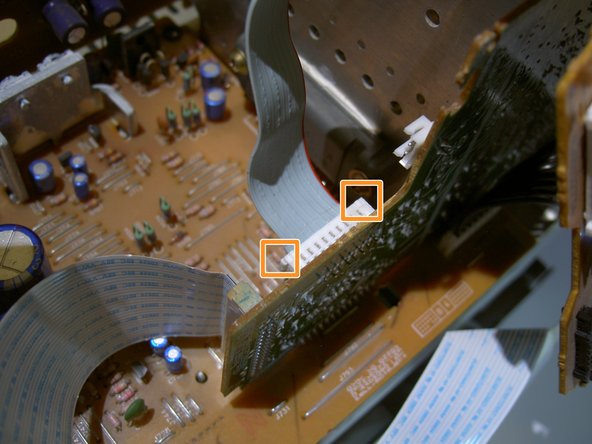
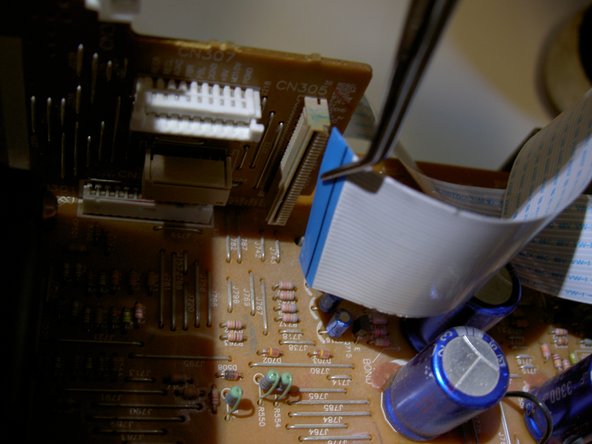
This step deals with the indicated area of the device.
-
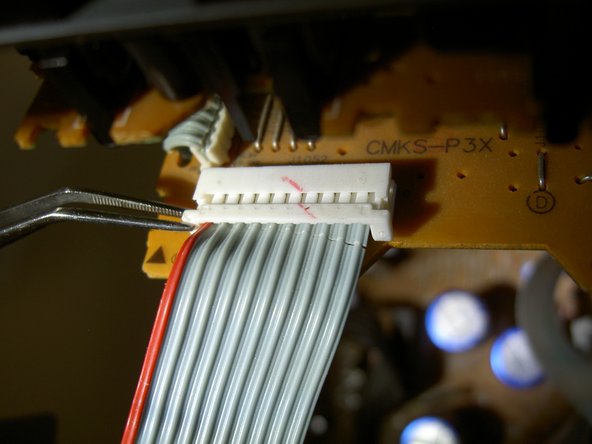
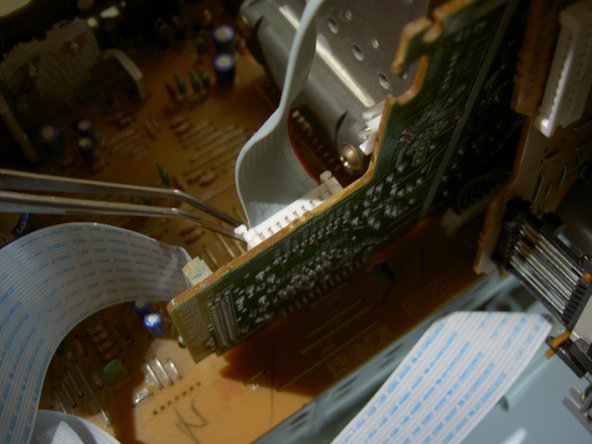
Using tweezers or fingers, lift gently on the tab indicated to free the front from the body of the device.
-
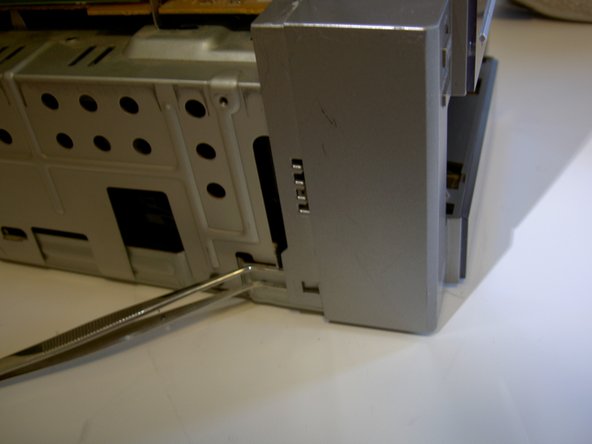
Rotate device 180 degrees and repeat for other side.
-
Rotate the front slightly forward to keep the tabs from re-engaging on their hooks.
-


To reassemble your device, follow these instructions in reverse order.
To reassemble your device, follow these instructions in reverse order.
3等其他人完成本指南。
团队

Cal Poly, Team 4-1, Regan Spring 2011 Cal Poly, Team 4-1, Regan Spring 2011 的会员
CPSU-REGAN-S11S4G1
3 名成员
创作了5篇指南
2条评论
Excellent and clear instructions, thankyou. Only trouble is the CD Changer device door is not opening! As I have not actually carried out the Front Panel removal at present I am hoping my problem will expose itself when I complete your instructions in practicality. Thanks again. Denis.
Thanks a lot for the guide! I was able to fix my problem of cassettes playing too slow. You rock!