当前版本的文档还未经巡查,您可以查看最新的已查核版本。
-
-
Unscrew the four Torx screws from the backplate.
-
The backplate may begin to separate from the keypad face. Do not try to remove it yet.
-
The screws are T5 Torx screws, 5.6mm.
-
-
-
Using the Spudger, gently pry up the U-shaped grey cover below the keypad.
-
The cover is secured with adhesive tape. The gentler this is removed, the easier it will be to reassemble.
-
-
-
-
-
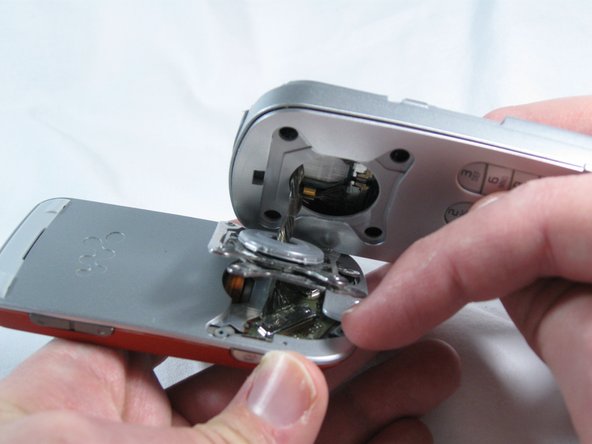
Separate the keypad face from the backplate.
-
The keypad keys and the button component are both loose inside the phone, so take note of their orientation in case they become dislodged.
-
Take note of the braided cord's state. Upon reassembly it should be returned to the same orientation.
-
-
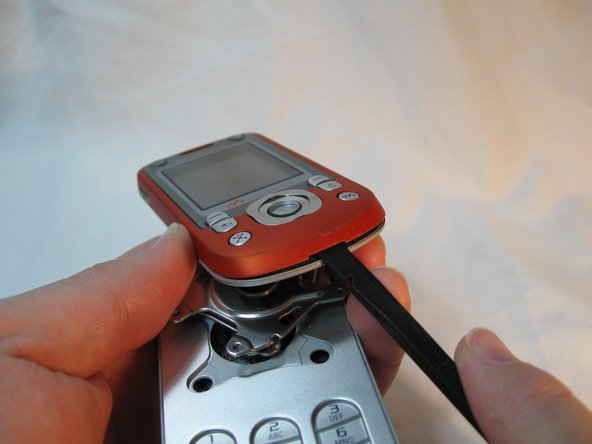
Holding the backplate away from the swivel, remove the 4 small Phillips screws and both stamped struts from the swivel assembly.
-
Note that only the bottom strut has a tab.
-
The screws are Phillips, 2.9mm
-
-
-
Remove the four black Phillips screws holding the swivel assembly to the LCD section of the phone.
-
Be mindful of the screws, as they are very small.
-
The screws are Phillips, 2.4mm
-
-
Gently remove the grey plastic cover at the top-rear of the LCD section with a spudger.
-
It is secured with adhesive tape, the more gently you remove this piece, the easier reassembly will be later.
-
-
-
-
-
Remove the black front plate.
-
Remove the button overlay, taking note of its position for reassembly. There are small grey nubs that correspond to holes in the overlay.
-
-
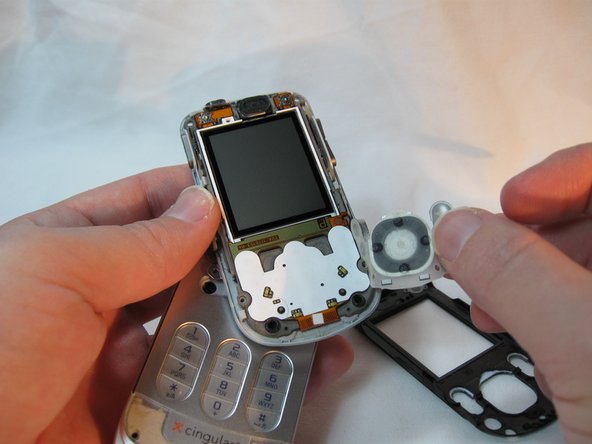
Gently release the small grey retaining clips around the outside of the display assembly.
-
Separate the display assembly from its backplate.
-
Take care; some of the side buttons may dislodge as the backplate is separated.
-
The LCD section is now disassembled.
嵌入本指南
选择一个尺寸并复制下面的代码,将本指南作为一个小插件嵌入到你的网站/论坛中。
预览