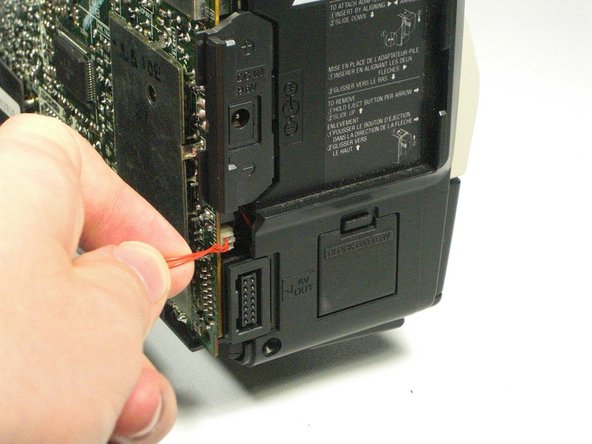
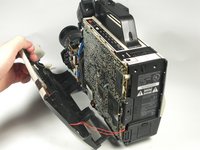
跳转到主内容

Disassembling RCA CC310 Left Cover

你所需要的

  1. Disassembling RCA CC310 Left Cover, Disassembling RCA CC310 Left Cover: 步骤 1 中的图像 1,2 Disassembling RCA CC310 Left Cover, Disassembling RCA CC310 Left Cover: 步骤 1 中的图像 2,2
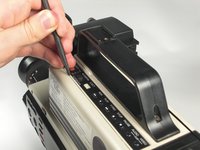
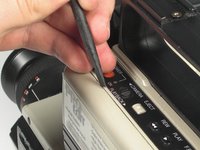
    • Remove the six 7.9mm Phillips #0 screws on the back and bottom.

    • Remove the one 3.8mm Phillips #0 screw on the bottom.

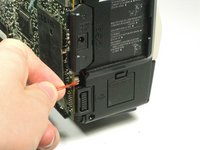
    • Remove the two 7.5mm Phillips #0 screws on the back and bottom.

  2. Disassembling RCA CC310 Left Cover: 步骤 2 中的图像 1,2 Disassembling RCA CC310 Left Cover: 步骤 2 中的图像 2,2
    • Remove 5.8mm Phillips #1 screw from the side button panel.

    • Slide the viewfinder all the way to the right and remove the 7.9mm Phillips #0 screw.

  3. Disassembling RCA CC310 Left Cover: 步骤 3 中的图像 1,2 Disassembling RCA CC310 Left Cover: 步骤 3 中的图像 2,2
    • Pry along the seam on the top side near the buttons with a spudger.

  4. Disassembling RCA CC310 Left Cover: 步骤 4 中的图像 1,2 Disassembling RCA CC310 Left Cover: 步骤 4 中的图像 2,2
    • Pull the left panel away from the rest of the camcorder.

    • Unplug the red speaker cable located at the rear of the device.

    • Be careful to not pull too hard. The speaker cable is still connected to the panel and it can rip.

结论

To reassemble your device, follow these instructions in reverse order.

团队

Cal Poly, Team 5-20, Amido Winter 2011 Cal Poly, Team 5-20, Amido Winter 2011 的会员

CPSU-AMIDO-W11S5G20

4 名成员

创作了7篇指南

0条评论

添加评论

浏览统计数据:

过去 24 小时: 1

过去 7 天: 4

过去 30 天: 8

总计 914