简介
Removing the headset jack on a Nokia E61i may sound a bit challenging, but with the right tools and easy steps, you can start getting your phone back in working order. This guide will walk you through the process of disassembling your device and removing the faulty headset jack. Make sure you have a clean workspace and the correct tools before you begin.
你所需要的
-
-
First, gather all necessary tools.
-
Remove the back cover to access the battery by pushing the tab on the bottom of the cover.
-
Slide the back cover downwards off of the phone while pressing down on the tab.
-
-
-
To remove the top of the back cover, pry the sides and pop it off.
-
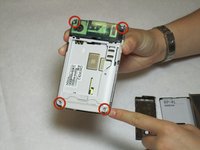
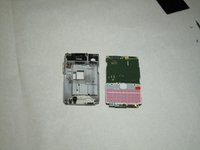
Remove the four screws that secure the front cover to the rest of the phone using a T7 screwdriver.
-
-
-
-
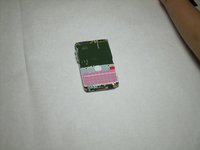
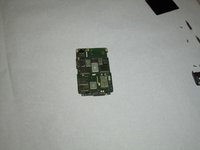
Take off the casing and keyboard.
-
Remove the screws while holding the screen in place using a Torx T6 screwdriver.
-
Remove the single screw while holding the screen in place using a Torx T5 screwdriver.
-
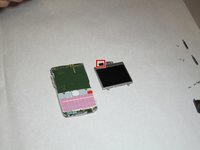
Lift the ribbon, disconnecting contact with the motherboard.
-
-
-
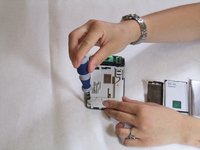
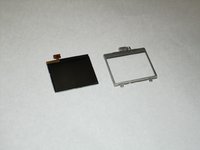
Remove the connector housing by pushing and sliding it off the back panel.
-
-
-
After the connector housing has been removed, there is nothing else holding the microphone in place. Simply remove it from the housing by pulling up.
-


To reassemble your device, follow these instructions in reverse order.
To reassemble your device, follow these instructions in reverse order.
另外一个人完成了本指南。
团队

Cal Poly, Team 9-63, Walters Spring 2011 Cal Poly, Team 9-63, Walters Spring 2011 的会员
CPSU-WALTERS-S11S9G63
5 名成员
创作了12篇指南