本指南有最近更改,您可查看未经巡查的最新版本。
简介
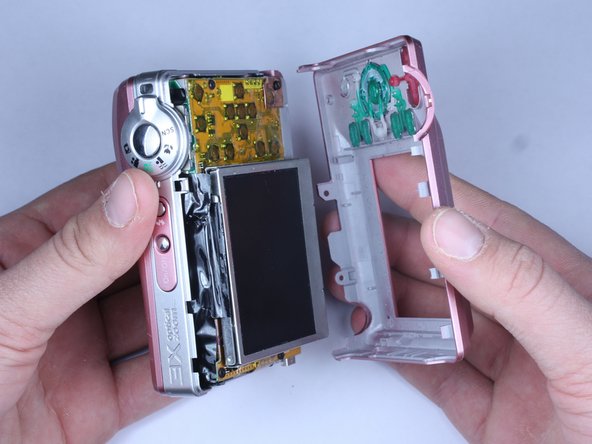
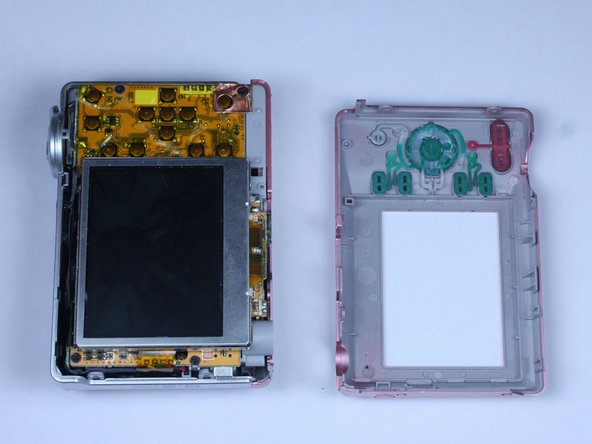
This guide demonstrates how to remove the front and back cover from the camera
你所需要的
-
-
Turn off camera by firmly pressing the power button that is located on the top of the camera near the selector dial.
-
-
-
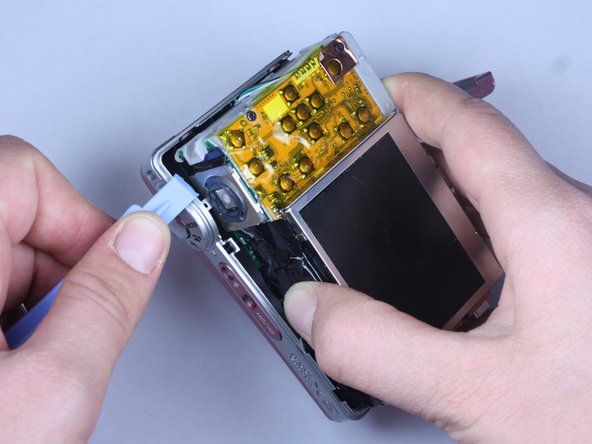
Before removing back cover, it is advisable to use an anti-static wrist strap to prevent damage to electronics.
-
-
-
-
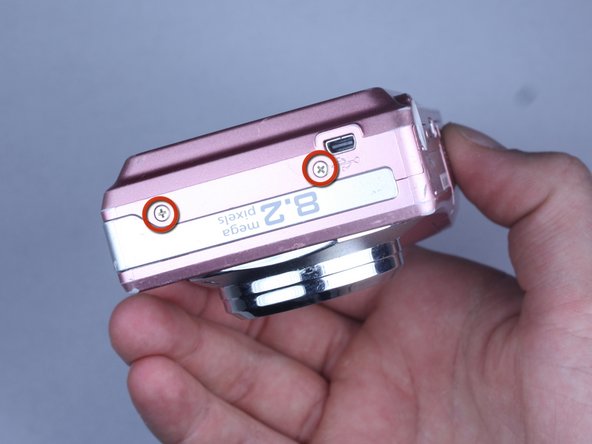
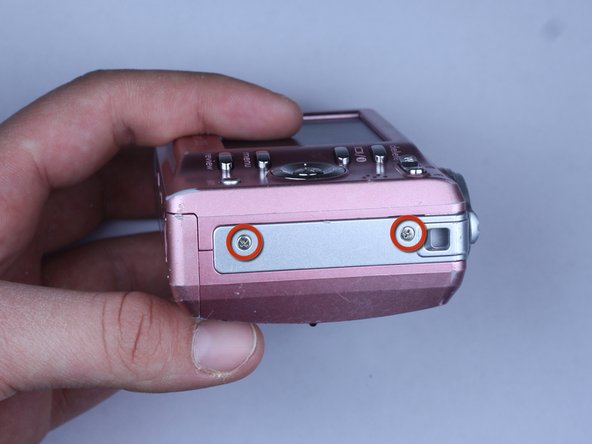
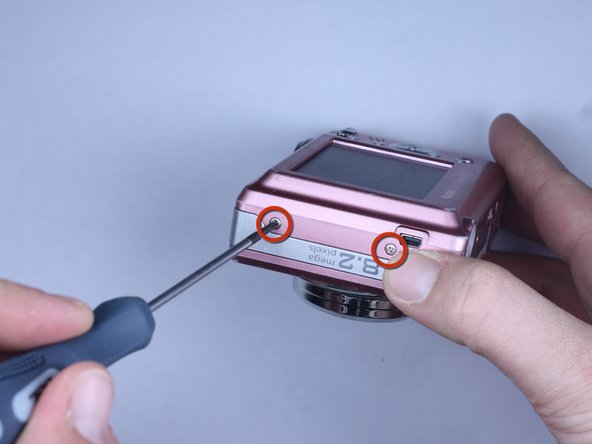
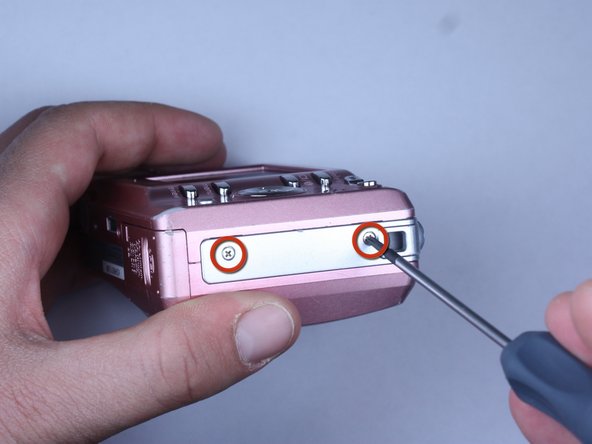
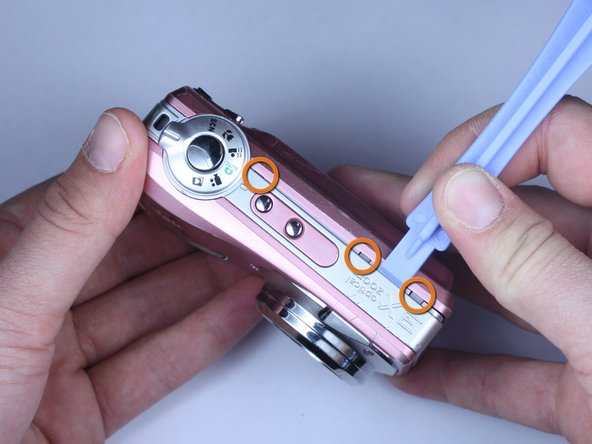
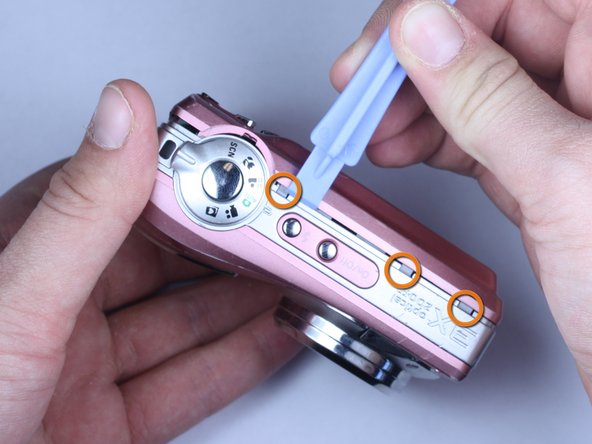
Remove all 7 screws:
-
Hold the camera firmly with one hand so that you can still see a screw.
-
Place the Philips 00(Found here)screwdriver into the screw.
-
Turn the screwdriver to the left until it is free.
-
Repeat for the remaining screws.
-
-
-
Open the battery door.
-
Press thumb firmly on battery door and slide it in the direction of the arrow.
-
Lift thumb allowing the door to swing open.
-


2等其他人完成本指南。
团队

Cal Poly, Team 24-22, Regan Spring 2010 Cal Poly, Team 24-22, Regan Spring 2010 的会员
CPSU-REGAN-S10S24G22
4 名成员
创作了20篇指南