简介
A heavy object fell on top of one of the knobs of my Digitech JamMan Stereo. The unit kept working, but the loop level was very low and I couldn't turn it up anymore.
I opened the unit and checked with a multimeter that the potentiometer controlled by the knob was not working. It felt like an easy desoldering/soldering job, so I thought I'd give it a shot myself. Note: I am an amateur at this and my soldering skills are really poor.
I contacted Digitech support service to see if I could figure out the exact part number to order a replacement, but instead they just sent it to me, both the potentiometer and the knob, and didn't even charge me for it. Very nice people, excellent support service.
你所需要的
-
-
Each knob in the unit controls a potentiometer inside. The picture shows the loop level knob cracked.
-
Besides the unit is the new potentiometer and knob that will replace the broken ones.
-
-
-
To separate the top and bottom parts of the enclosure, all the knobs need to come off.
-
The knobs are held by pressure; pull to remove them, or use a small screwdriver as a lever.
-
-
-
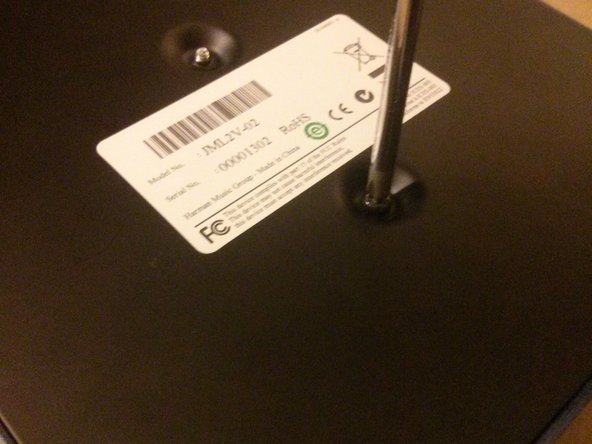
Remove the four screws at the corners.
-
Remove the screw at the center of the bottom plate.
-
-
-
To separate the enclosure parts, use a small screw driver as a lever.
-
-
-
-
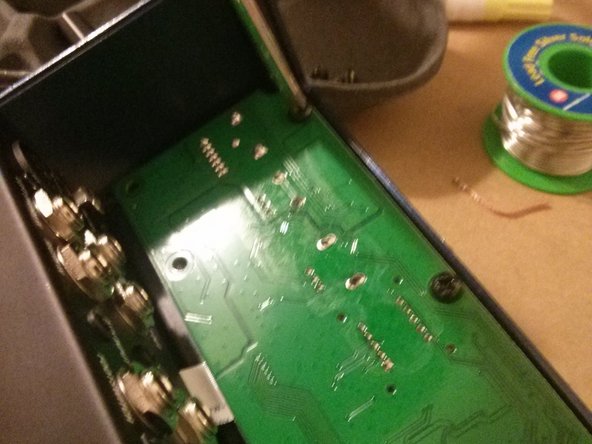
Slide the top part of the enclosure enough to access the five screws that you'll need to remove.
-
-
-
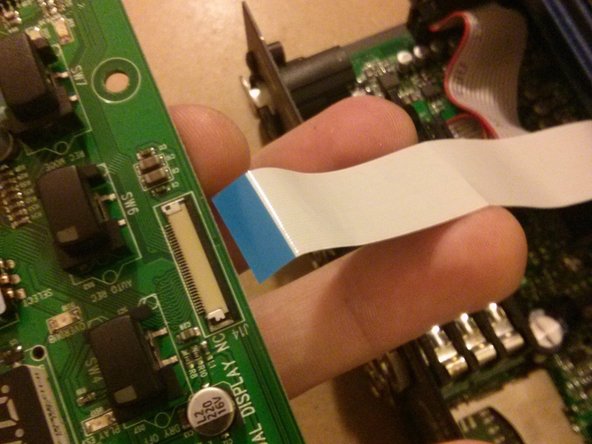
This is a delicate cable that can be broken if not handled carefully.
-
First, pull slightly the black plastic part of the connector. It only slides a little bit, enough to let the cable loose.
-
Pull the cable from the connector. The black plastic is not part of the cable, it stays on the board.
-
-
-
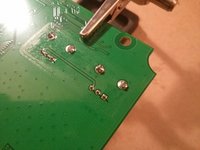
Time to desolder. A soldering clamp is always a handy tool for the job.
-
Pay attention when flipping the board, make sure you know the potentiometer you want to work on. Double check, and triple before desoldering!
-
-
-
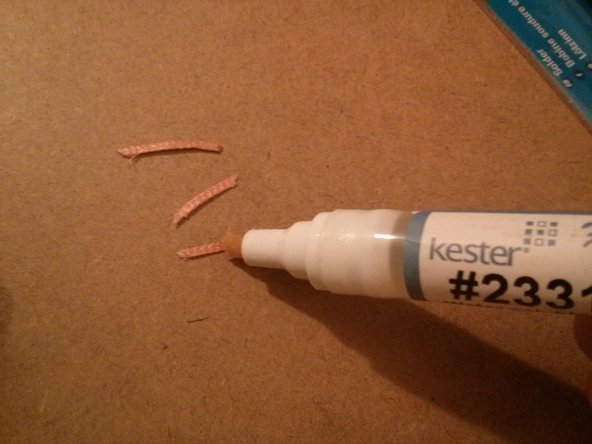
The parts to desolder are very small, I find it easier to cut a small piece of desoldering wick and handle it with pliers.
-
Apply a bit of flux to the wick to help it absorbe the solder from the joints.
-
-
-
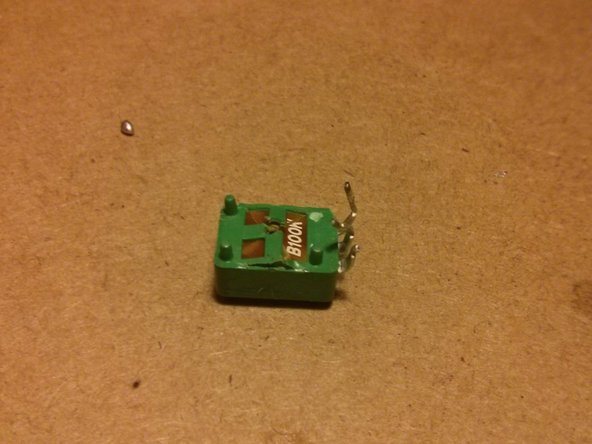
After i removed the pot, I cracked it open it to see how was it actually damaged.
-
As mentioned in the intro, it was a heavy object that fell on top of the knob that caused this.
-
-
-
Before reassembling, check with a multimeter that all connections are good and that there are no shorts between the pins of the new part.
-


To reassemble your device, follow these instructions in reverse order.
4等其他人完成本指南。
3指南评论
please can you clarify I only need to undo 5 screws on the bottom to separate the bottom from the top
john brown - 回复
You need to take the knobs from the front and then yes, just the five screws.
palako -