简介
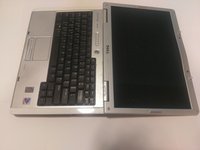
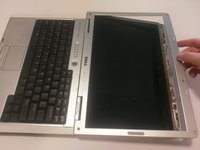
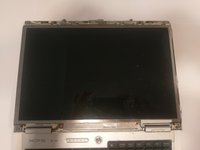
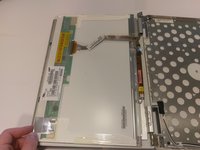
This guide will help users properly and safely disassemble their Dell XPS M140 laptop to reach the LCD (Liquid Crystal Display). Users will be able to see which exact step-wise components they will have to remove in order to gain access to the LCD screen.
你所需要的
-
-
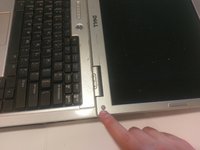
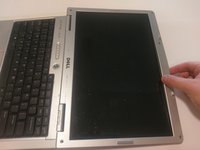
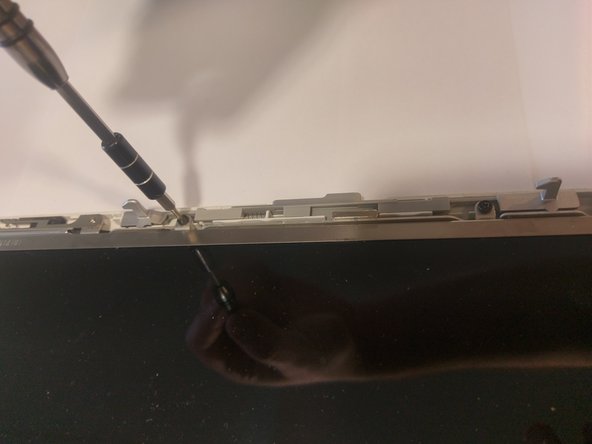
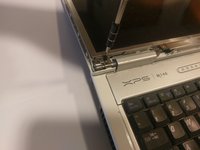
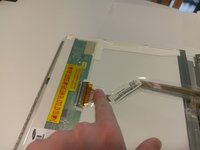
The plastic casing around the screen has a gray rubber circle, lining the perimeter of the casing.
-
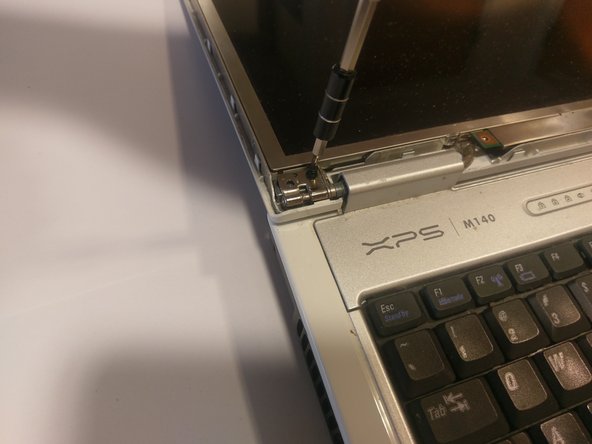
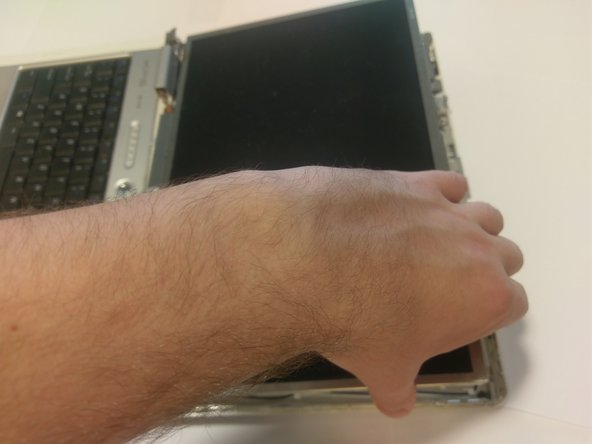
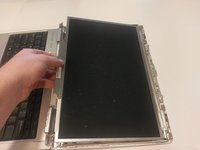
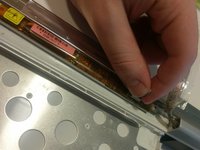
Remove the casing by peeling them off. This will expose the screws underneath.
-
-


结论
To reassemble your device, follow these instructions in reverse order.
团队

UMass Dartmouth, Team S9-G5, Martin Spring 2017 UMass Dartmouth, Team S9-G5, Martin Spring 2017 的会员
UMASSD-MARTIN-S17S9G5
4 名成员
创作了5篇指南