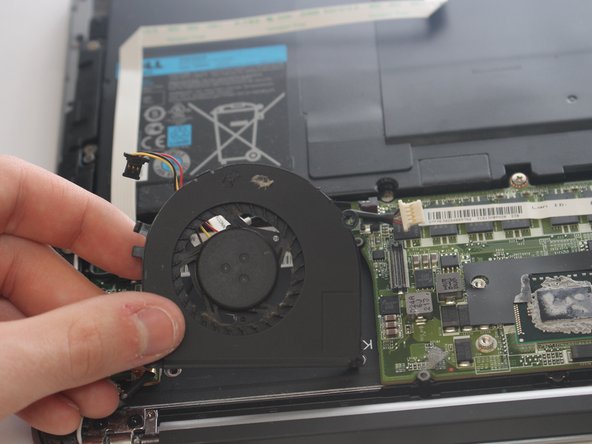
跳转到主内容

Dell XPS 13 L321X Fan Replacement

你所需要的

  1. Dell XPS 13 L321X Fan Replacement, Fan: 步骤 1 中的图像 1,2 Dell XPS 13 L321X Fan Replacement, Fan: 步骤 1 中的图像 2,2
    • Remove ten 3mm screws from the back cover with a T5 screwdriver.

  2. Dell XPS 13 L321X Fan Replacement: 步骤 2 中的图像 1,1
    • Remove the ribbons from both sides with a plastic iFixit opening tool.

  3. Dell XPS 13 L321X Fan Replacement: 步骤 3 中的图像 1,1
    • Use a PH1 screwdriver to remove the two 3mm screws that secure the fan.

  4. Dell XPS 13 L321X Fan Replacement: 步骤 4 中的图像 1,2 Dell XPS 13 L321X Fan Replacement: 步骤 4 中的图像 2,2
    • Use a plastic iFixit opening tool to remove the wire connected to the fan.

    • Lift the fan up to remove.

终点

Ahmad EL Herbawi

于03/01/17注册

499 声望

创作了3篇指南

团队

USF Tampa, Team S6-G3, Lacy Spring 2017 USF Tampa, Team S6-G3, Lacy Spring 2017 的会员

USFT-LACY-S17S6G3

4 名成员

创作了5篇指南

0条评论

添加评论

浏览统计数据:

过去 24 小时: 0

过去 7 天: 0

过去 30 天: 5

总计 1,222