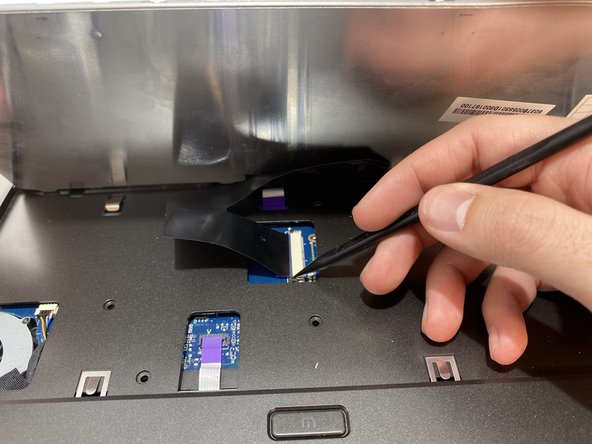
跳转到主内容

Dell Wyse Xn0m Mouse Sensor Board Replacement

你所需要的

  1. Dell Wyse Xn0m Mouse Sensor Board Replacement, Mouse Sensor Board: 步骤 1 中的图像 1,1
    • Flip the device over. Unscrew nine marked 7mm Phillips #1 screws.

  2. Dell Wyse Xn0m Mouse Sensor Board Replacement: 步骤 2 中的图像 1,2 Dell Wyse Xn0m Mouse Sensor Board Replacement: 步骤 2 中的图像 2,2
    • Remove the keyboard by pushing back the tabs at the marked locations with a spudger or plastic opening tool.

  3. Dell Wyse Xn0m Mouse Sensor Board Replacement: 步骤 3 中的图像 1,2 Dell Wyse Xn0m Mouse Sensor Board Replacement: 步骤 3 中的图像 2,2
    • Turn the device around so the screen is closest to you. Lift the keyboard and detach the ribbon cable with the spudger.

    • To disconnect the cable, disengage the locking tab of the ZIF connector with the spudger and pull the cable out gently.

  4. Dell Wyse Xn0m Mouse Sensor Board Replacement: 步骤 4 中的图像 1,1
    • Remove the keyboard and set it aside. Detach the other ribbon cables with the spudger.

    • Remove five 8mm Phillips #1 screws.

  5. Dell Wyse Xn0m Mouse Sensor Board Replacement: 步骤 5 中的图像 1,1
    • Pry open the laptop with the plastic opening tool.

  6. Dell Wyse Xn0m Mouse Sensor Board Replacement: 步骤 6 中的图像 1,2 Dell Wyse Xn0m Mouse Sensor Board Replacement: 步骤 6 中的图像 2,2
    • Under the trackpad, detach the ribbon cables with the spudger.

    • Unscrew two 3mm Phillips #1 screws and lift the board from the pegs.

    • Remove the board from the laptop.

结论

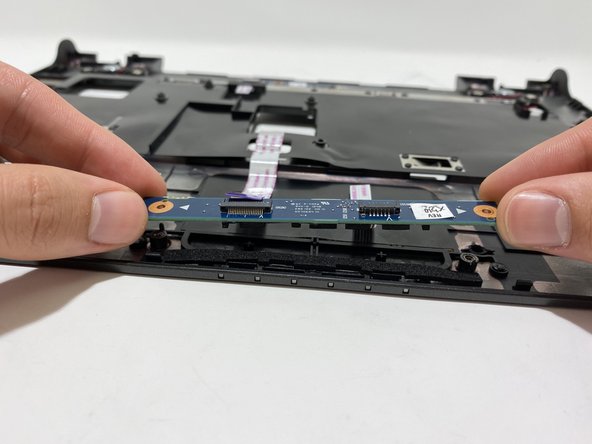
To reassemble your device, follow these instructions in reverse order.

另外一个人完成了本指南。

0条评论

添加评论

浏览统计数据:

过去 24 小时: 0

过去 7 天: 3

过去 30 天: 11

总计 595