跳转到主内容

Dell VRP100 Camera Replacement

你所需要的

  1. Dell VRP100 Camera Replacement, Cover Panel: 步骤 1 中的图像 1,3 Dell VRP100 Camera Replacement, Cover Panel: 步骤 1 中的图像 2,3 Dell VRP100 Camera Replacement, Cover Panel: 步骤 1 中的图像 3,3
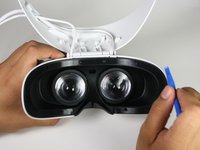
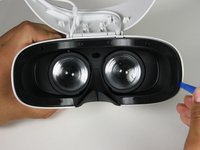
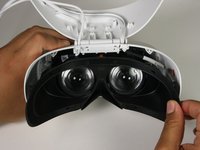
    • Remove the black foam padding by peeling away slowly.

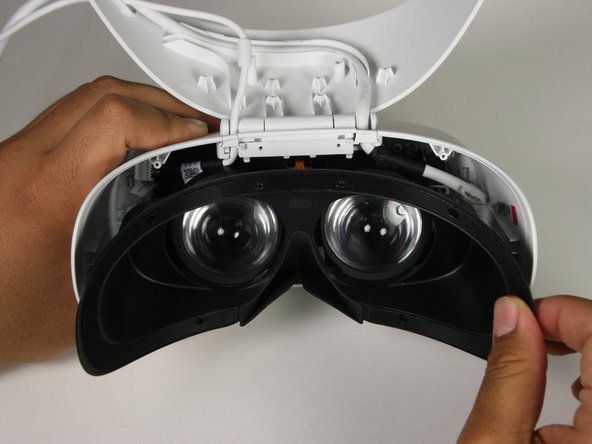
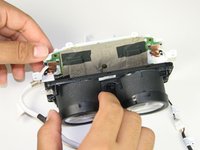
    • Remove the front and back padding from the headset by peeling away slowly.

  2. Dell VRP100 Camera Replacement: 步骤 2 中的图像 1,1
    • Remove the six 5.5mm PH000 screws from the cover by rotating counter-clockwise.

    • Cover panel may need to be pushed in before inserting screws.

  3. Dell VRP100 Camera Replacement: 步骤 3 中的图像 1,3 Dell VRP100 Camera Replacement: 步骤 3 中的图像 2,3 Dell VRP100 Camera Replacement: 步骤 3 中的图像 3,3
    • Remove the cover using one of the plastic opening tools, and then carefully pull it from the casing.

  4. Dell VRP100 Camera Replacement: 步骤 4 中的图像 1,3 Dell VRP100 Camera Replacement: 步骤 4 中的图像 2,3 Dell VRP100 Camera Replacement: 步骤 4 中的图像 3,3
    • Remove the six 5.5mm PH000 screws from the cover by rotating counter-clockwise.

    • Carefully remove the lens and motherboard assembly from the white casing.

  5. Dell VRP100 Camera Replacement, Camera: 步骤 5 中的图像 1,3 Dell VRP100 Camera Replacement, Camera: 步骤 5 中的图像 2,3 Dell VRP100 Camera Replacement, Camera: 步骤 5 中的图像 3,3
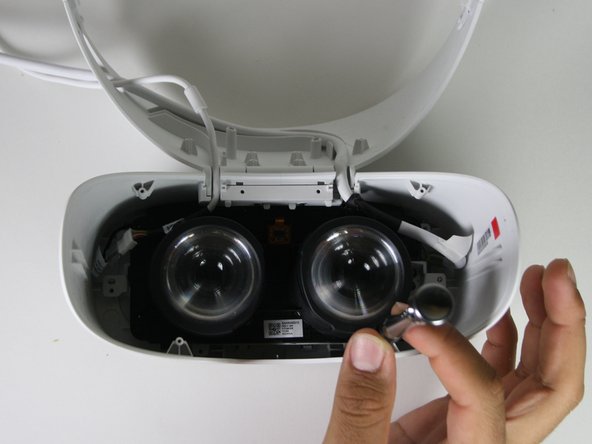
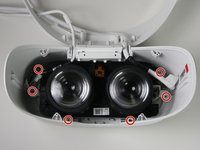
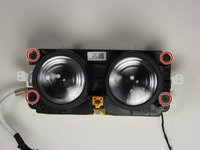
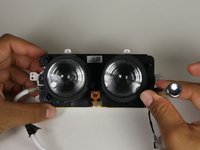
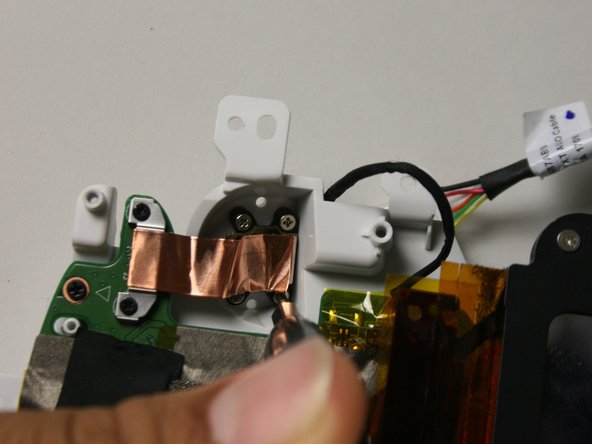
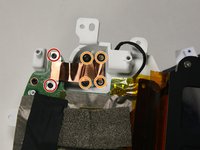
    • Remove the four 2.5mm PH000 screws by rotating counter-clockwise.

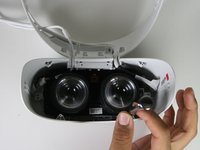
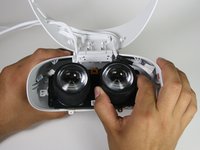
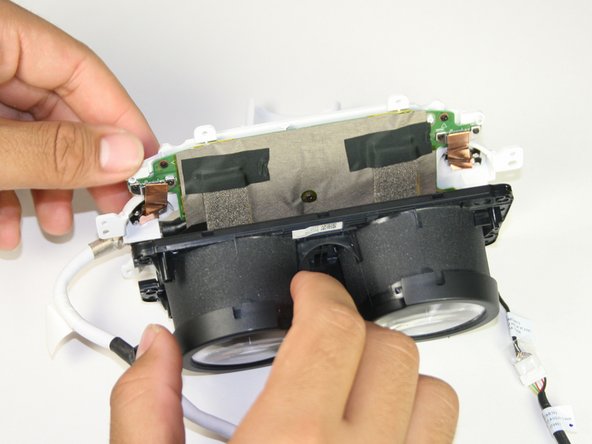
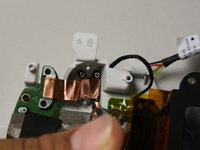
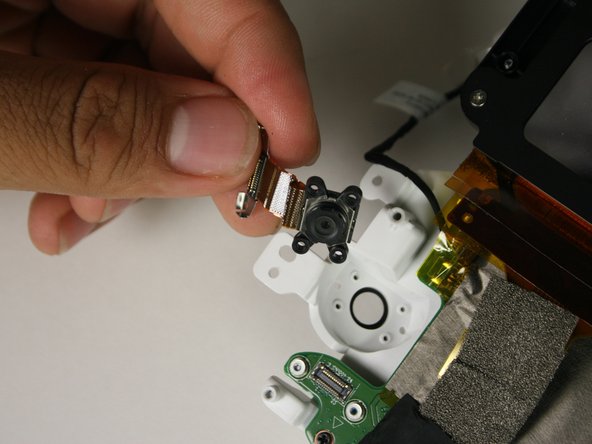
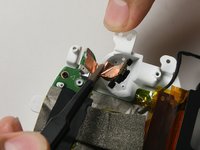
    • Separate the lens housing from the motherboard panel.

  6. Dell VRP100 Camera Replacement: 步骤 6 中的图像 1,2 Dell VRP100 Camera Replacement: 步骤 6 中的图像 2,2
    • Remove the two 2.5mm PH000 screws from the motherboard by rotating counter-clockwise.

    • Remove the four 3.9mm PH000 screws from the white casing by rotating counter-clockwise.

  7. Dell VRP100 Camera Replacement: 步骤 7 中的图像 1,2 Dell VRP100 Camera Replacement: 步骤 7 中的图像 2,2
    • Remove the flat-topped connector by lifting it straight up from the motherboard.

    • Carefully remove the camera from the casing with the blunt nose tweezers by holding onto the copper tape.

    • To reinstall, line up the connectors and firmly push until you hear a pop.

结论

To reassemble your device, follow these instructions in reverse order.

Lauren Monzon

于10/08/18注册

217 声望

创作了2篇指南

团队

Cal Poly, Team S17-G1, White Fall 2018 Cal Poly, Team S17-G1, White Fall 2018 的会员

CPSU-WHITE-F18S17G1

4 名成员

创作了12篇指南

0条评论

添加评论

浏览统计数据:

过去 24 小时: 0

过去 7 天: 0

过去 30 天: 5

总计 365