你所需要的
-
-
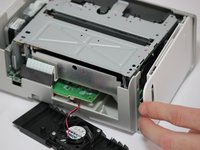
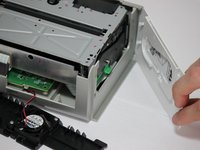
Carefully remove the inner components of the device by lifting the inner components up and out of the casing.
-
-
-
-
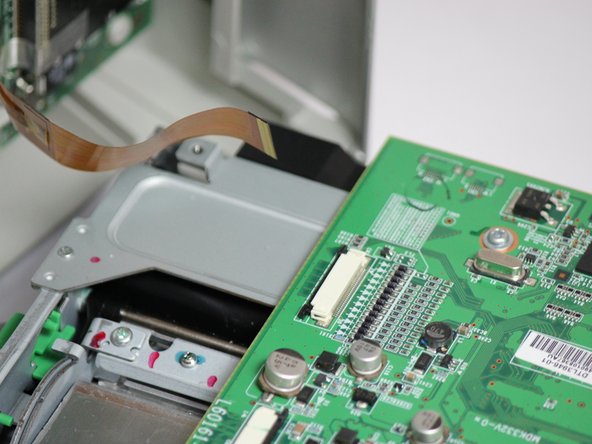
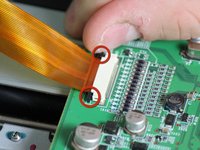
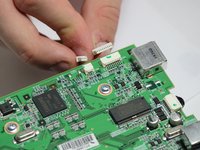
Locate the data ribbon that connects the LCD panel to the mother board.
-
Loosen the fasteners next to the ribbon by carefully pushing them away from the white ribbon holder.
-
-
-
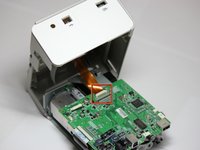
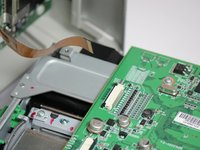
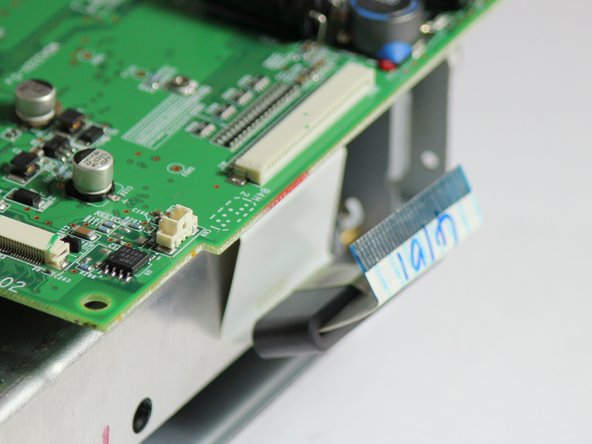
The mother board has changed orientation. Notice the new orientation based on the white data ribbon we removed in the previous step.
-
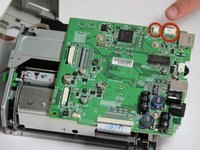
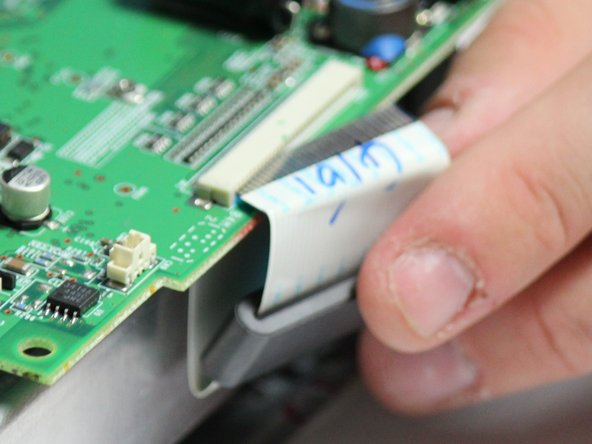
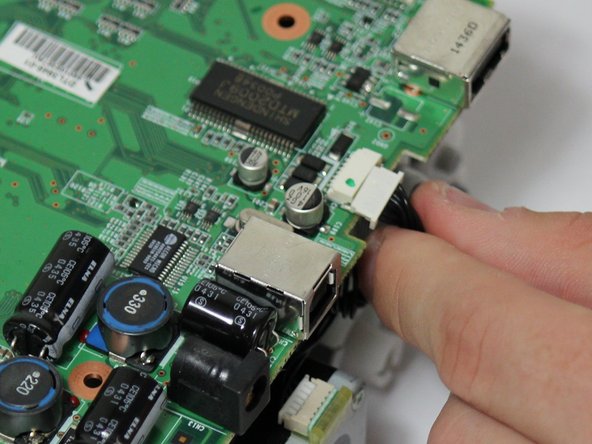
Locate the black data ribbon that connects the mother board to the printing motors.
-
Disconnect it from the logic board, by gently pulling the wire away from the mother board.
-
-
-
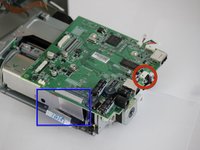
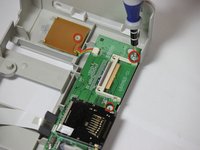
Gain access to the bottom of the top case with a thin horizontal control panel motherboard attached to the bottom.
-
Remove the front panel.
-
The dell top casing should now only have two sides.
-
-
-
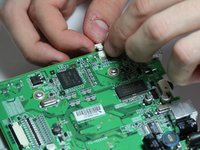
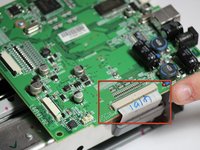
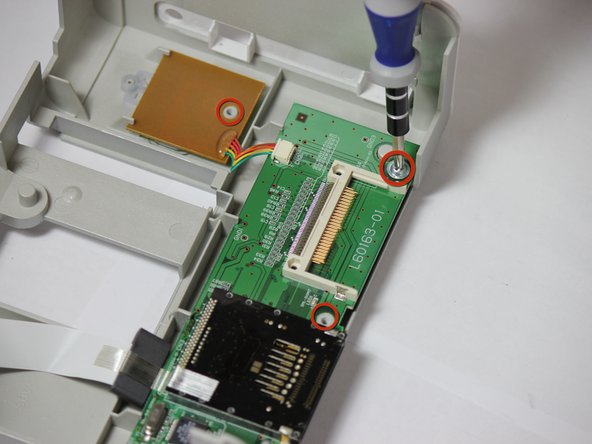
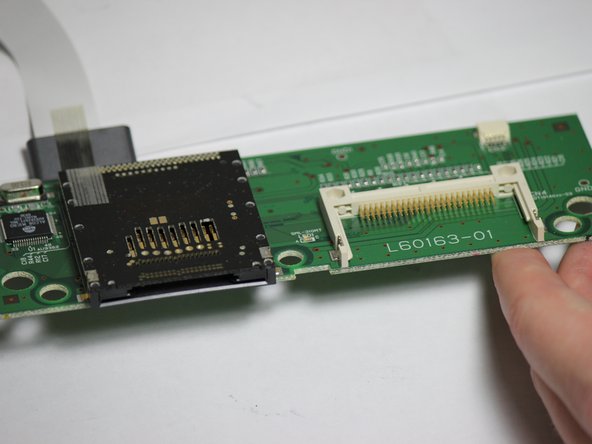
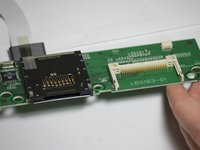
Locate the clear data ribbon with a blue tip that connects the memory card reader to the control panel motherboard
-
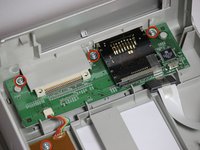
Disconnect the data ribbon and the memory card reader is now separated.
-


To reassemble your device, follow these instructions in reverse order.

团队

Cal Poly, Team 14-7, Forte Spring 2012 Cal Poly, Team 14-7, Forte Spring 2012 的会员
CPSU-FORTE-S12S14G7
4 名成员
创作了12篇指南