你所需要的
-
-
1. unplug laptop
-
2. remove battery
-
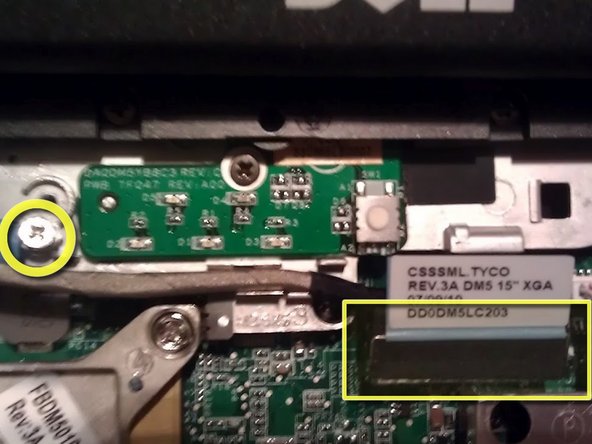
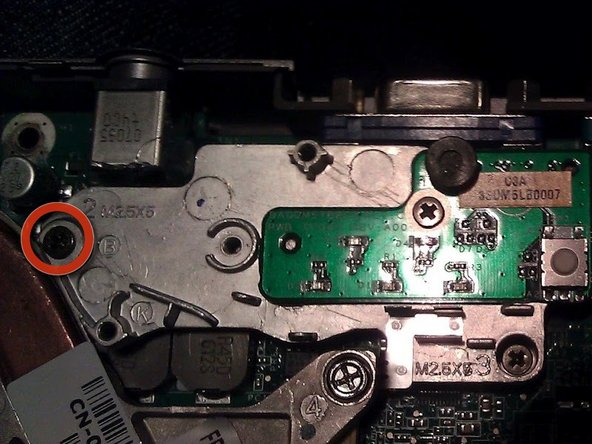
3. remove screw
-
Remove disk drive by pressing in the pull mechanism, causing it to extend outwards, then use the pull handle to pull out disk drive.
-
-
-
-
The middle part of my power connector had sheared away from its solder points on the motherboard.
-
I had to use a bit of flux, but I managed to re-tin all three contact point on the motherboard, as well as the pins in the connector.
-
I re-soldered the whole thing and used my trusty hot glue gun to encase the whole connector to prevent it from happening again anytime soon.
-


To reassemble your device, follow these instructions in reverse order.
To reassemble your device, follow these instructions in reverse order.
6等其他人完成本指南。