跳转到主内容

Dell Inspiron Mini 1012 Hard Drive Replacement

你所需要的

  1. Dell Inspiron Mini 1012 Hard Drive Replacement, Remove Battery: 步骤 1 中的图像 1,3 Dell Inspiron Mini 1012 Hard Drive Replacement, Remove Battery: 步骤 1 中的图像 2,3 Dell Inspiron Mini 1012 Hard Drive Replacement, Remove Battery: 步骤 1 中的图像 3,3
    • Step 1 — Hard Drive Turn the device over so that the back (white side) of the device is facing up. Remove battery from laptop by pushing the two tabs outward and pull the battery outward. The tabs are highlighted in blue. Place the battery off to the side. .

    • New line.

  2. Dell Inspiron Mini 1012 Hard Drive Replacement, Remove back screws: 步骤 2 中的图像 1,3 Dell Inspiron Mini 1012 Hard Drive Replacement, Remove back screws: 步骤 2 中的图像 2,3 Dell Inspiron Mini 1012 Hard Drive Replacement, Remove back screws: 步骤 2 中的图像 3,3
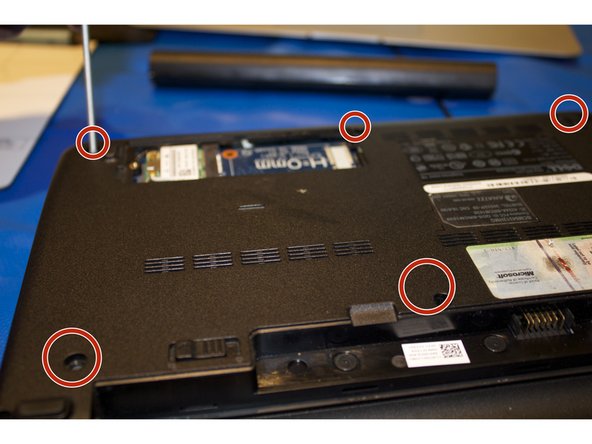
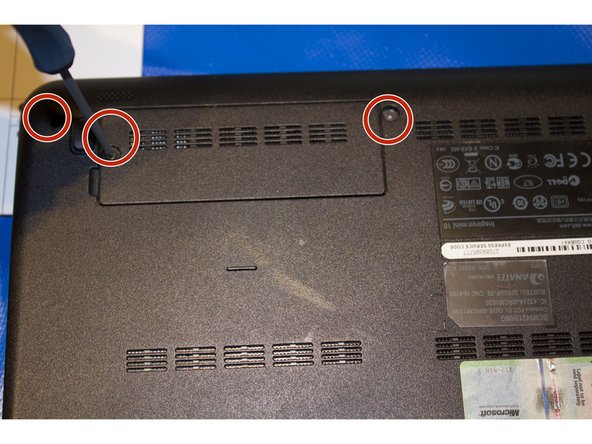
    • Remove the 3 screws highlighted in red that secure the keyboard to the case using the screw driver with largest phillips head in the box. Make sure to keep the screws separated by step to ensure that they can be put back in the correct location when reversing the steps.

  3. Dell Inspiron Mini 1012 Hard Drive Replacement, Remove Keyboard: 步骤 3 中的图像 1,3 Dell Inspiron Mini 1012 Hard Drive Replacement, Remove Keyboard: 步骤 3 中的图像 2,3 Dell Inspiron Mini 1012 Hard Drive Replacement, Remove Keyboard: 步骤 3 中的图像 3,3
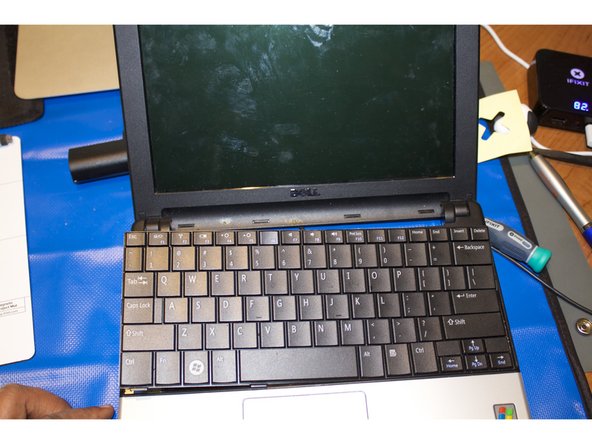
    • Turn the device right side up and open the device to view the keyboard.

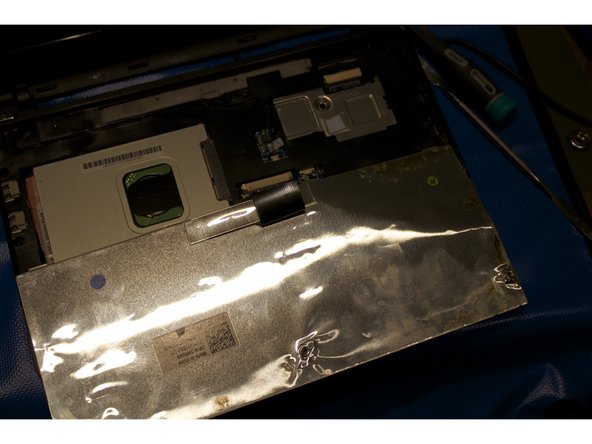
    • Remove the keyboard away from the case, using a plastic spudger if necessary.

    • The keyboard will still be attached to the motherboard by a ribbon cable.

  4. Dell Inspiron Mini 1012 Hard Drive Replacement, Remove Hard drive: 步骤 4 中的图像 1,3 Dell Inspiron Mini 1012 Hard Drive Replacement, Remove Hard drive: 步骤 4 中的图像 2,3 Dell Inspiron Mini 1012 Hard Drive Replacement, Remove Hard drive: 步骤 4 中的图像 3,3
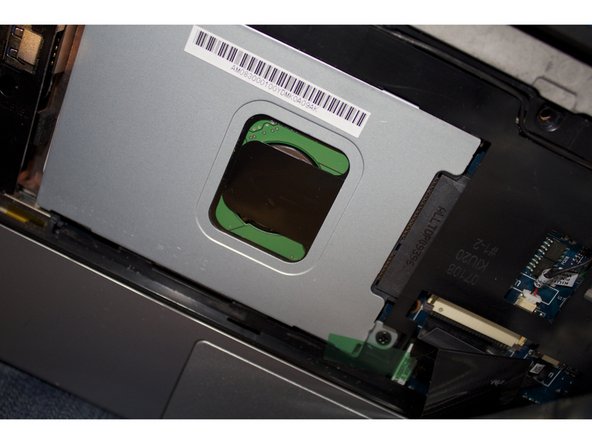
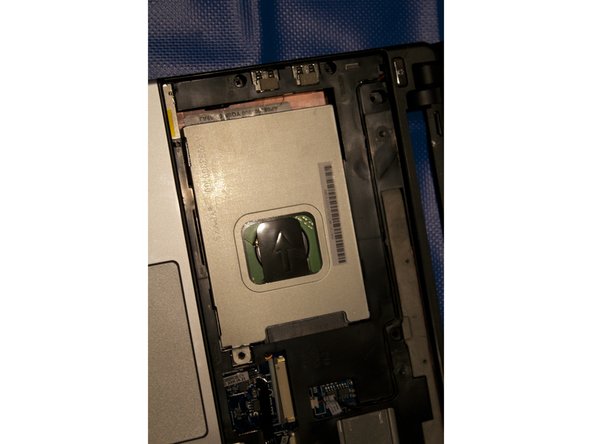
    • Remove the 2 Phillips head screws securing hard drive to case. Use the same screw driver bit as before

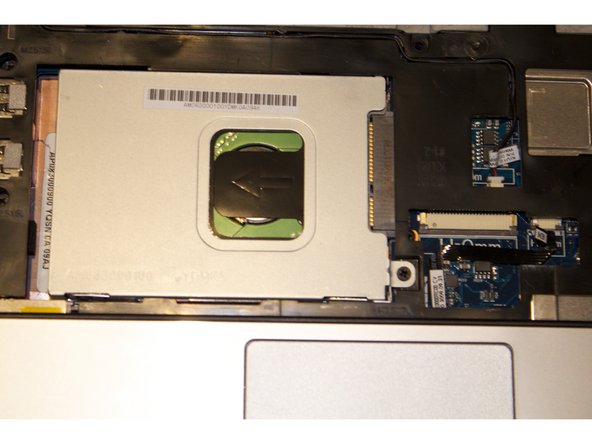
    • Pull the plastic tab connected to the hard drive outward in the left hand direction to remove hard drive from case.

    • When putting the hard drive back slide it in to the space so that the screw holes line up and press down until there is a snug fit.

  5. Dell Inspiron Mini 1012 Hard Drive Replacement, Add new hard drive: 步骤 5 中的图像 1,3 Dell Inspiron Mini 1012 Hard Drive Replacement, Add new hard drive: 步骤 5 中的图像 2,3 Dell Inspiron Mini 1012 Hard Drive Replacement, Add new hard drive: 步骤 5 中的图像 3,3
    • Add a new hard drive

  6. Dell Inspiron Mini 1012 Hard Drive Replacement, Apply back the keyboard: 步骤 6 中的图像 1,1
    • Insert the ribbon for keyboard back into the motherboard.

    • Than snap keyboard back into place

  7. Dell Inspiron Mini 1012 Hard Drive Replacement: 步骤 7 中的图像 1,3 Dell Inspiron Mini 1012 Hard Drive Replacement: 步骤 7 中的图像 2,3 Dell Inspiron Mini 1012 Hard Drive Replacement: 步骤 7 中的图像 3,3
    • Flip over the laptop

    • Put the screws back in laptop

  8. Dell Inspiron Mini 1012 Hard Drive Replacement, Put the Battery: 步骤 8 中的图像 1,2 Dell Inspiron Mini 1012 Hard Drive Replacement, Put the Battery: 步骤 8 中的图像 2,2
    • Place the battery and lock it into place

    • thanks for following this repair

结论

To reassemble your device, follow these instructions in reverse order.

2等其他人完成本指南。

kempc8

于11/22/13注册

899 声望

创作了7篇指南

团队

K and K Fixit K and K Fixit 的会员

Business

1 名成员

创作了11篇指南

0条评论

添加评论

浏览统计数据:

过去 24 小时: 0

过去 7 天: 6

过去 30 天: 18

总计 2,196