跳转到主内容

Dell Inspiron 7568 Keyboard Replacement Guide

你所需要的

  1. Dell Inspiron 7568 Keyboard Replacement Guide, Battery: 步骤 1 中的图像 1,2 Dell Inspiron 7568 Keyboard Replacement Guide, Battery: 步骤 1 中的图像 2,2
    • Remove the ten 7mm Phillips #1 screws on the bottom cover.

    • Remove the bottom cover.

  2. Dell Inspiron 7568 Keyboard Replacement Guide: 步骤 2 中的图像 1,2 Dell Inspiron 7568 Keyboard Replacement Guide: 步骤 2 中的图像 2,2
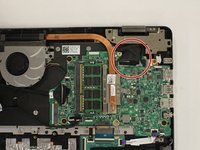
    • Remove the four 3mm Phillips #1 screws holding the battery.

    • Unhinge the connector cable to the battery.

    • Remove the battery.

  3. Dell Inspiron 7568 Keyboard Replacement Guide, Display Assembly: 步骤 3 中的图像 1,2 Dell Inspiron 7568 Keyboard Replacement Guide, Display Assembly: 步骤 3 中的图像 2,2
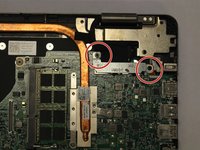
    • Unscrew & remove the two 3mm screws (using a ph1 screwdriver bit) and the cable bracket, above the motherboard

    • Doing this will allow one to access the LCD-motherboard connector cables.

  4. Dell Inspiron 7568 Keyboard Replacement Guide: 步骤 4 中的图像 1,2 Dell Inspiron 7568 Keyboard Replacement Guide: 步骤 4 中的图像 2,2
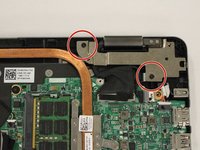
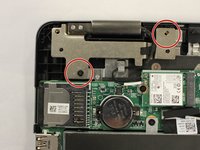
    • Unscrew the 7mm screws that secure the left and right hinges (using a ph1 screwdriver bit).

  5. Dell Inspiron 7568 Keyboard Replacement Guide: 步骤 5 中的图像 1,3 Dell Inspiron 7568 Keyboard Replacement Guide: 步骤 5 中的图像 2,3 Dell Inspiron 7568 Keyboard Replacement Guide: 步骤 5 中的图像 3,3
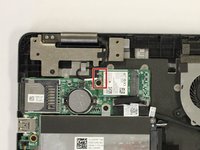
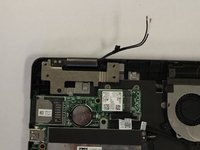
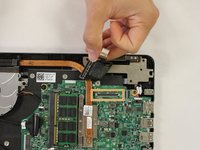
    • Disconnect the antenna cable (under the left hinge)

    • Disconnect the LCD and Touchscreen display cables under the right hinge.

    • These are a set of two cables. For better image see image two in step one of this guide.

  6. Dell Inspiron 7568 Keyboard Replacement Guide: 步骤 6 中的图像 1,1
    • Carefully separate the screen from the bottom half of the device.

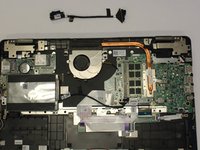
  7. Dell Inspiron 7568 Keyboard Replacement Guide, Cooling Fan: 步骤 7 中的图像 1,2 Dell Inspiron 7568 Keyboard Replacement Guide, Cooling Fan: 步骤 7 中的图像 2,2
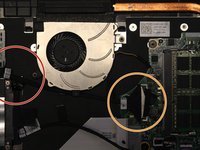
    • Begin by unclipping the cable connecting the fan and the motherboard.

    • Gently separate the motherboard cable from the clamp at the bottom of the fan.

    • Remove the cable.

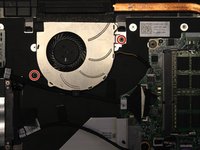
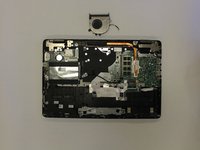
  8. Dell Inspiron 7568 Keyboard Replacement Guide: 步骤 8 中的图像 1,2 Dell Inspiron 7568 Keyboard Replacement Guide: 步骤 8 中的图像 2,2
    • Remove the two 3mm Phillips #1 screws that hold the fan into place.

    • Remove the fan.

  9. Dell Inspiron 7568 Keyboard Replacement Guide, Keyboard: 步骤 9 中的图像 1,3 Dell Inspiron 7568 Keyboard Replacement Guide, Keyboard: 步骤 9 中的图像 2,3 Dell Inspiron 7568 Keyboard Replacement Guide, Keyboard: 步骤 9 中的图像 3,3
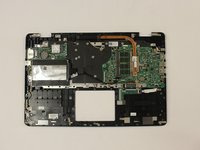
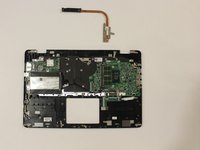
    • Once the battery, screen, cooling fan, trackpad are out, the device would resemble the one in the first picture of this step.

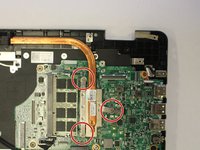
    • Unscrew the three screws connecting the copper pipe to the motherboard.

    • Remove the copper pipe.

  10. Dell Inspiron 7568 Keyboard Replacement Guide: 步骤 10 中的图像 1,3 Dell Inspiron 7568 Keyboard Replacement Guide: 步骤 10 中的图像 2,3 Dell Inspiron 7568 Keyboard Replacement Guide: 步骤 10 中的图像 3,3
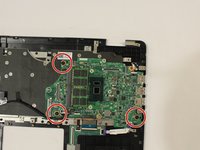
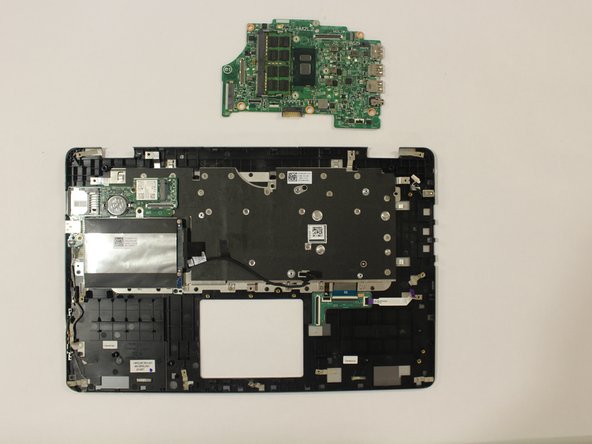
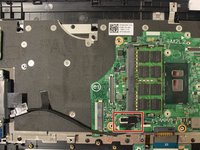
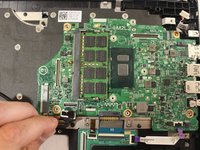
    • Unscrew the three 2mm wafer screws holding the motherboard.

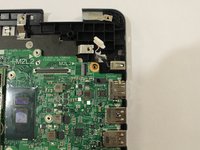
    • Unplug the DC cable from the motherboard.

  11. Dell Inspiron 7568 Keyboard Replacement Guide: 步骤 11 中的图像 1,2 Dell Inspiron 7568 Keyboard Replacement Guide: 步骤 11 中的图像 2,2
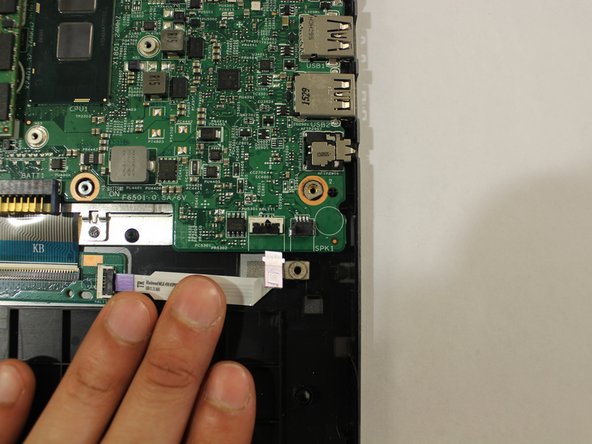
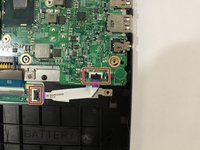
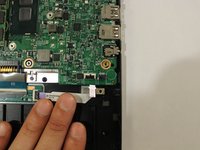
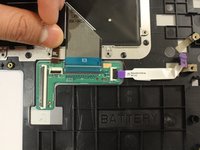
    • Unplug the connecting strip

  12. Dell Inspiron 7568 Keyboard Replacement Guide: 步骤 12 中的图像 1,3 Dell Inspiron 7568 Keyboard Replacement Guide: 步骤 12 中的图像 2,3 Dell Inspiron 7568 Keyboard Replacement Guide: 步骤 12 中的图像 3,3
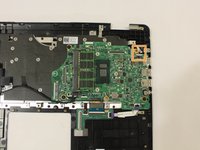
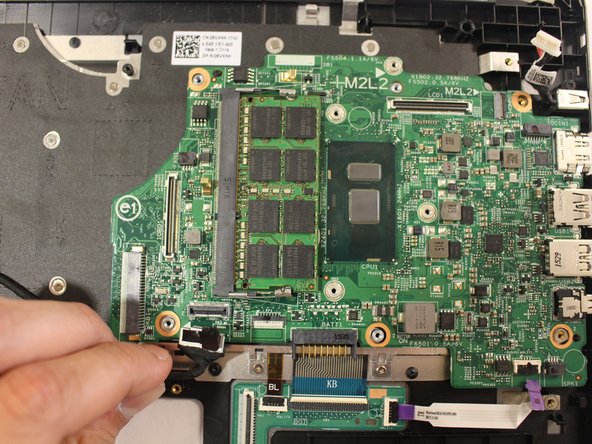
    • Unplug the hard-drive cable

    • Remove the motherboard

  13. Dell Inspiron 7568 Keyboard Replacement Guide: 步骤 13 中的图像 1,2 Dell Inspiron 7568 Keyboard Replacement Guide: 步骤 13 中的图像 2,2
    • Unscrew the three 3mm screws holding the hard drive (using a ph1 screwdriver bit)

    • Remove the hard drive

  14. Dell Inspiron 7568 Keyboard Replacement Guide: 步骤 14 中的图像 1,2 Dell Inspiron 7568 Keyboard Replacement Guide: 步骤 14 中的图像 2,2
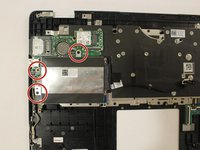
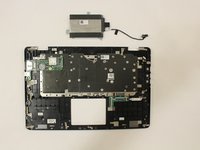
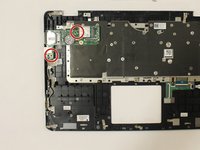
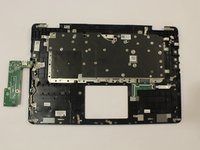
    • Unscrew the two 3mm screws holding the daughter board (using the ph1 screwdriver bit).

    • Set the daughterboard aside. NOTE: the daughter board doesn't have to be removed

  15. Dell Inspiron 7568 Keyboard Replacement Guide: 步骤 15 中的图像 1,2 Dell Inspiron 7568 Keyboard Replacement Guide: 步骤 15 中的图像 2,2
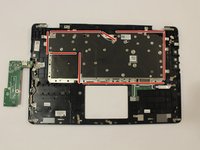
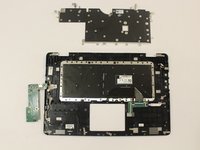
    • Unscrew & remove the twenty-eight 2mm bracket screws holding the keyboard bracket (using a PH000 screwdriver bit)

    • Remove the keyboard bracket

  16. Dell Inspiron 7568 Keyboard Replacement Guide: 步骤 16 中的图像 1,1
    • Unscrew & remove the sixteen 2mm screws holding the keyboard (using a PH000 screwdriver bit)

  17. Dell Inspiron 7568 Keyboard Replacement Guide: 步骤 17 中的图像 1,3 Dell Inspiron 7568 Keyboard Replacement Guide: 步骤 17 中的图像 2,3 Dell Inspiron 7568 Keyboard Replacement Guide: 步骤 17 中的图像 3,3
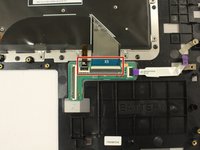
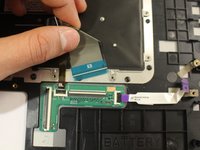
    • Unplug the keyboard ("KB") and backlight ("BL") cable

    • Remove the keyboard.

结论

To reassemble your device, follow these instructions in reverse order.

另外一个人完成了本指南。
Luis Velez

于02/19/17注册

440 声望

创作了2篇指南

团队

USF Tampa, Team S2-G2, Lacy Spring 2017 USF Tampa, Team S2-G2, Lacy Spring 2017 的会员

USFT-LACY-S17S2G2

4 名成员

创作了7篇指南

0条评论

添加评论

浏览统计数据:

过去 24 小时: 0

过去 7 天: 1

过去 30 天: 6

总计 1,032