简介
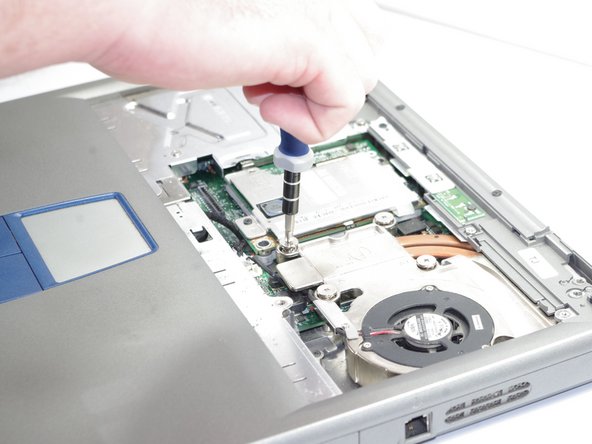
You would need to be removing the keyboard to access the heatsink and fan. If you need to, add a new layer of Arctic Silver Thermal Paste.
你所需要的


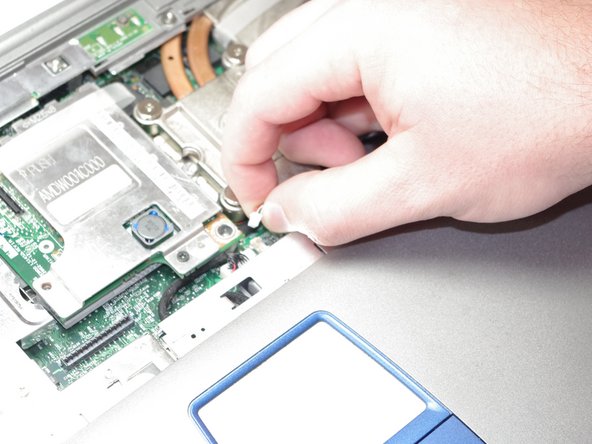

即将完成!
To reassemble your device, follow these instructions in reverse order.
结论
To reassemble your device, follow these instructions in reverse order.
另外一个人完成了本指南。
团队

Cal Poly, Team 12-34, Maness Spring 2011 Cal Poly, Team 12-34, Maness Spring 2011 的会员
CPSU-MANESS-S11S12G34
4 名成员
创作了6篇指南