简介
Use this guide to help you replace the display assembly on a Dell Inspiron 1525.
你所需要的
-
-
-
Remove the two 5.75 mm Phillips #1 screws securing the keyboard to the laptop.
-
Gently slide the keyboard towards the display until the tabs on its front side are free.
-
-
-
Use a spudger to gently lift the ribbon cable retaining flap.
-
Disconnect the ribbon cable.
-
Shift the keyboard sideways enough to free one side from it's retaining tab. Then lift the keyboard away from the laptop.
-
-
-
Remove/loosen the eight 4.80 mm Phillips #1 screws securing the bottom panel.
-
The screws may only need to be loosened, as they are generally retained by plastic washers.
-
Remove the bottom panel.
-
-
-
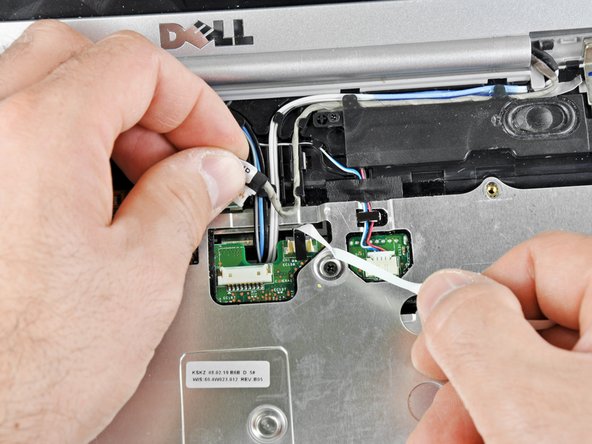
Disconnect the five antennas from their respective cards.
-
De-route the antennas from their routing retainers.
-


To reassemble your device, follow these instructions in reverse order.
To reassemble your device, follow these instructions in reverse order.
8等其他人完成本指南。

一条评论
Hi There,
Thanks for the great article. Can you please advise what is the part number (LCD number). For example I have LTN156AT17-101 for my Inspiron N5110. I am actually planning to use the screen from 1525 to replace the one in N5110. Are they both same connector type? Thanks.