跳转到主内容

Dell EMC PowerEdge R750 Server Fan Replacement

你所需要的

  1. Dell EMC PowerEdge R750 Server Fan Replacement, Server Fan: 步骤 1 中的图像 1,3 Dell EMC PowerEdge R750 Server Fan Replacement, Server Fan: 步骤 1 中的图像 2,3 Dell EMC PowerEdge R750 Server Fan Replacement, Server Fan: 步骤 1 中的图像 3,3
    • Gently slide or lift the cover off, exposing the internal components.

  2. Dell EMC PowerEdge R750 Server Fan Replacement: 步骤 2 中的图像 1,3 Dell EMC PowerEdge R750 Server Fan Replacement: 步骤 2 中的图像 2,3 Dell EMC PowerEdge R750 Server Fan Replacement: 步骤 2 中的图像 3,3
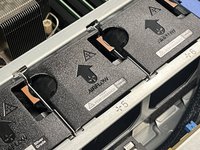
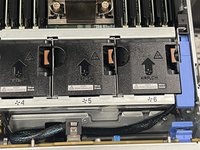
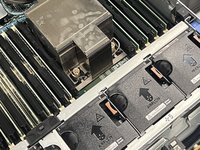
    • Locate the fan(s) within the server.

    • Typically they are located near heat-sensitive components like the CPU or Power Supply. A visual inspection will help identify the malfunctioning fan.

  3. Dell EMC PowerEdge R750 Server Fan Replacement: 步骤 3 中的图像 1,3 Dell EMC PowerEdge R750 Server Fan Replacement: 步骤 3 中的图像 2,3 Dell EMC PowerEdge R750 Server Fan Replacement: 步骤 3 中的图像 3,3
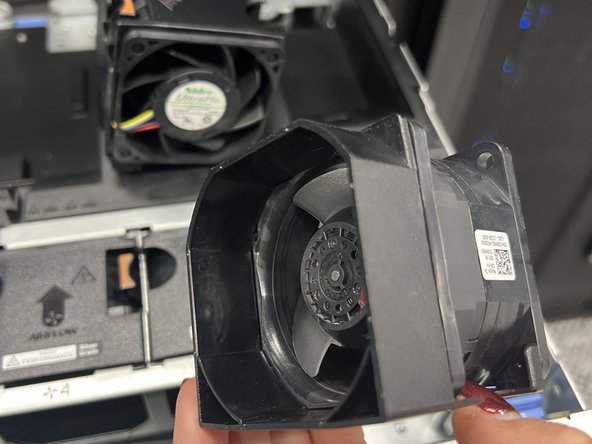
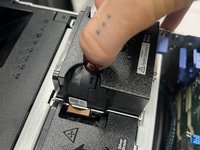
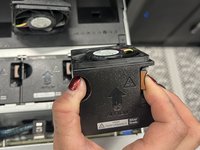
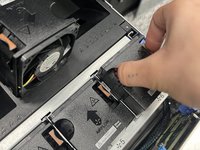
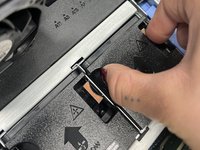
    • Release the clips holding the fan in place.

    • Keep the screws safe as you may need them to install the new fan.

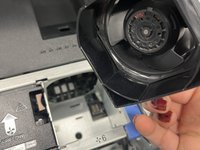
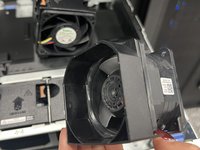
    • Carefully lift the fan out of its slot. Take note of the positioning to ensure the replacement fan is aligned correctly.

  4. Dell EMC PowerEdge R750 Server Fan Replacement: 步骤 4 中的图像 1,3 Dell EMC PowerEdge R750 Server Fan Replacement: 步骤 4 中的图像 2,3 Dell EMC PowerEdge R750 Server Fan Replacement: 步骤 4 中的图像 3,3
    • Place the new fan in the same position, ensuring it is aligned as the previous one.

    • Secure it by replacing the screws or clipping it into place.

  5. Dell EMC PowerEdge R750 Server Fan Replacement: 步骤 5 中的图像 1,3 Dell EMC PowerEdge R750 Server Fan Replacement: 步骤 5 中的图像 2,3 Dell EMC PowerEdge R750 Server Fan Replacement: 步骤 5 中的图像 3,3
    • Now that the new fan is inserted correctly, make a visual verification that all parts look properly placed.

  6. Dell EMC PowerEdge R750 Server Fan Replacement: 步骤 6 中的图像 1,3 Dell EMC PowerEdge R750 Server Fan Replacement: 步骤 6 中的图像 2,3 Dell EMC PowerEdge R750 Server Fan Replacement: 步骤 6 中的图像 3,3
    • Reattach the server's outer casting and tighten the screws.

    • Plug the server back in, power it on, and listen to the new fan to ensure it is running smoothly.

结论

To reassemble your device, follow these instructions in reverse order.
Kristiana Romero

于09/23/24注册

133 声望

撰写一个指南

团队

0条评论

添加评论

浏览统计数据:

过去 24 小时: 0

过去 7 天: 5

过去 30 天: 22

总计 72