简介
Use this guide to replace your broken web cam with a new one to get reconnected face-to-face with your friends and family!
你所需要的
-
-
To remove the screen, start by using the black nylon spudger to pry off the plastic hinge cover. This allows easy removal of the screen cover.
-
Using the same spudger and your finger nails, gently pry the outer casing around the screen itself. Once it is 1/3 to 1/2 of the way removed, gently pull the rest free by hand.
-
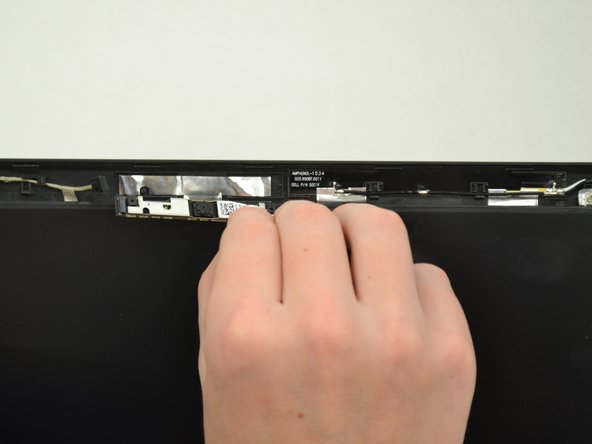
Once the clips are undone, remove the cover and you are ready for the next step!
-
-


Congratulations! You have successfully removed the web camera of your Dell Chromebook 13-7310. To reassemble your device, follow these instructions in reverse order.
Congratulations! You have successfully removed the web camera of your Dell Chromebook 13-7310. To reassemble your device, follow these instructions in reverse order.

团队

Western Carolina University, Team S1-G3, Virtue Fall 2017 Western Carolina University, Team S1-G3, Virtue Fall 2017 的会员
WCU-VIRTUE-F17S1G3
4 名成员
创作了5篇指南