简介
For most repairs, the device must be opened. These instructions show how to remove the side panels.
你所需要的
-
-
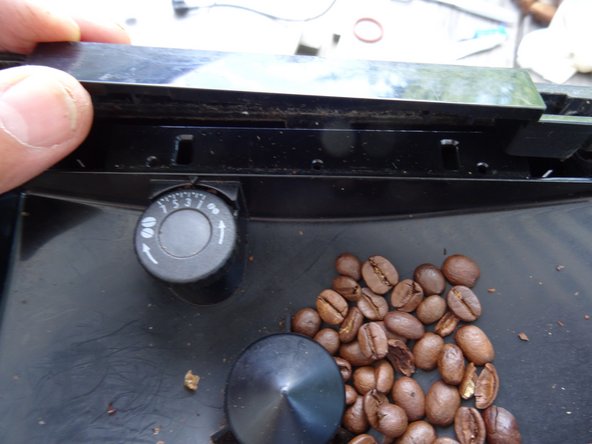
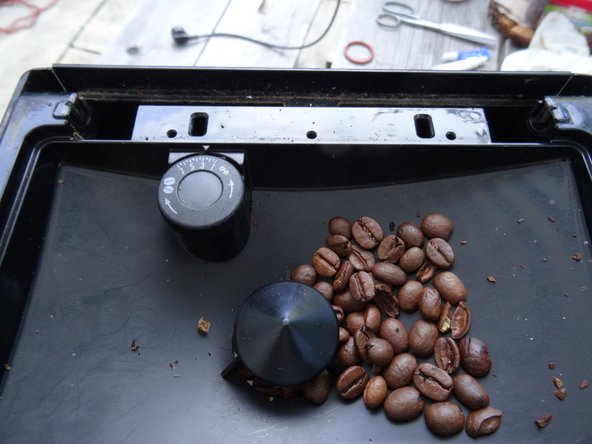
Remove all coffee beans. Remove all attachments such as drip tray, milk frother and water tank. Open the service door and remove the brew group.
-
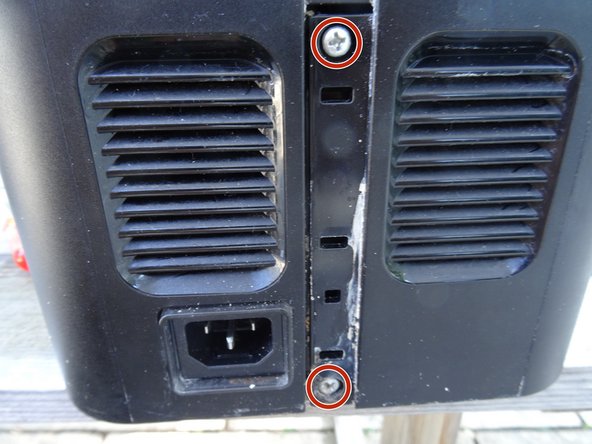
Unscrew the two Phillips screws
-
The Phillips screw under the water tank can remain.
-
-
-
-
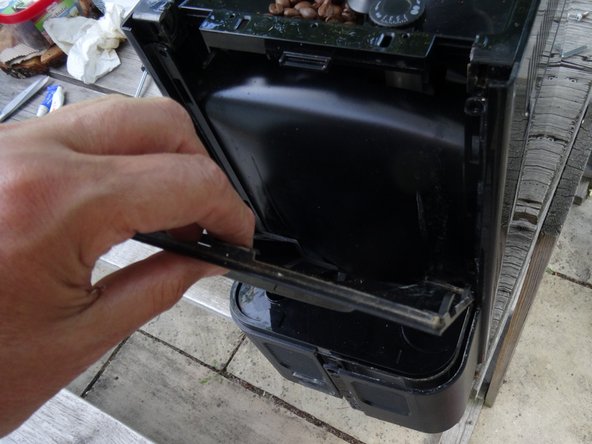
The right side panel is removed in the same way, but the service hatch is a bit obstructive. Open it first and push the side panel back a few millimeters. This is often difficult and you will need a plastic lever tool.
-
Close the flap again and push the sides further back. It is a bit tricky and you have to work carefully. Lift out the side panel.
-


Work through the steps in reverse order to reassemble your device.
Work through the steps in reverse order to reassemble your device.

团队
