跳转到主内容
DOSS SoundBox Motherboard Replacement

DOSS SoundBox Motherboard Replacement

Cassandra Remsing

Cassandra Remsing6 其他贡献者

最后更新于 May 7, 2024

35分钟
中等

This guide shows the necessary steps for removing the mother board from a DOSS SoundBox.

This motherboard controls the connection between Bluetooth and Auxiliary devices so signals transmitted by Bluetooth or Auxiliary can be processed and played over the loudspeakers. If the motherboard fails in the DOSS SoundBox, diagnostic symptoms can include static, intermittent connection issues or failure to play music.

Minimal knowledge is required for soldering as uninstalling the motherboard requires two contacts to be unsoldered.

There is also some adhesive holding the motherboard in place, so caution is recommended during removal to prevent breaks or cracks.

你所需要的

工具

查看更多...

  1. DOSS SoundBox Motherboard Replacement, DOSS SoundBox Grille Removal: 步骤 1 中的图像 1,3 DOSS SoundBox Motherboard Replacement, DOSS SoundBox Grille Removal: 步骤 1 中的图像 2,3 DOSS SoundBox Motherboard Replacement, DOSS SoundBox Grille Removal: 步骤 1 中的图像 3,3
    • Use a small plastic opening tool to gently lift the side of the grille.

    • Gently slide the tool to the front of the speaker.

    • Repeat the process on the bottom of the grille.

    • Gently pull the grille off of the speaker enclosure.

    • Pry with caution, for the grille is fragile.

  2. DOSS SoundBox Motherboard Replacement, Speaker: 步骤 2 中的图像 1,2 DOSS SoundBox Motherboard Replacement, Speaker: 步骤 2 中的图像 2,2
    • Use the JIS #00 screwdriver to remove the 3/32" screws that secure the speaker to the body.

    • Remove the smaller 3/32" screws that secure the left side of the speaker with a JIS #1 screwdriver.

    • The smaller screws are still the same length, but they have smaller screw heads. You can use the same screwdriver for both.

    • Using a Magnetic Mat throughout this process will help prevent losing screws.

  3. DOSS SoundBox Motherboard Replacement: 步骤 3 中的图像 1,2 DOSS SoundBox Motherboard Replacement: 步骤 3 中的图像 2,2
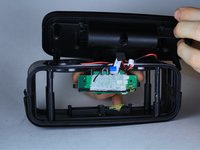
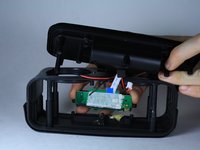
    • Use the Plastic Opening Tool to gently lift the speaker enough to see the connected wires.

  4. DOSS SoundBox Motherboard Replacement: 步骤 4 中的图像 1,2 DOSS SoundBox Motherboard Replacement: 步骤 4 中的图像 2,2
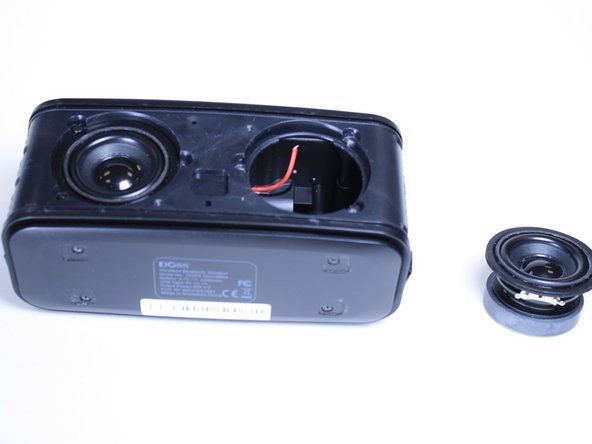
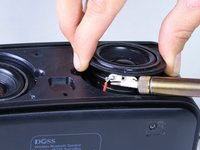
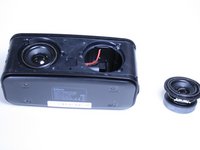
    • Use a soldering iron to de-solder the two speaker wires from the speaker itself.

    • The speakers are ready to be removed and replaced.

    • Ensure that the device is turned off when handling bare wire.

    • Soldering iron is very hot.

  5. DOSS SoundBox Motherboard Replacement, Battery: 步骤 5 中的图像 1,2 DOSS SoundBox Motherboard Replacement, Battery: 步骤 5 中的图像 2,2
    • Use a JIS #00 screwdriver to remove the four 3/32" screws that attach the base-plate to the speaker enclosure.

    • Use a magnetic mat to prevent the loss of screws.

  6. DOSS SoundBox Motherboard Replacement: 步骤 6 中的图像 1,2 DOSS SoundBox Motherboard Replacement: 步骤 6 中的图像 2,2
    • Use a JIS #1 screwdriver to remove the six 3/32" screws marked with a red circle.

    • Remove the two 1/16" screws marked with orange circles using a JIS #000 screwdriver.

  7. DOSS SoundBox Motherboard Replacement: 步骤 7 中的图像 1,1
    • Remove the six 3/32" screws marked with red circles using a JIS #00 screwdriver.

    • Remove the larger 3/32" screw indicated by an orange circle using a JIS #1 screwdriver.

    • Once the screws are removed, gently lift the top (where the touch controls are) off of the speaker.

  8. DOSS SoundBox Motherboard Replacement: 步骤 8 中的图像 1,1
    • De-solder the connections from the battery to the circuit board.

    • If you do not already have a replacement battery, you can purchase one here.

  9. DOSS SoundBox Motherboard Replacement, Motherboard: 步骤 9 中的图像 1,1
    在这个步骤中使用的工具:
    Tweezers
    $4.99
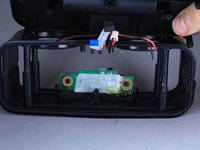
    • Follow the steps leading up to the actual battery removal, but do not actually remove the battery.

    • Remove the two 3/32" screws that attach the motherboard to the battery compartment using a JIS #00 screwdriver.

    • Use your fingers or a pair of tweezers to remove the clip holding the ribbon connector in place. The connector is indicated with an orange marker.

    • Be sure not to apply excessive force on the ribbon connector, as it can break.

    • Find the speaker connector, indicated by a yellow circle, and using your fingers disconnect it.

  10. DOSS SoundBox Motherboard Replacement: 步骤 10 中的图像 1,2 DOSS SoundBox Motherboard Replacement: 步骤 10 中的图像 2,2
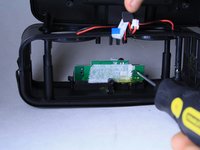
    • Locate and remove the two 3/32" screws, indicated by red markers, that fix the motherboard to the speaker enclosure.

  11. DOSS SoundBox Motherboard Replacement: 步骤 11 中的图像 1,3 DOSS SoundBox Motherboard Replacement: 步骤 11 中的图像 2,3 DOSS SoundBox Motherboard Replacement: 步骤 11 中的图像 3,3
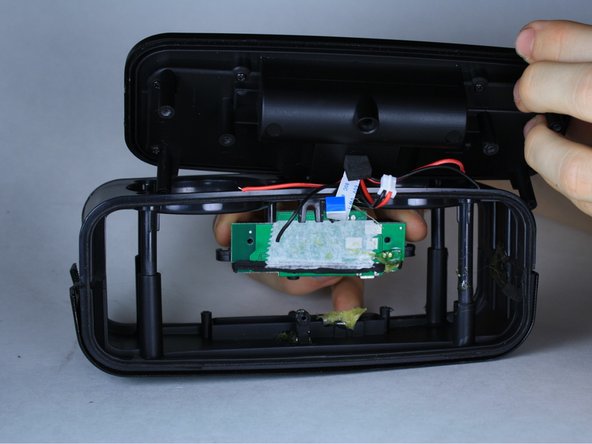
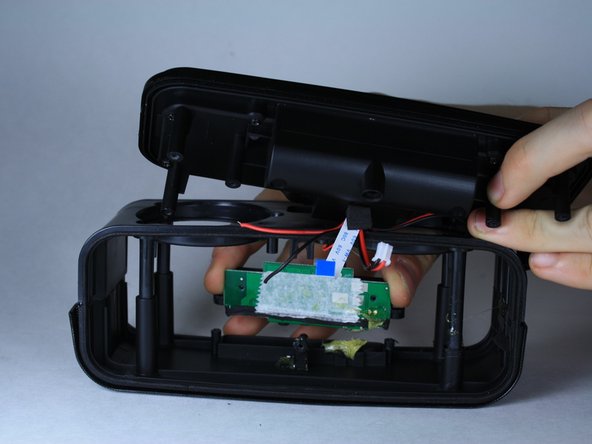
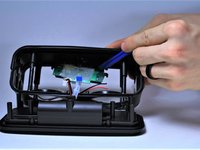
    • Using the plastic opening tool, gently begin to pry the circuit card away from the speaker enclosure.

    • There is adhesive on the top of the motherboard, use caution while prying to avoid breakage.

    • Using your fingers, you can now remove the motherboard.

结论

To reassemble your device, follow these instructions in reverse order.

另外一个人完成了本指南。

6指南评论

Cassandra, the million dollar question is dWhere can i buy the motherboard for the SiundBox Doos.

please let me know at rubenalexander2611@hotmail.com, ahora todo lo mandan de la china please, a ver si me das una pagina web.

Ruben Diaz - 回复

As Cassandra said before,,,,WHere we can find the parts??? is it any possibilities ?

bunker1312@gmail.com

bunker1312 - 回复

Where to buy your motherboard for doss torch Bluetooth speaker

smoothjobbrian - 回复

Ffs, Where do you get the board? Pretty useless writeup if there's no known location to aquire parts.

Christopher Cox - 回复

I have taken the motherboard out. Where can I purchase another one as I don't see any link for that?

Paul Doran - 回复

添加评论

浏览统计数据:

过去 24 小时: 2

过去 7 天: 13

过去 30 天: 50

总计 5,392