简介
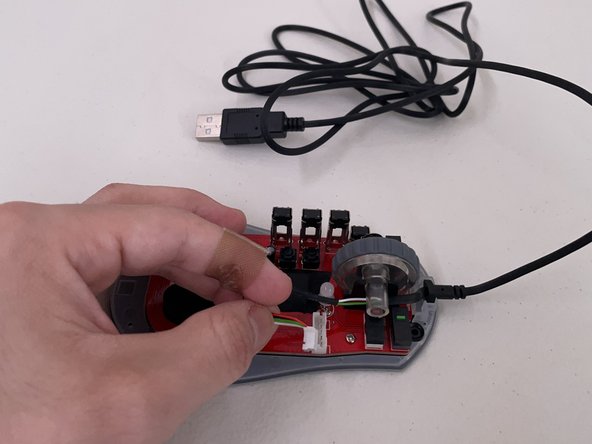
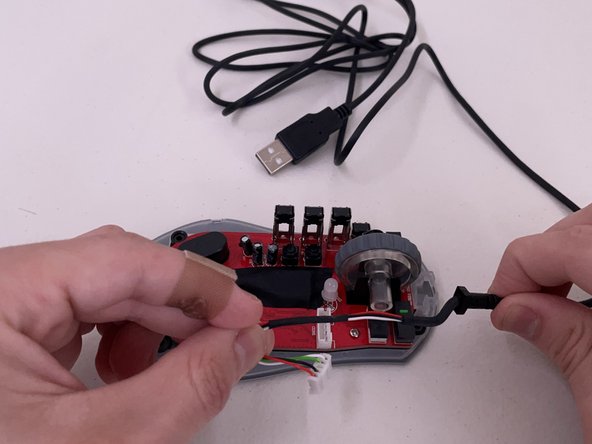
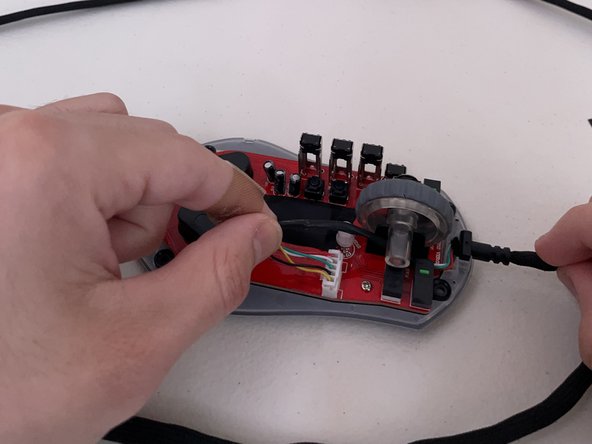
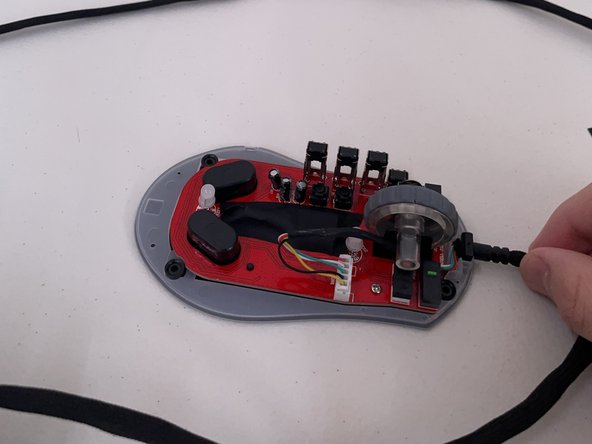
Whether your Elite M1-131 cord is broken and not responding or you simply want a new style, this guide will show you how to replace your mouse cord step-by-step. Over time the mouse cable will become worn out, resulting in the mouse getting discounted randomly and the cable itself not providing its smooth lightweight feeling anymore.
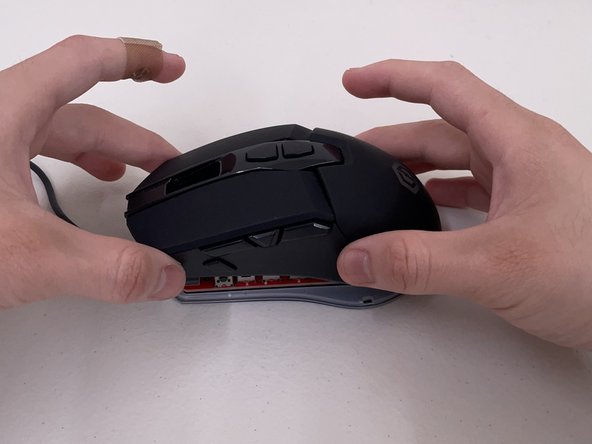
Before using this guide, try plugging your mouse into a different USB port on your computer along with removing any dust or debris that could be in the way. If the issue is still at hand, follow this guide and make sure the mouse is unplugged.
你所需要的


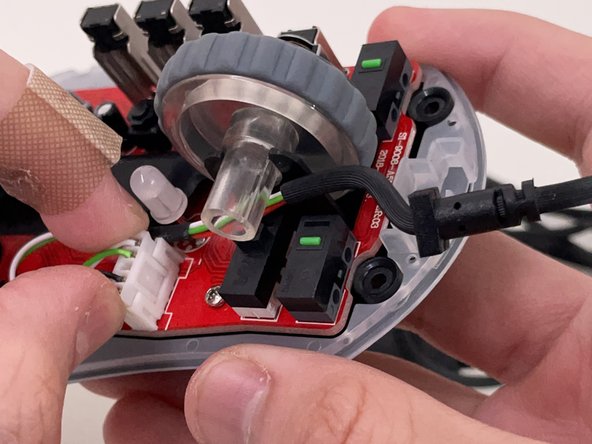
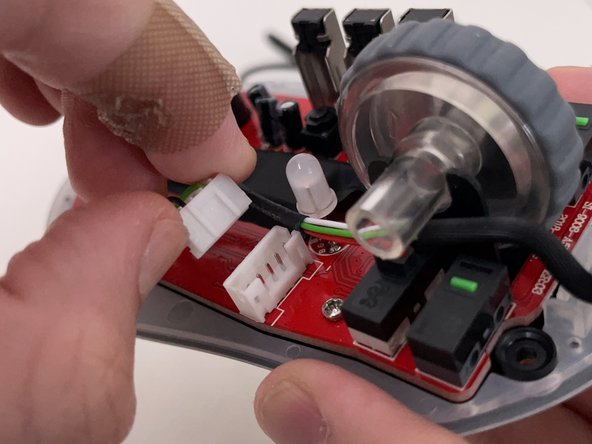


To reassemble your device, follow these instructions in reverse order.
另外一个人完成了本指南。

团队

Austin Community College, Team 1-1, Meigs Fall 2023 Austin Community College, Team 1-1, Meigs Fall 2023 的会员
AUSTINCC-MEIGS-F23S1G1
1 名成员
创作了1篇指南
1指南评论
This was really helpful as I initially put the pins in backward and needed to see the default pin-out and Googling landed me here. I took each pin out of the header individually with a safety pin and I ended up using a cord from a corsair strafe mouse, "gonna really confuse someone one day seeing those mismatched parts". I also recommend to put two tiny dabs of super glue on the two nubs that plug in the plastic assembly for those two buttons below the wheel because as-is its just a friction fit and they push in and fall inside the mouse, and also to use a tiny bit of the super glue to re-apply the plastic over the screws because that adhesive sticky tape just won't hold after pulling them up.