跳转到主内容

Cuisinart DCC-1200 Toggle Switch Replacement

你所需要的

  1. Cuisinart DCC-1200 Toggle Switch Replacement, Toggle Switch: 步骤 1 中的图像 1,2 Cuisinart DCC-1200 Toggle Switch Replacement, Toggle Switch: 步骤 1 中的图像 2,2
    • Using the metal spudger, gently pry out the two plastic plugs located on top.

    • Too much pressure with the spudger may cause damage to plugs.

  2. Cuisinart DCC-1200 Toggle Switch Replacement: 步骤 2 中的图像 1,3 Cuisinart DCC-1200 Toggle Switch Replacement: 步骤 2 中的图像 2,3 Cuisinart DCC-1200 Toggle Switch Replacement: 步骤 2 中的图像 3,3
    • Remove the two 11 mm long screws from the top of the coffee maker underneath the cover using the bit driver with the extension with the PH1 Phillips bit.

  3. Cuisinart DCC-1200 Toggle Switch Replacement: 步骤 3 中的图像 1,2 Cuisinart DCC-1200 Toggle Switch Replacement: 步骤 3 中的图像 2,2
    • Once the screws are removed, take the coffee maker face plate off by pulling it down and away from the rest of the coffee maker.

    • Use care when handling the face plate once it is removed from the rest of the coffee maker as the electrical connection is still intact.

  4. Cuisinart DCC-1200 Toggle Switch Replacement: 步骤 4 中的图像 1,2 Cuisinart DCC-1200 Toggle Switch Replacement: 步骤 4 中的图像 2,2
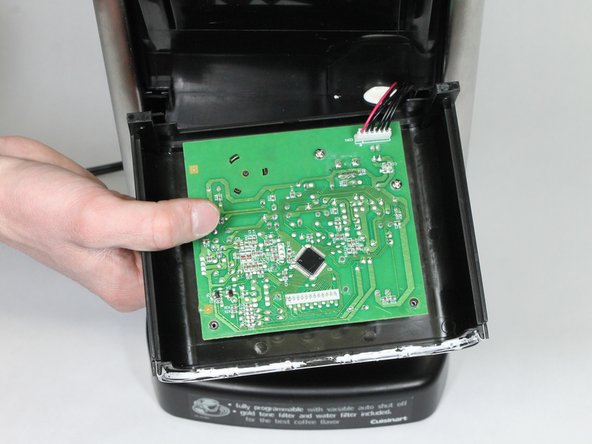
    • Remove the electrical connection to the circuit board by carefully removing the connection by pulling straight up and away from the circuit board.

    • Once the electrical connection is removed, separate the face plate from the rest of the coffee maker.

  5. Cuisinart DCC-1200 Toggle Switch Replacement: 步骤 5 中的图像 1,3 Cuisinart DCC-1200 Toggle Switch Replacement: 步骤 5 中的图像 2,3 Cuisinart DCC-1200 Toggle Switch Replacement: 步骤 5 中的图像 3,3
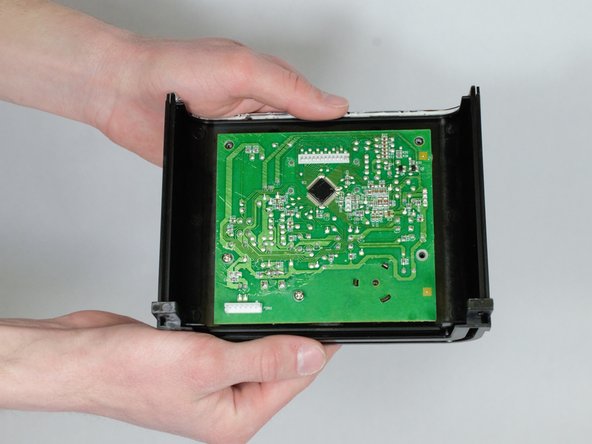
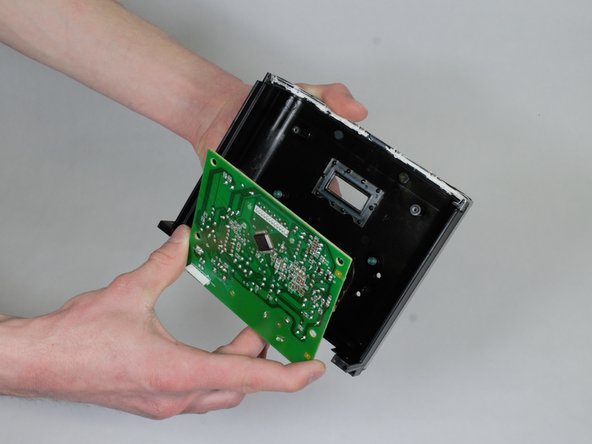
    • Use the bit driver with the PH1 Philips bit to remove the three 11 mm long screws holding the circuit board to the face plate.

    • Once the circuit board screws are removed, carefully remove the circuit board from the face plate revealing the inside of the face plate.

  6. Cuisinart DCC-1200 Toggle Switch Replacement: 步骤 6 中的图像 1,2 Cuisinart DCC-1200 Toggle Switch Replacement: 步骤 6 中的图像 2,2
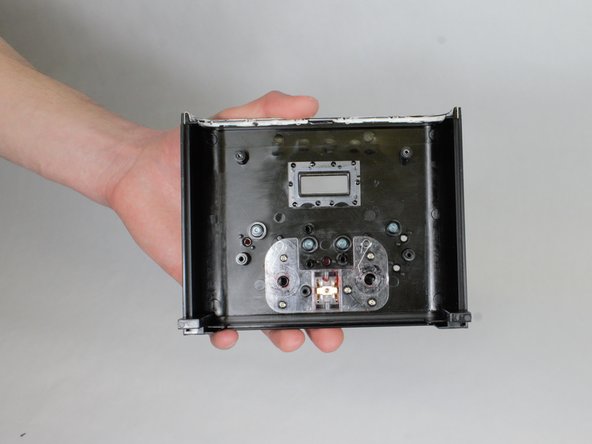
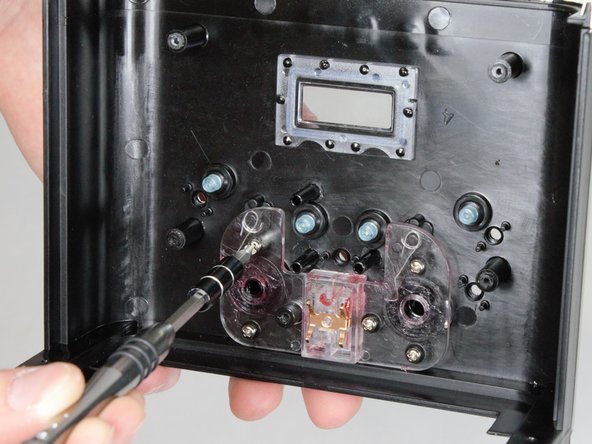
    • Remove the four 10 mm long screws with the bit driver with the PH1 Phillips bit driver from the toggle switch plate.

    • Once the screws are removed, remove the toggle switch plate from the face plate.

  7. Cuisinart DCC-1200 Toggle Switch Replacement: 步骤 7 中的图像 1,2 Cuisinart DCC-1200 Toggle Switch Replacement: 步骤 7 中的图像 2,2
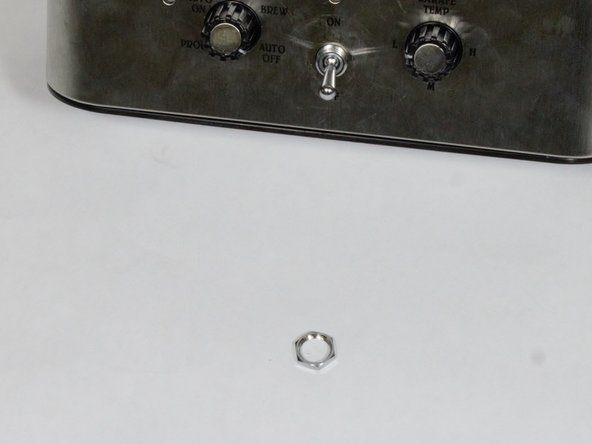
    • Remove the hex nut from behind the toggle switch on the front of the face plate.

  8. Cuisinart DCC-1200 Toggle Switch Replacement: 步骤 8 中的图像 1,1
    • Remove toggle switch by pulling it out from inside the face plate.

结论

To reassemble your device, follow these instructions in reverse order.

6等其他人完成本指南。

Lauren Miller

于02/15/18注册

450 声望

撰写一个指南

团队

UW Stout, Team S8-G1, Ogden Spring 2018 UW Stout, Team S8-G1, Ogden Spring 2018 的会员

UWSTOUT-OGDEN-S18S8G1

4 名成员

创作了5篇指南

8条评论

It seems to me that the defective part would be the switch plate, not the switch itself. Where would one get replacement parts?

Daniel Thaler - 回复

Where do I get the new toggle switch?

Anne Crawford - 回复

Pretty clear instructions. The only thing missing is the responses to the previous two questions.

Paul Patterson - 回复

Very nice instructions. However without a part number they are useless.

Renee Schultz - 回复

The only problem is that the faceplate on mine seemed to be very solidly glued (maybe silicone sealant) in place.

It resisted every effort to budge down and outwards, as indicated here. Adding more pressures, noi matter how carefully, resulted in a warped cover -followed by an order for a replacement Cuisinart, same model, as I still believe this is the best in the market.

Pat Day - 回复

添加评论

浏览统计数据:

过去 24 小时: 3

过去 7 天: 19

过去 30 天: 134

总计 14,430