简介
Unless you have a starter pack with a pre-made Bootable SD Card, you'd need to create one for your Raspberry Pi.
In this guide I will walk you through the creation of your Bootable SD Card (This card will contain your Raspberry Pi's Operating System and will act as your device's storage).
你所需要的
-
-
To create our Bootable SD Card we will need the Official Raspberry Pi Imager software. This software is completely free, and can be downloaded here.
-
-
-
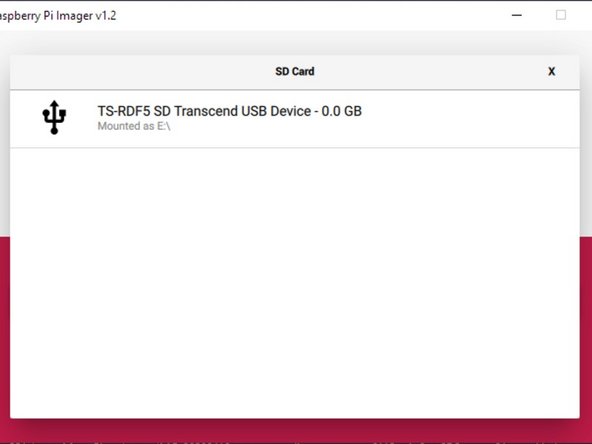
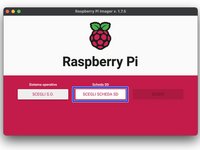
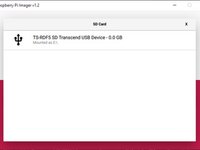
Once your download has been completed, open the Pi Imager program, and insert your SD Card into your computer. The Imager software should automatically detect your SD Card, and will begin to format the card.
-
-
-
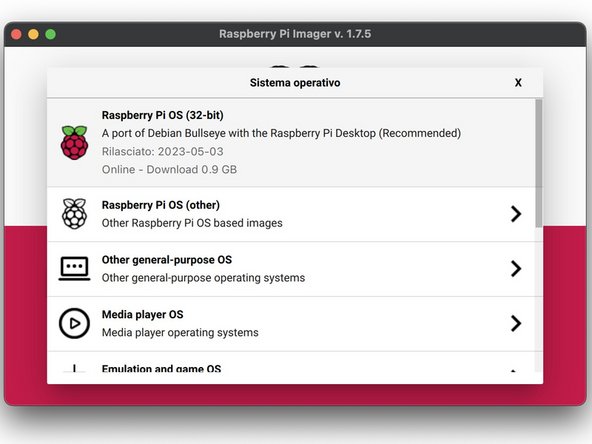
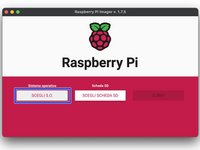
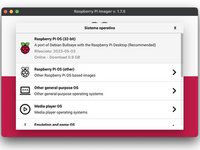
Once your SD Card has been targeted, you'll need to select the Operating System that you would like loaded onto your SD Card.
-
-
-
-
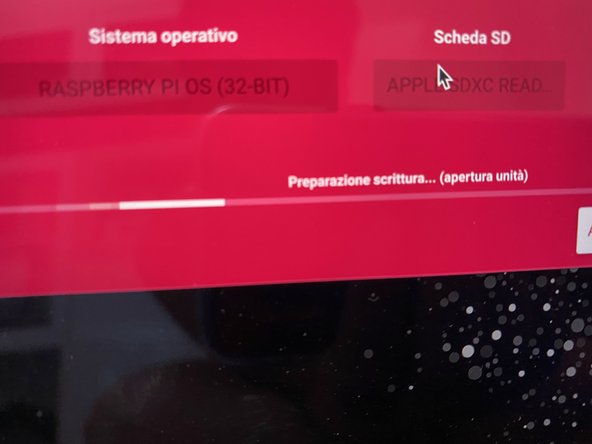
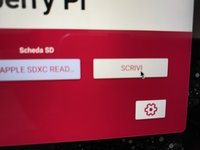
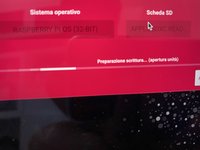
Once you have your SD Card selected, click on the Write button. If prompted enter the password to your computer.
-
-
-
When the installation is complete, Imager will prompt you to remove your SD Card.
-
To begin using your Bootable SD Card, simply insert the card into your Raspberry Pi, and power on your device.
-
-
-
It is possible that at the moment you begin to WRITE the OS to your SD Card an alert may appear warning that the card is write protected. This happens when the switch on the left side of the SD is in protection mode.
-
You can solve this by ejecting the SD Card and move the lever to the side opposite, then repeat the OS selection operation. and of the SD Card.
-
另外一个人完成了本指南。
由衷感谢以下译者:
100%
这些译者帮助我们修补全世界! 您也想加入吗?
开始翻译 ›


