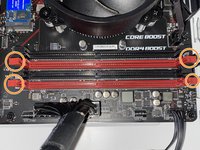
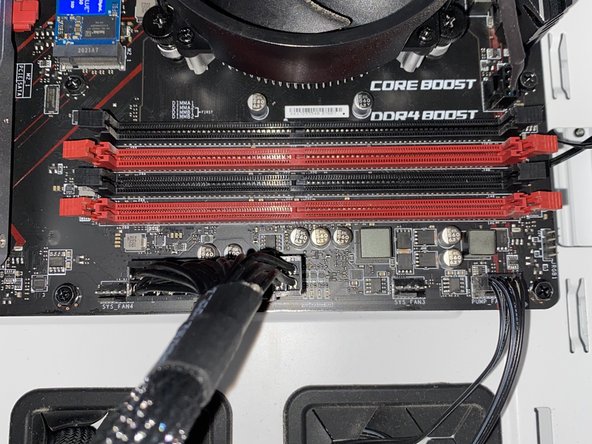
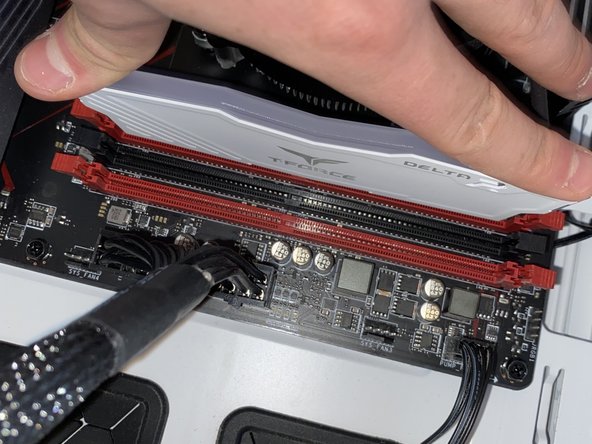
跳转到主内容

Computer RAM Replacement

你所需要的

  1. Computer RAM Replacement, RAM: 步骤 1 中的图像 1,1
    • Press the power button on the case of your PC to turn it off.

  2. Computer RAM Replacement: 步骤 2 中的图像 1,1
    • Turn off the computer from the power supply in the back, and unplug the cable from the PSU.

    • This step is important as not doing so means the computer is still receiving power and can damage your computer parts or even shock you.

  3. Computer RAM Replacement: 步骤 3 中的图像 1,1
    • Lay the case on its side.

    • For this case model (Cooler Master TD 500 Mesh) it has two thumb screws on the top corners which can be removed with your fingers.

    • Remove the side panel.

  4. Computer RAM Replacement: 步骤 4 中的图像 1,1
    • Your RAM sticks are the two long cards with T-FORCE written on the top of them.

  5. Computer RAM Replacement: 步骤 5 中的图像 1,3 Computer RAM Replacement: 步骤 5 中的图像 2,3 Computer RAM Replacement: 步骤 5 中的图像 3,3
    • Each motherboard is different. This motherboard (MSI B450 Gaming Plus Max) has two pull tabs on each side. Push down on them to release each card.

    • If you are not using this motherboard, your motherboard may only have one pull tab instead of one on each side. Please refer to the manual for your motherboard.

  6. Computer RAM Replacement: 步骤 6 中的图像 1,1
    • Once the pull tabs are released, remove the RAM from the RAM slots and set to the side.

  7. Computer RAM Replacement: 步骤 7 中的图像 1,3 Computer RAM Replacement: 步骤 7 中的图像 2,3 Computer RAM Replacement: 步骤 7 中的图像 3,3
    • Repeat Steps 5 & 6 to remove the second RAM card from the RAM slot.

    • If you only have one RAM card, skip to the next step.

  8. Computer RAM Replacement: 步骤 8 中的图像 1,2 Computer RAM Replacement: 步骤 8 中的图像 2,2
    • To install new RAM, line up the notch of the RAM slot with the notch of the RAM slot on the motherboard.

    • For this motherboard, insert the RAM in the 2nd slot from left to right and the furthest one to the right.

  9. Computer RAM Replacement: 步骤 9 中的图像 1,2 Computer RAM Replacement: 步骤 9 中的图像 2,2
    • Push down with even pressure on both sides until you hear two clicks since on this motherboard there are two tabs, one on each side.

  10. Computer RAM Replacement: 步骤 10 中的图像 1,1
    • Repeat Steps 8 and 9 to install the second RAM stick.

  11. Computer RAM Replacement: 步骤 11 中的图像 1,2 Computer RAM Replacement: 步骤 11 中的图像 2,2
    • Power your PC by turning on the power switch on the back.

    • Press the power button on the top of the case.

  12. Computer RAM Replacement: 步骤 12 中的图像 1,2 Computer RAM Replacement: 步骤 12 中的图像 2,2
    • Stand your computer back up.

    • See if the computer powers up and into windows and shows up on your display. If it does, put the side panel back on.

    • If you do not see anything on your monitor’s display, you did not install the RAM correctly and must check to see if it's fully secured. Remove the RAM again and install again.

  13. Computer RAM Replacement: 步骤 13 中的图像 1,2 Computer RAM Replacement: 步骤 13 中的图像 2,2
    • Check to see if your RAM is running at its rated speed.

    • Restart your PC and spam click your delete key on your keyboard until you get into the MSI BIOS.

  14. Computer RAM Replacement: 步骤 14 中的图像 1,2 Computer RAM Replacement: 步骤 14 中的图像 2,2
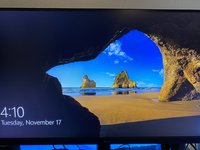
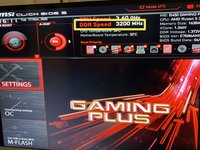
    • You will know you got into your BIOS if see a screen like this. On the top section, for this RAM, it should say the DDR speed is 3200 Mhz. If you do see this, skip to the final step.

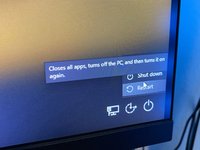
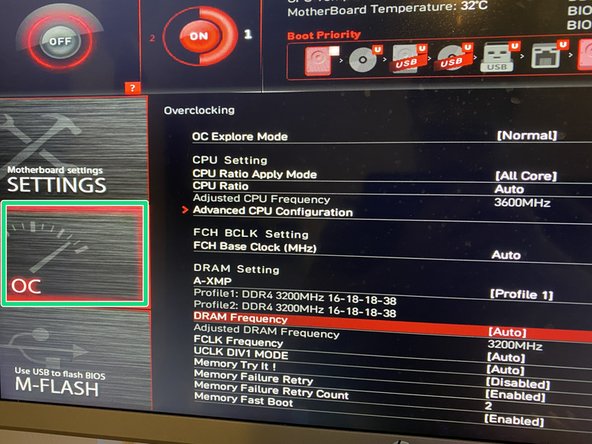
    • If you do not, with your arrow keys go to the OC section, scroll to DRAM frequency and instead of auto, select the rated speed of your RAM. (Don't forget to save this setting.)

  15. Computer RAM Replacement: 步骤 15 中的图像 1,1
    • Press your Esc key until the message in the picture pops out. Navigate to exit and your PC should restart and you are good to go. You have successfully remove and replaced or upgraded your RAM!

    • Navigate to "Exit," and your PC will restart. You are good to go!

结论

This is how you replace/repair your RAM, and how to check it is running at the rated speed.

2等其他人完成本指南。

Eden rodriguez

于10/21/20注册

292 声望

撰写一个指南

团队

Texas Tech, Team S14-G8, Cowan Fall 2020 Texas Tech, Team S14-G8, Cowan Fall 2020 的会员

TTU-COWAN-F20S14G8

2 名成员

创作了3篇指南

0条评论

添加评论

浏览统计数据:

过去 24 小时: 1

过去 7 天: 21

过去 30 天: 77

总计 2,705