跳转到主内容

Commodore 64 3AG fuse Replacement

你所需要的

  1. 注意:步骤 1-2 源自标记为进行中的 指南

    Commodore 64 3AG fuse Replacement, Removing screws: 步骤 1 中的图像 1,3 Commodore 64 3AG fuse Replacement, Removing screws: 步骤 1 中的图像 2,3 Commodore 64 3AG fuse Replacement, Removing screws: 步骤 1 中的图像 3,3
    • 1. Remove three 6.75mm ph2 screw heads from the casing

  2. Commodore 64 3AG fuse Replacement, Opening: 步骤 2 中的图像 1,2 Commodore 64 3AG fuse Replacement, Opening: 步骤 2 中的图像 2,2
    • 2. Split the case of the C64 open by pulling up on the case towards you

    • Do not pull too hard that you break the clips.

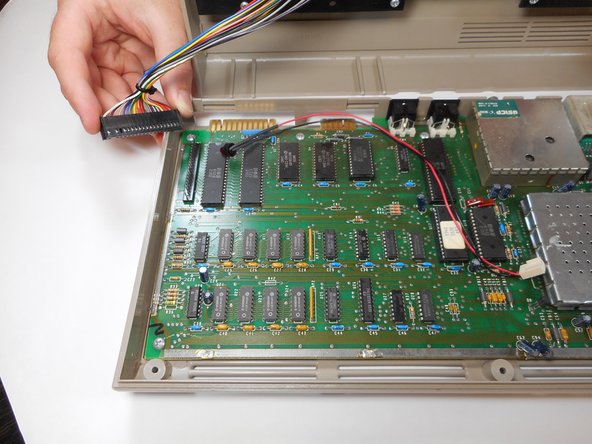
  3. Commodore 64 3AG fuse Replacement, Detach Keyboard from motherboard: 步骤 3 中的图像 1,2 Commodore 64 3AG fuse Replacement, Detach Keyboard from motherboard: 步骤 3 中的图像 2,2
    • 1. Detach the multi-colored wire bundles that's connected to the motherboard

    • In this picture, the power indication LED (connected to the black and red wires) is not fastened to the keyboard panel, yours might be different.

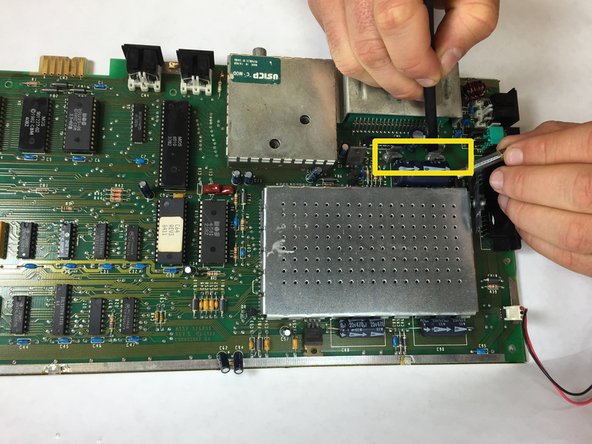
  4. Commodore 64 3AG fuse Replacement, Locate 3AG fuse: 步骤 4 中的图像 1,1
    • 2. Find the 3AG fuse located next to the joystick ports and On/Off switch

  5. Commodore 64 3AG fuse Replacement, Removing the 3AG fuse: 步骤 5 中的图像 1,2 Commodore 64 3AG fuse Replacement, Removing the 3AG fuse: 步骤 5 中的图像 2,2
    • 3. Using the ifixit splugger, prop out the 3AG fuse from the clip.

    • * Replace the 3AG fuse by inserting the new fuse and letting it pop into the clip

结论

To reassemble your device, follow these instructions in reverse order.

4等其他人完成本指南。

Silvanus Clarke

于09/26/14注册

656 声望

创作了5篇指南

团队

USF Tampa, Team 13-6, Staggers Fall 2014 USF Tampa, Team 13-6, Staggers Fall 2014 的会员

USFT-STAGGERS-F14S13G6

4 名成员

创作了15篇指南

0条评论

添加评论

浏览统计数据:

过去 24 小时: 1

过去 7 天: 13

过去 30 天: 35

总计 3,633