跳转到主内容

Chromo Inc. T2 Internal Speaker Replacement

你所需要的

  1. Chromo Inc. T2 Internal Speaker Replacement, Removing the Casing: 步骤 1 中的图像 1,3 Chromo Inc. T2 Internal Speaker Replacement, Removing the Casing: 步骤 1 中的图像 2,3 Chromo Inc. T2 Internal Speaker Replacement, Removing the Casing: 步骤 1 中的图像 3,3
    • Using your Plastic Opening Tool, place it in between the screen and the case. Slowly move it around the casing while prying in a downward motion to undo the hinges holding the two together and separate the two parts.

  2. Chromo Inc. T2 Internal Speaker Replacement, Turn it around: 步骤 2 中的图像 1,1
    • After separating the case and screen, turn your screen face down so you can see the internal parts!

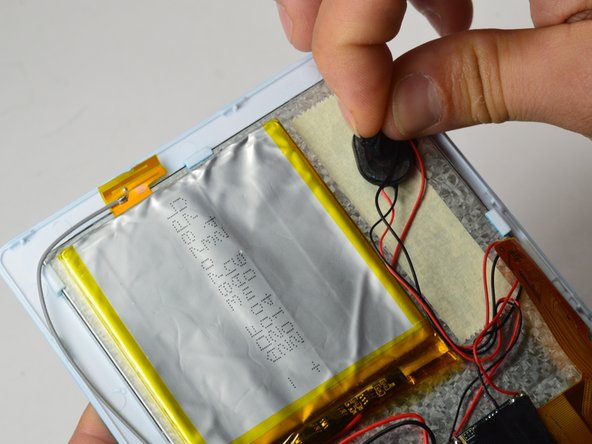
  3. Chromo Inc. T2 Internal Speaker Replacement, Removing the Tape: 步骤 3 中的图像 1,3 Chromo Inc. T2 Internal Speaker Replacement, Removing the Tape: 步骤 3 中的图像 2,3 Chromo Inc. T2 Internal Speaker Replacement, Removing the Tape: 步骤 3 中的图像 3,3
    • Remove two strips of tape: One holding down the wires and the other holding down the internal speaker.

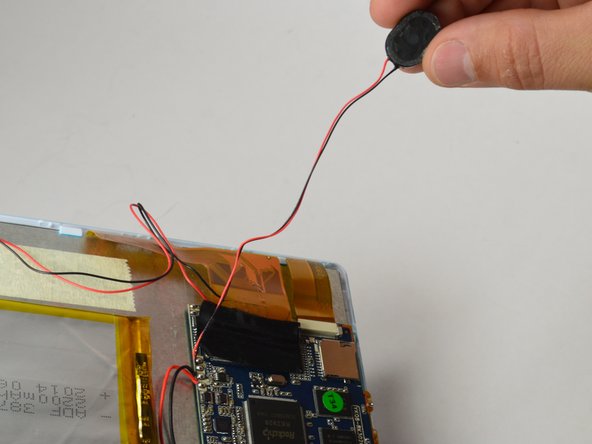
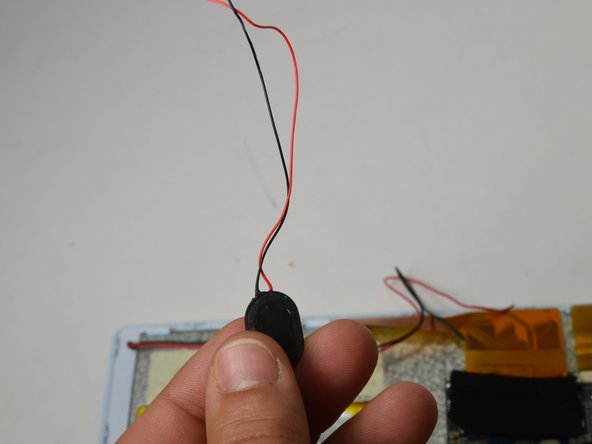
  4. Chromo Inc. T2 Internal Speaker Replacement, Desoldering the Wires and Removing the Speaker: 步骤 4 中的图像 1,3 Chromo Inc. T2 Internal Speaker Replacement, Desoldering the Wires and Removing the Speaker: 步骤 4 中的图像 2,3 Chromo Inc. T2 Internal Speaker Replacement, Desoldering the Wires and Removing the Speaker: 步骤 4 中的图像 3,3
    • Using a Soldering Iron, desolder both speaker wires. Once both wires are desoldered, your Internal Speaker is now ready for replacement!

    • Soldering Iron gets very hot, take care to not touch anywhere on the soldering iron except for the handle!

结论

To reassemble your device, follow these instructions in reverse order.

Ismael DeLuna

于01/21/15注册

637 声望

创作了5篇指南

团队

USF Tampa, Team 15-1, Watkins Winter 2015 USF Tampa, Team 15-1, Watkins Winter 2015 的会员

USFT-WATKINS-W15S15G1

4 名成员

创作了6篇指南

0条评论

添加评论

浏览统计数据:

过去 24 小时: 0

过去 7 天: 0

过去 30 天: 0

总计 208