简介
If you need to replace the capacitor from your Carrier Performance™ 17 2-Stage AC Unit, this guide will show you how. If you're experiencing cooling issues, this guide is for you. Before you begin, here's what you need to know.
Hazards:
Be cautious of electrical hazards; turn off the power supply before you begin the repair.
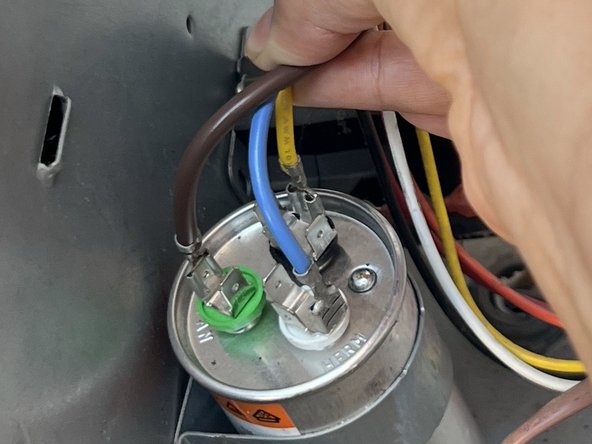
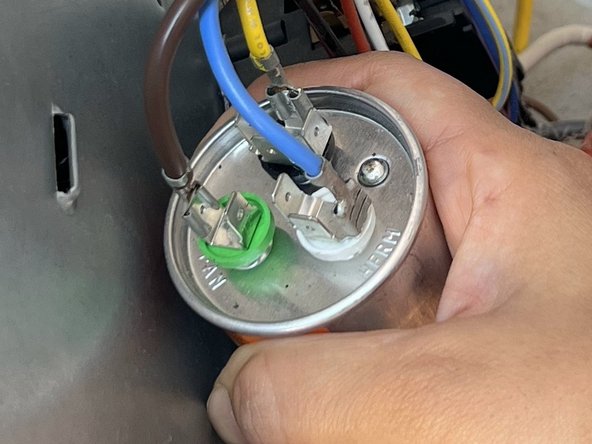
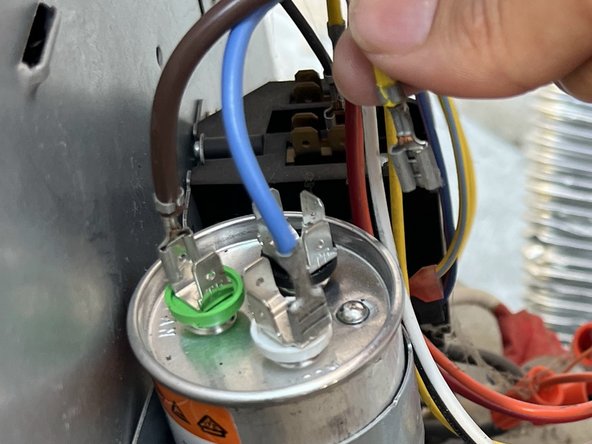
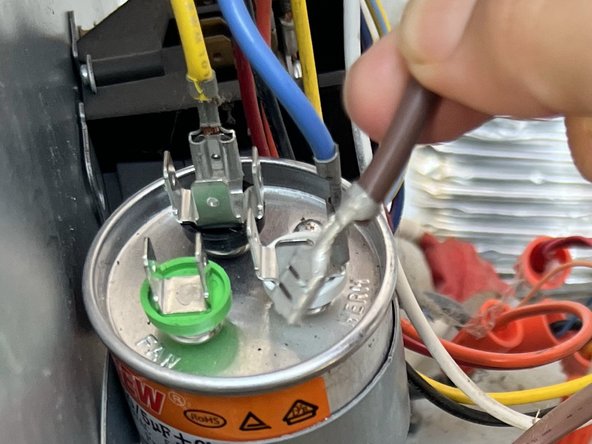
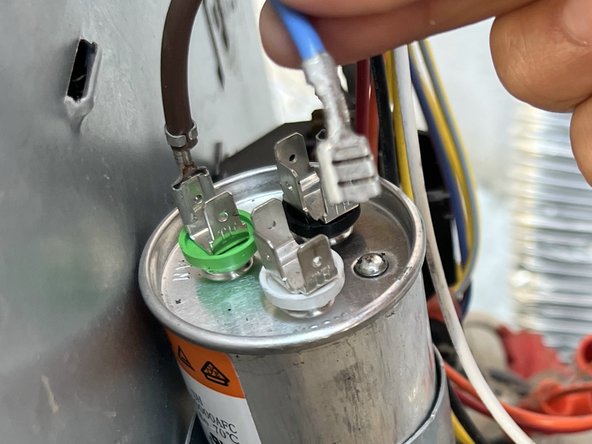
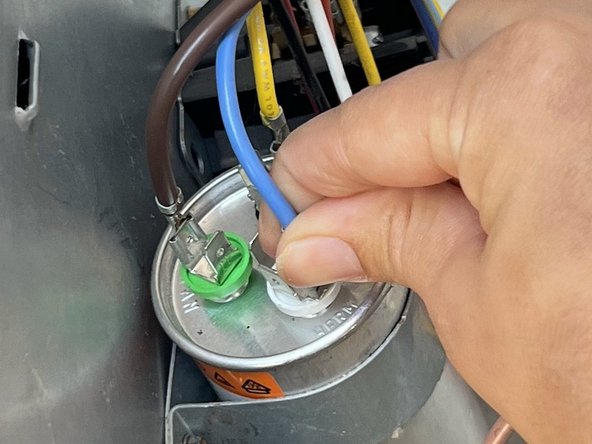
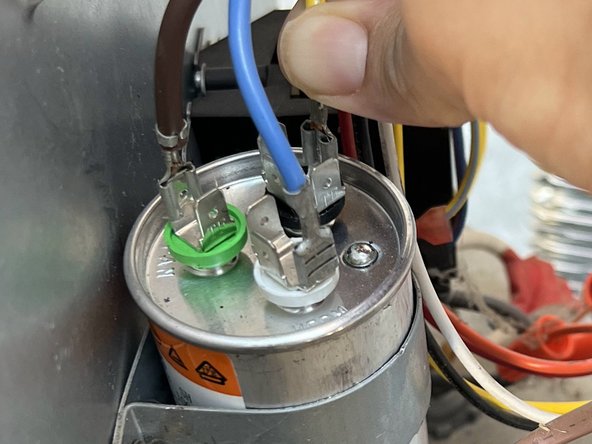
Capacitors store energy so handle them with care.
Why This Repair Might Be Needed:
If your AC isn't cooling effectively or has startup issues, a faulty capacitor could be the cause.
This guide will help you replace the capacitor quickly and efficiently. Remember to prioritize safety. Besides turning off the power, it is a good idea to wear insulated work gloves.
你所需要的
-
-
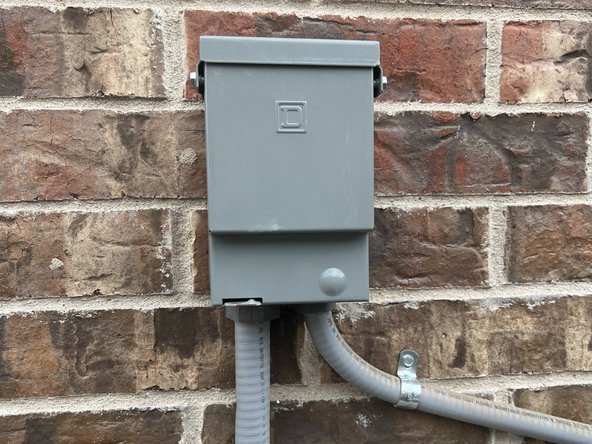
To ensure complete safety, turn off the power supply from the electrical panel or disconnect switch.
-
Wait for a few minutes to allow any electrical charge to dissipate. This will ensure safety and prevent any potential hazards.
-
-
-
-
Place the access panel cover securely back onto your AC unit.
-
Use a socket wrench to insert and tighten the screws you removed earlier. Make sure the cover is firmly attached.
-
Restore power to the AC unit by resetting the circuit breaker or following the unit's power control instructions.
-
Ensure that the AC unit is functioning properly and the air is cool.
-


By following these steps and exercising caution, you can safely replace the capacitor in your system, ensuring its continued efficiency and functionality. If uncertain, consult a professional.
By following these steps and exercising caution, you can safely replace the capacitor in your system, ensuring its continued efficiency and functionality. If uncertain, consult a professional.

团队

Austin Community College, Team 6-6, Watkins Fall 2023 Austin Community College, Team 6-6, Watkins Fall 2023 的会员
AUSTINCC-WATKINS-F23S6G6
1 名成员
创作了1篇指南