当前版本的文档还未经巡查,您可以查看最新的已查核版本。
-
-
-
Remove the three 3.8 mm screws from the underside of the camera.
-
Each of the screws is slightly different, so it is important that you note the original location of each screw.
-
-
Remove the 3.2 mm screw from the right side of the camera.
-
Remove the 2.2 mm screw from the right side of the camera.
-
One of these screws is hidden under the USB port cover.
-
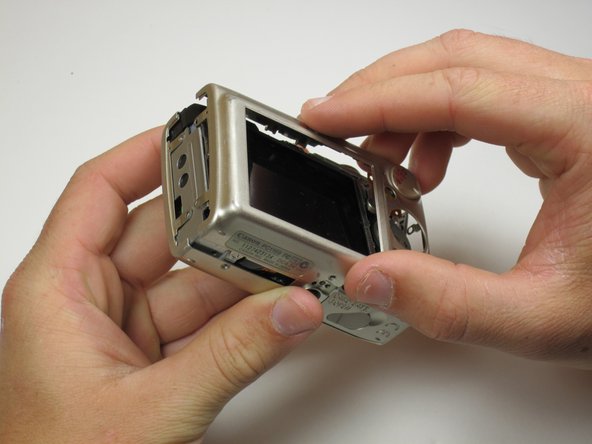
Lift the side panel off.
-
Remove the 1.8 mm screw from underneath the side panel.
-
-
-
-
-
-
Peel the navigation buttons from the button panel and set them aside.
-
To free the LCD display, remove the 2.9 mm screw in the top left corner.
-
Rotate the screen clockwise until it lifts away from the camera.
-
There are two ribbon cables attached to the rear of the screen. Do not try to pull the screen off at this point.
-
-
To unplug the ribbon cables, pull them straight out of their plugs. Do this gently to avoid damaging the connections.
-
After disconnecting both cables, pull the screen away from the camera to remove it.
-
-
Now the photo sensor is exposed. In order to remove the ribbon cable from its port, first flip up the blue locking mechanism.
-
After the cable is unlocked, it easily pulls free.
-
-
In order to remove the photo sensor, you will have to cut through glue and remove screws.
-
Use a knife to carefully slice through the glue at the tree points indicated. Try not to cut through anything but the glue to avoid damage.
-
WARNING: Knives are sharp. Treat them with respect.
-
Now remove the three .15 inch screws holding the photo sensor to the camera frame.
-
-
嵌入本指南
选择一个尺寸并复制下面的代码,将本指南作为一个小插件嵌入到你的网站/论坛中。
预览