本指南有最近更改,您可查看未经巡查的最新版本。
简介
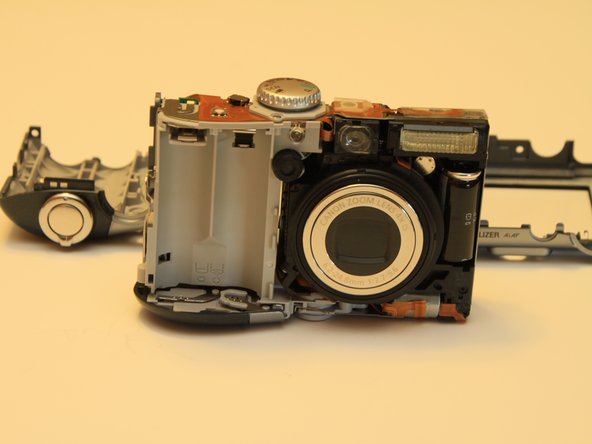
The Cannon PowerShot A1000 IS is a compact digital camera. This guide gives instructions to remove and reattach the plastic casing when attempting internal repairs.
你所需要的
-
-
The case is held together with two types of screws: fine thread screws that attach the case to the metal parts below, and coarse thread screws that attach the case to the plastic battery compartment.
-
-


即将完成!
To reassemble your device, follow these instructions in reverse order.
结论
To reassemble your device, follow these instructions in reverse order.
2等其他人完成本指南。