跳转到主内容

Canon Pixma MP480 Data Port Replacement

你所需要的

  1. Canon Pixma MP480 Data Port Replacement, Rear and Side Panel: 步骤 1 中的图像 1,2 Canon Pixma MP480 Data Port Replacement, Rear and Side Panel: 步骤 1 中的图像 2,2
    • Remove the two 7.9 mm screws using a Phillips #1 screwdriver.

  2. Canon Pixma MP480 Data Port Replacement: 步骤 2 中的图像 1,1
    • Lift up the back cover to remove it.

    • You may need to lift firmly as it requires quite a bit of force.

  3. Canon Pixma MP480 Data Port Replacement: 步骤 3 中的图像 1,1
    • Open the front tray.

  4. Canon Pixma MP480 Data Port Replacement: 步骤 4 中的图像 1,2 Canon Pixma MP480 Data Port Replacement: 步骤 4 中的图像 2,2
    • Open the scanner compartment.

    • Make sure the blue lever locks into place to keep the compartment open.

  5. Canon Pixma MP480 Data Port Replacement: 步骤 5 中的图像 1,2 Canon Pixma MP480 Data Port Replacement: 步骤 5 中的图像 2,2
    • Remove the blue lever from its slot by pushing it back and twisting clockwise.

    • Close the scanner compartment and cover.

  6. Canon Pixma MP480 Data Port Replacement: 步骤 6 中的图像 1,2 Canon Pixma MP480 Data Port Replacement: 步骤 6 中的图像 2,2
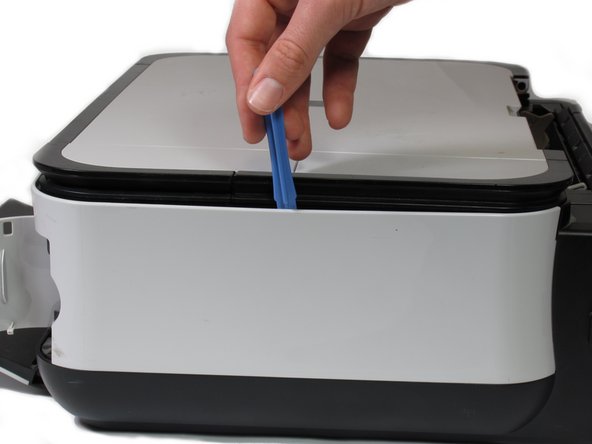
    • Pry open the side cover with the plastic opening tool.

  7. Canon Pixma MP480 Data Port Replacement: 步骤 7 中的图像 1,2 Canon Pixma MP480 Data Port Replacement: 步骤 7 中的图像 2,2
    • Flip the printer over so that the bottom of the printer is facing you.

    • Use the plastic opening tool to remove the corner of the side panel from the plastic pin.

  8. Canon Pixma MP480 Data Port Replacement: 步骤 8 中的图像 1,2 Canon Pixma MP480 Data Port Replacement: 步骤 8 中的图像 2,2
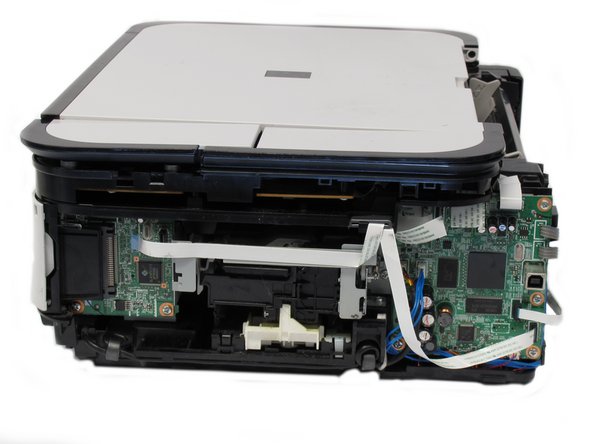
    • Use the plastic opening tool to loosen the side panel from the bottom of the printer.

  9. Canon Pixma MP480 Data Port Replacement, LCD: 步骤 9 中的图像 1,2 Canon Pixma MP480 Data Port Replacement, LCD: 步骤 9 中的图像 2,2
    • Using the plastic opening tool, pry off the top cover of the LCD assembly.

    • Pry around the front and side edges for the easiest removal.

  10. Canon Pixma MP480 Data Port Replacement: 步骤 10 中的图像 1,1
    • After removing the top cover of the LCD assembly, remove the LCD using the plastic opening tool.

  11. Canon Pixma MP480 Data Port Replacement: 步骤 11 中的图像 1,1
    • Gently pull the ribbon cable to remove the LCD completely.

  12. Canon Pixma MP480 Data Port Replacement, Buttons: 步骤 12 中的图像 1,1
    • Locate the buttons on the top of the printer.

  13. Canon Pixma MP480 Data Port Replacement: 步骤 13 中的图像 1,1
    • Using the plastic opening tool, gently pry under the button cover to remove it from its fixture.

  14. Canon Pixma MP480 Data Port Replacement: 步骤 14 中的图像 1,2 Canon Pixma MP480 Data Port Replacement: 步骤 14 中的图像 2,2
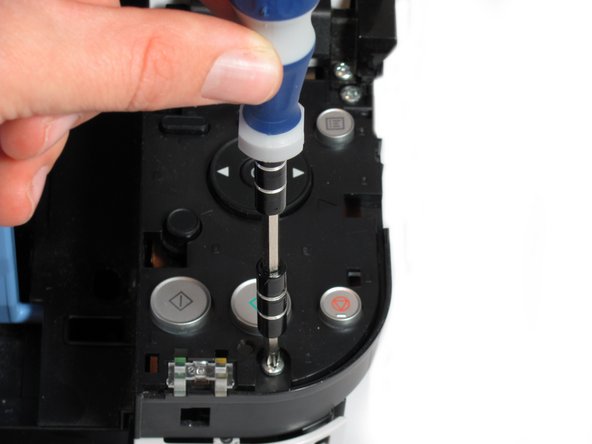
    • Remove the five 7.7 mm screws using a Phillips #1 screwdriver.

  15. Canon Pixma MP480 Data Port Replacement: 步骤 15 中的图像 1,2 Canon Pixma MP480 Data Port Replacement: 步骤 15 中的图像 2,2
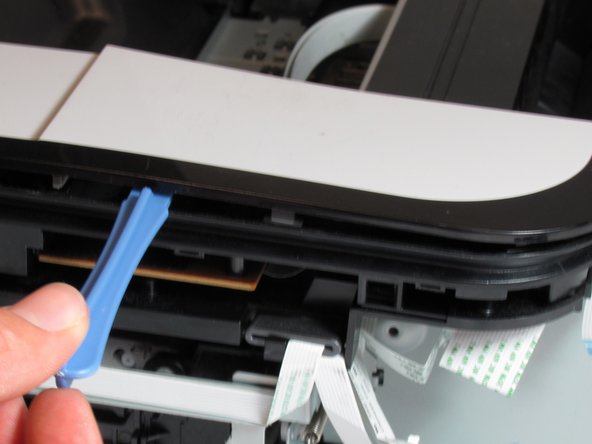
    • Using the plastic opening tool, gently pry around the cover behind the LCD screen to remove it from its fixture.

  16. Canon Pixma MP480 Data Port Replacement: 步骤 16 中的图像 1,2 Canon Pixma MP480 Data Port Replacement: 步骤 16 中的图像 2,2
    • Remove the two 7.8 mm screws using a Phillips #1 screwdriver.

  17. Canon Pixma MP480 Data Port Replacement: 步骤 17 中的图像 1,1
    • Gently pull the LCD screen up to remove it from its fixture.

  18. Canon Pixma MP480 Data Port Replacement: 步骤 18 中的图像 1,1
    • Use the plastic opening tool to pry off the plastic button assembly.

  19. Canon Pixma MP480 Data Port Replacement: 步骤 19 中的图像 1,1
    • Gently pull the plastic button assembly up to remove it.

    • The plastic button assembly has a ribbon cable connected on the bottom, so be careful pulling it.

  20. Canon Pixma MP480 Data Port Replacement: 步骤 20 中的图像 1,1
    • Remove the ribbon cable connected to the backside of the plastic button assembly.

  21. Canon Pixma MP480 Data Port Replacement: 步骤 21 中的图像 1,2 Canon Pixma MP480 Data Port Replacement: 步骤 21 中的图像 2,2
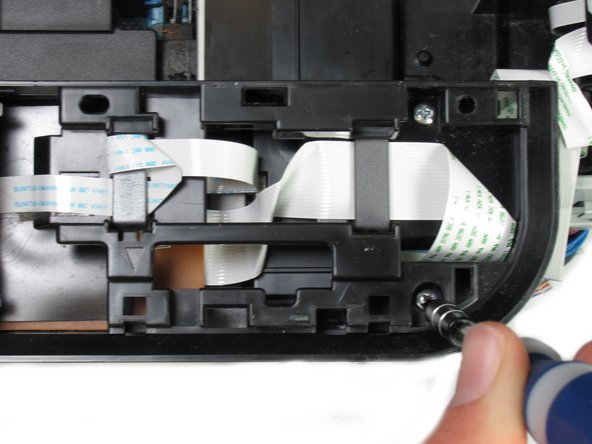
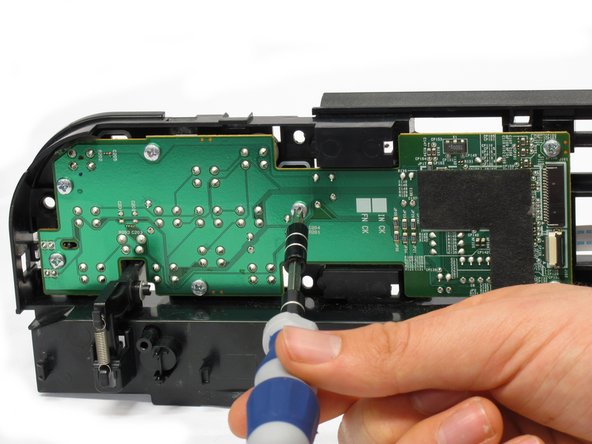
    • Remove the seven 8.7 mm screws using the Phillips #1 screwdriver.

  22. Canon Pixma MP480 Data Port Replacement: 步骤 22 中的图像 1,3 Canon Pixma MP480 Data Port Replacement: 步骤 22 中的图像 2,3 Canon Pixma MP480 Data Port Replacement: 步骤 22 中的图像 3,3
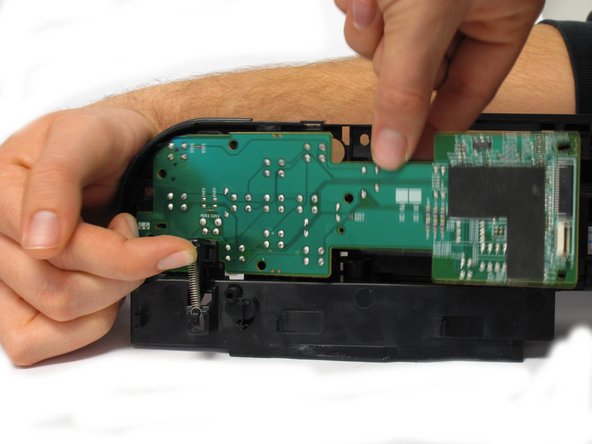
    • Locate the spring that holds the PCB in place on the bottom left of the plastic button assembly.

    • Gently lift the spring and pull the board out of its plastic button assembly.

  23. Canon Pixma MP480 Data Port Replacement: 步骤 23 中的图像 1,1
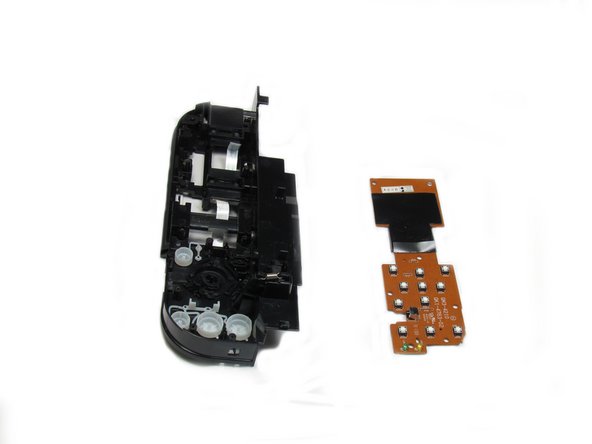
    • Remove the buttons from the plastic button assembly.

  24. Canon Pixma MP480 Data Port Replacement, Data Port: 步骤 24 中的图像 1,2 Canon Pixma MP480 Data Port Replacement, Data Port: 步骤 24 中的图像 2,2
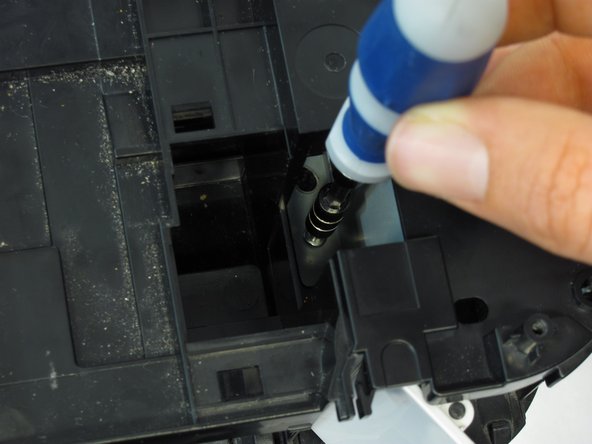
    • Remove the 7.5 mm screw using the Phillips #1 screwdriver.

  25. Canon Pixma MP480 Data Port Replacement: 步骤 25 中的图像 1,2 Canon Pixma MP480 Data Port Replacement: 步骤 25 中的图像 2,2
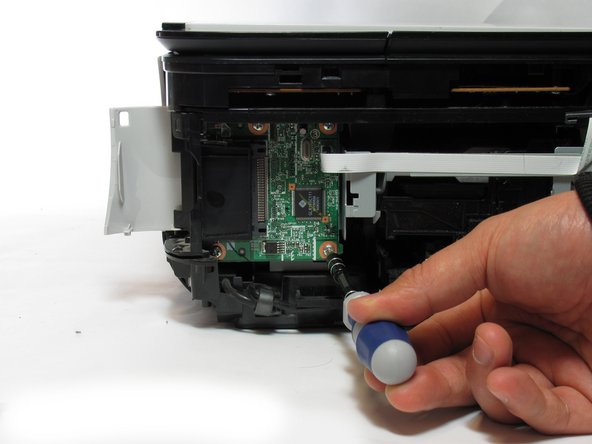
    • Remove the five 3.5 mm screws using the Phillips #1 screwdriver.

  26. Canon Pixma MP480 Data Port Replacement: 步骤 26 中的图像 1,1
    • Remove the small plastic clip using the spudger.

  27. Canon Pixma MP480 Data Port Replacement: 步骤 27 中的图像 1,1
    • Pull the plastic inserts out of the holes in the top and bottom.

  28. Canon Pixma MP480 Data Port Replacement: 步骤 28 中的图像 1,1
    • Remove the board from the printer by pulling the board towards the back of the printer.

    • This requires effort and time as the board comes out slowly.

结论

To reassemble your device, follow these instructions in reverse order.

Steven MacLean

于01/14/13注册

86 声望

创作了2篇指南

团队

Cal Poly, Team 19-41, Regan Winter 2013 Cal Poly, Team 19-41, Regan Winter 2013 的会员

CPSU-REGAN-W13S19G41

4 名成员

创作了6篇指南

0条评论

添加评论

浏览统计数据:

过去 24 小时: 0

过去 7 天: 14

过去 30 天: 28

总计 2,173