跳转到主内容

Canon ImageCLASS MF4350d Remove Right Side Paneling

你所需要的

  1. Canon ImageCLASS MF4350d Remove Right Side Paneling, Canon ImageCLASS MF4350d Remove Front Paneling: 步骤 1 中的图像 1,1
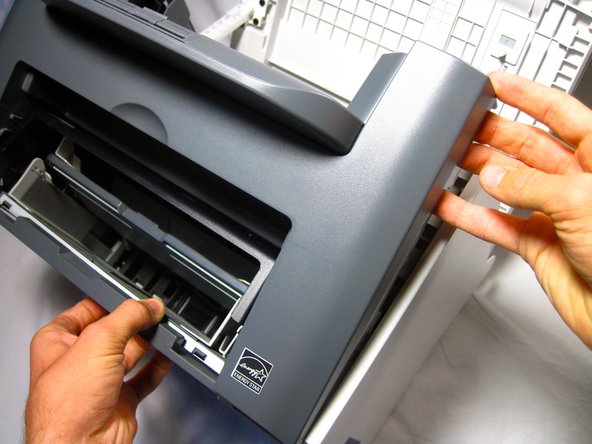
    • Lift the printer lid up as shown in the photo.

  2. Canon ImageCLASS MF4350d Remove Right Side Paneling: 步骤 2 中的图像 1,2 Canon ImageCLASS MF4350d Remove Right Side Paneling: 步骤 2 中的图像 2,2
    • Locate and remove the two 10mm side screws. There is one on each side.

  3. Canon ImageCLASS MF4350d Remove Right Side Paneling: 步骤 3 中的图像 1,2 Canon ImageCLASS MF4350d Remove Right Side Paneling: 步骤 3 中的图像 2,2
    • Unhook the plastic panel from the printer starting from the top.

    • You may need to wiggle the panel a bit to loosen it.

    • To remove the bottom part of the paneling gently lay the printer on its back.

    • The scanner lid needs to be supported when moving the printer

  4. Canon ImageCLASS MF4350d Remove Right Side Paneling, Canon ImageCLASS MF4350d Remove Right Side Paneling: 步骤 4 中的图像 1,3 Canon ImageCLASS MF4350d Remove Right Side Paneling, Canon ImageCLASS MF4350d Remove Right Side Paneling: 步骤 4 中的图像 2,3 Canon ImageCLASS MF4350d Remove Right Side Paneling, Canon ImageCLASS MF4350d Remove Right Side Paneling: 步骤 4 中的图像 3,3
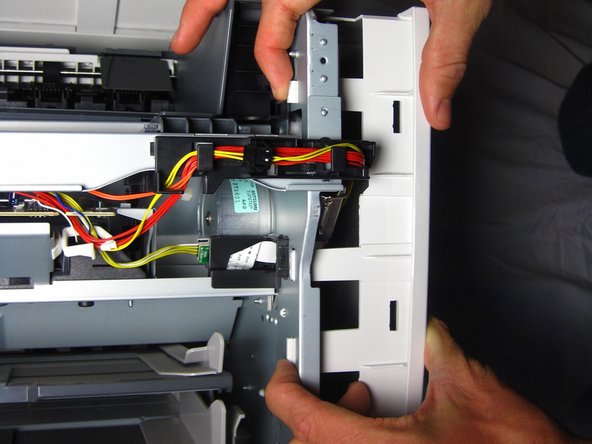
    • Gently unhook the right side paneling (as looking at the printer's front face) from the printer.

    • Use a gentle back and forth motion to wiggle the hooks out.

结论

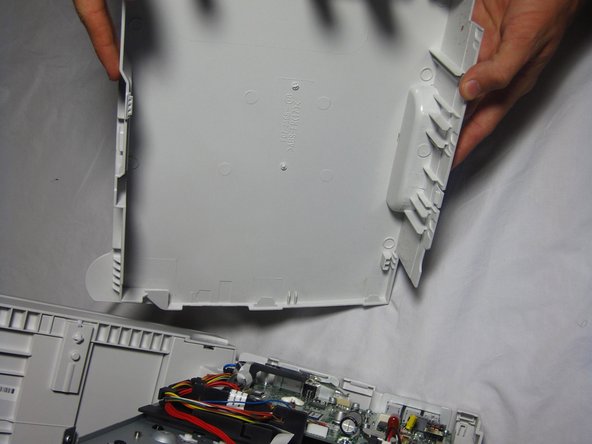
To reassemble your device, follow these instructions in reverse order.

3等其他人完成本指南。

Helena Yanez

于09/29/13注册

455 声望

创作了4篇指南

团队

Cal Poly, Team 13-1, Forte Fall 2013 Cal Poly, Team 13-1, Forte Fall 2013 的会员

CPSU-FORTE-F13S13G1

5 名成员

创作了16篇指南

一条评论

Tore paper when removing jamed paper. A small piece of paper must still be in machine.

Louis Pike McCasland - 回复

添加评论

浏览统计数据:

过去 24 小时: 1

过去 7 天: 6

过去 30 天: 21

总计 4,058