跳转到主内容

Canon EOS Rebel XSi Front Panel Replacement

你所需要的

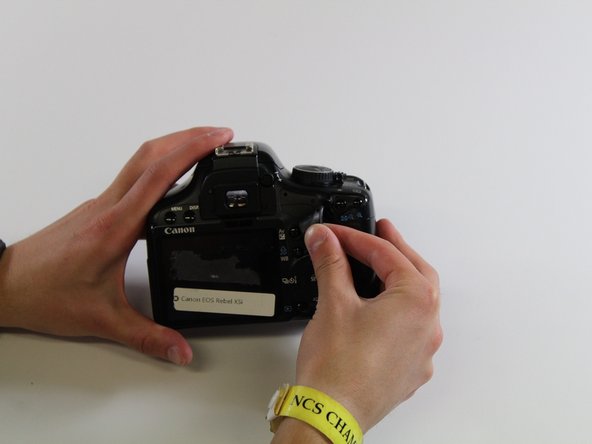
  1. Canon EOS Rebel XSi Front Panel Replacement, Back Panel: 步骤 1 中的图像 1,1
    • Squeeze the eyepiece between your index finger and thumb and lift up and off.

  2. Canon EOS Rebel XSi Front Panel Replacement: 步骤 2 中的图像 1,1
    • Using the PH000 screwdriver head, remove the four 4 mm screws on the bottom of the camera.

  3. Canon EOS Rebel XSi Front Panel Replacement: 步骤 3 中的图像 1,1
    • Using the PH000 screwdriver head, remove the two 3mm screws on the right side of the camera (from the LCD screen).

  4. Canon EOS Rebel XSi Front Panel Replacement: 步骤 4 中的图像 1,1
    • Remove grip by slowly peeling off.

  5. Canon EOS Rebel XSi Front Panel Replacement: 步骤 5 中的图像 1,1
    • Using the PH000 screwdriver, remove the four 4mm screws behind the eyepiece.

  6. Canon EOS Rebel XSi Front Panel Replacement: 步骤 6 中的图像 1,1
    • Using the PH000 screwdriver head, remove one 4 mm screw on the left side of the camera (from the LCD screen).

  7. Canon EOS Rebel XSi Front Panel Replacement: 步骤 7 中的图像 1,1
    • Remove the side panel by lifting off with fingers.

  8. Canon EOS Rebel XSi Front Panel Replacement: 步骤 8 中的图像 1,1
    • Use hands to pry off the back panel.

  9. Canon EOS Rebel XSi Front Panel Replacement, Front Panel: 步骤 9 中的图像 1,1
    • Using the PH000 screwdriver head, remove the four 3mm screws on the front

  10. Canon EOS Rebel XSi Front Panel Replacement: 步骤 10 中的图像 1,1
    • Remove front grip by gently peeling from the edge towards the center of the camera

  11. Canon EOS Rebel XSi Front Panel Replacement: 步骤 11 中的图像 1,1
    • Using the PH000 screwdriver head, unscrew the 3 mm screw that was under the grip

  12. Canon EOS Rebel XSi Front Panel Replacement: 步骤 12 中的图像 1,1
    • Using the PH000 screwdriver, remove the 4mm screw at the bottom of the camera

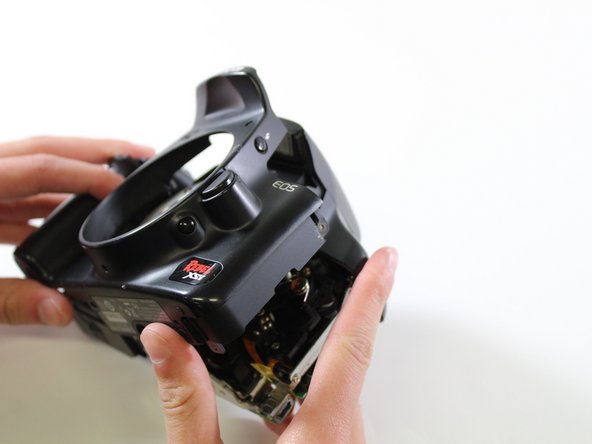
  13. Canon EOS Rebel XSi Front Panel Replacement: 步骤 13 中的图像 1,3 Canon EOS Rebel XSi Front Panel Replacement: 步骤 13 中的图像 2,3 Canon EOS Rebel XSi Front Panel Replacement: 步骤 13 中的图像 3,3
    • Remove the front panel by using tweezers to pry the panel over the metal ring protrusion

结论

To reassemble your device, follow these instructions in reverse order.

2等其他人完成本指南。

Erik Mork

于01/27/17注册

596 声望

创作了5篇指南

团队

Cal Poly, Team 22-10, Maness Winter 2017 Cal Poly, Team 22-10, Maness Winter 2017 的会员

CPSU-MANESS-W17S22G10

4 名成员

创作了10篇指南

0条评论

添加评论

浏览统计数据:

过去 24 小时: 0

过去 7 天: 1

过去 30 天: 5

总计 1,191