简介
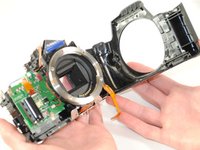
If your camera is no longer reading SD cards, you may find that you need to replace your card reader. This guide will show you the steps necessary.
你所需要的
-
-
Lay the camera on its back so that the card/battery door is facing you.
-
Using your fingernail, slide the tab on the battery door up to release the battery door latch.
-
-
-
Lay the camera on its back so that the card/battery door is facing you.
-
Using your fingernail, slide the tab on the battery door up to release the battery door latch.
-
-
-
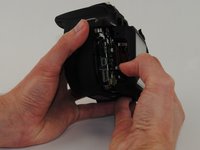
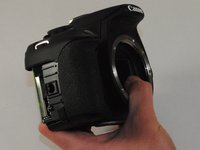
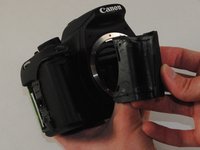
Turn the camera so that the back is facing to your right.
-
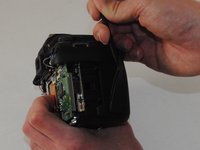
Remove the 5mm JIS #000 screw above the rubber USB port cover.
-
-
-
-
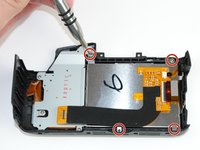
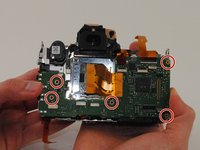
Remove the four silver 4mm JIS #000 screws connecting the LCD screen to the back of the camera.
-
Be sure to lift the ribbon cable to remove the remaining hidden black 4mm JIS #000 screw.
-
-
-
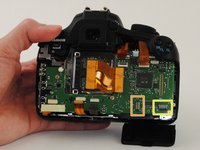
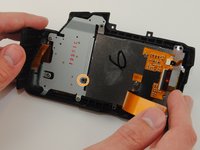
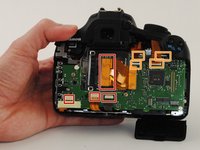
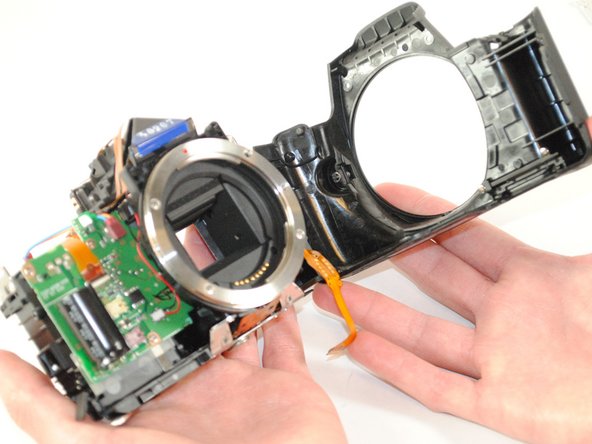
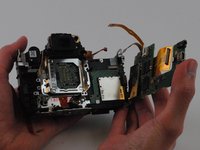
Remove all ribbon cables with the plastic spudger.
-
Gently pry up the black plastic tabs to slide out the ribbon cables
-
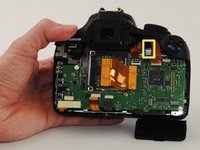
Take note of this black cable and where it connects to the motherboard. This is a fiber optic cable which is used for the camera flash. It will need to be reconnected after replacing the motherboard.
-
-
-
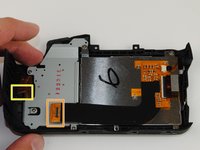
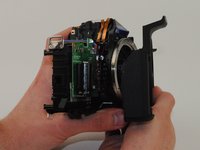
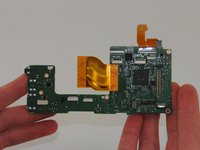
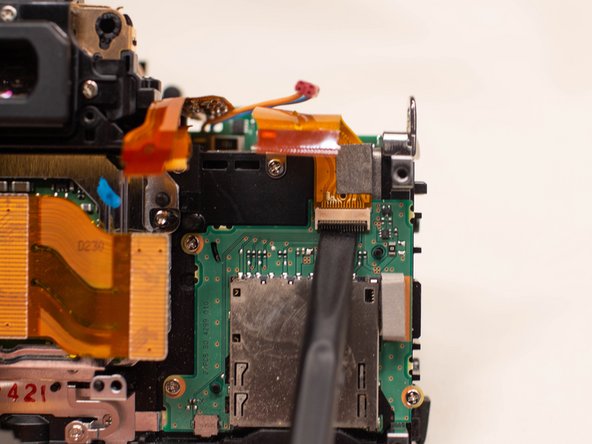
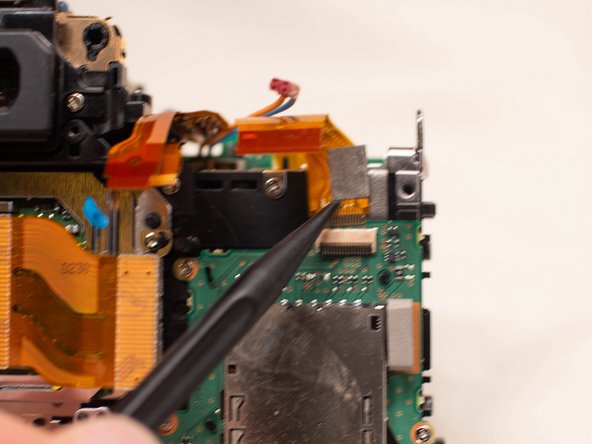
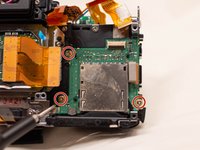
Using a pair of tweezers, remove the tape covering the SD card board ribbon cable.
-
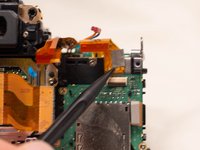
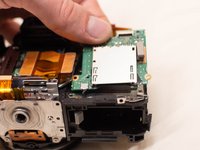
Using the plastic spuger, lift up the black locking tab on the SD card board ribbon cable and disconnect the ribbon cable.
-
To reassemble your device, follow these instructions in reverse order.
To reassemble your device, follow these instructions in reverse order.
7等其他人完成本指南。
5条评论
Removal of the sensor is NOT required to take the SD board out of the camera. The sensor needs to be fitted back to exactly the same height, otherwise you WILL not retain autofocus. Why was there no mention of this during the steps above?
Bonjour , ou peut on acheter le lecteur de carte sd , merci , cordialement
Step 19 and 20 are only for modifiing or replacing the image sensor
And is not recommended because AF doesn't work without further adjustment


