本指南有最近更改,您可查看未经巡查的最新版本。
简介
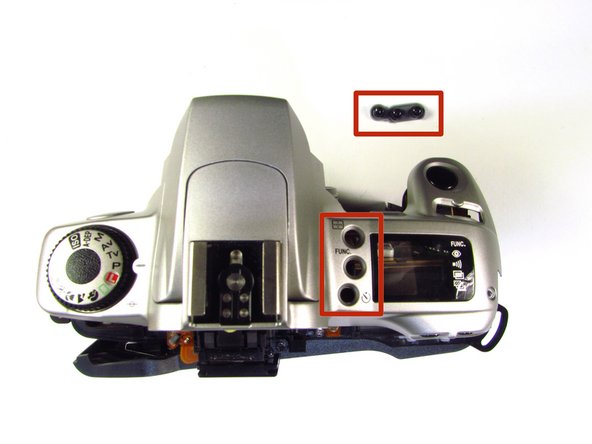
Taking off the top of the camera allows repair access to the eye piece and command dial.
你所需要的
-
-
-
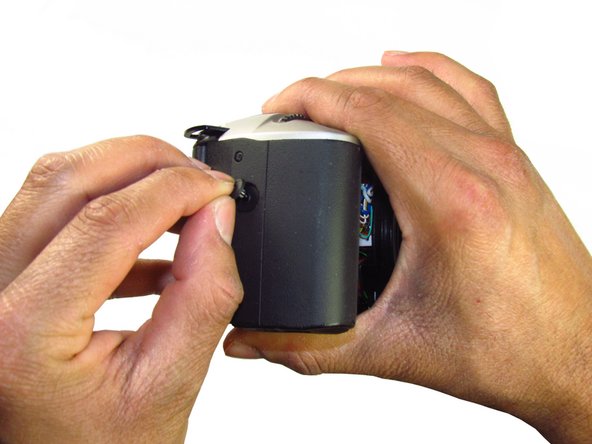
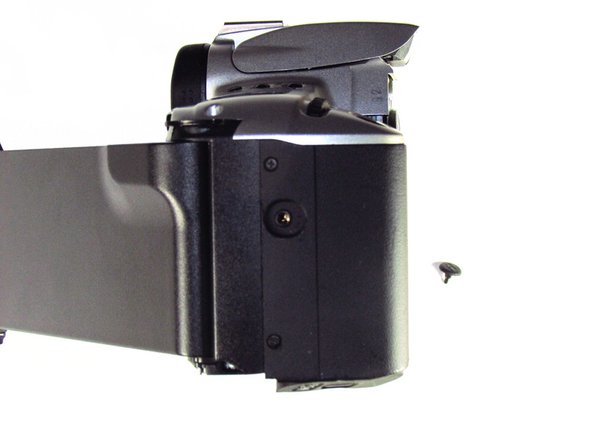
Remove three black 7.3mm Phillips #1 screws located on the corners of the camera.
-
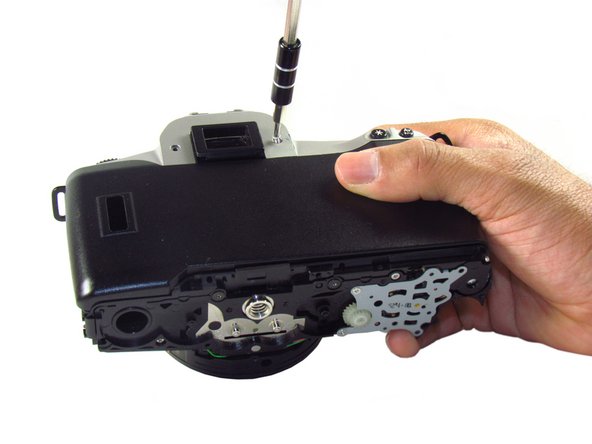
Remove five black 4.8mm Phillips #1 screws.
-


To reassemble your device, follow these instructions in reverse order.
To reassemble your device, follow these instructions in reverse order.
2等其他人完成本指南。
团队

Cal Poly, Team 6-20, Maness Winter 2014 Cal Poly, Team 6-20, Maness Winter 2014 的会员
CPSU-MANESS-W14S6G20
4 名成员
创作了32篇指南