简介
If you're having scanning issues as a result of a faulty sensor bar, this is where you will want to begin.
To replace the sensor bar in the Canon CanoScan N670U, you must:
- Remove the two plastic bars that hold the glass scanner bed.
- Set aside the scanner bed.
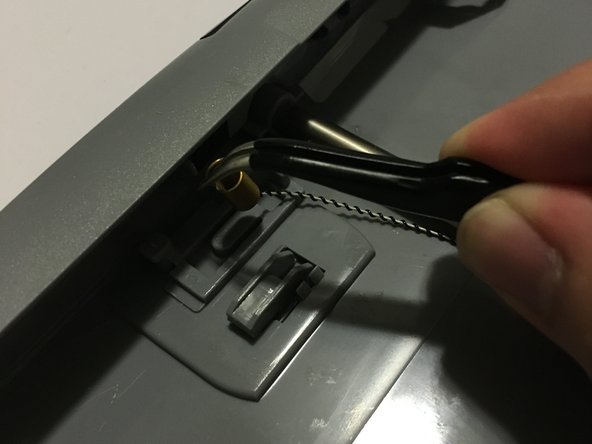
- Loosen the belt from the plastic hook.
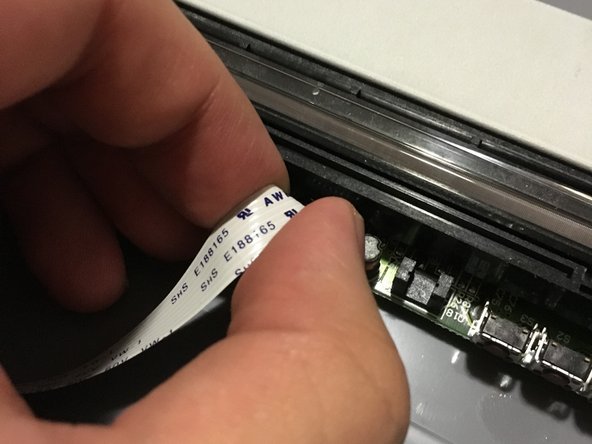
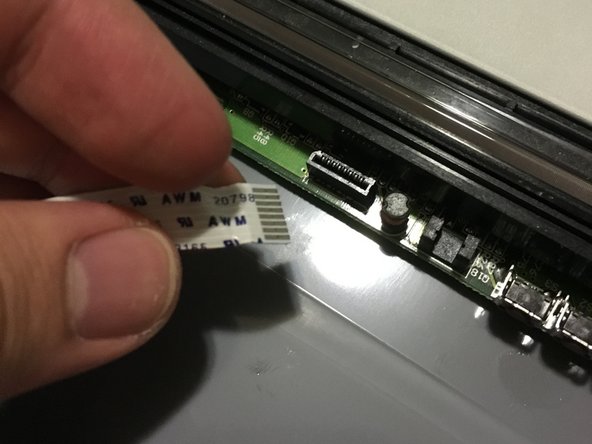
- Remove the sensor bar for replacement.
你所需要的


即将完成!
To reassemble your device, follow these instructions in reverse order.
结论
To reassemble your device, follow these instructions in reverse order.
另外一个人完成了本指南。
团队

USF Sarasota-Manatee, Team 1-1, Stewart Fall 2015 USF Sarasota-Manatee, Team 1-1, Stewart Fall 2015 的会员
USFSM-STEWART-F15S1G1
5 名成员
创作了20篇指南