简介
You will learn how to have access to the LCD screen, which is one of the parts that requires various steps to get to. Using the guide of how to replace batteries as a starting point, would help because the screen is located behind the plate that covers the area where the batteries, cartridge and cutting blade are located. You will review also, how to remove the keyboard as well as the face screen and finally how to replace the LCD screen. This is one of the repairs that requires prerequisites of knowledge of some basics repairs to be able to replace the LCD screen.
你所需要的
-
-
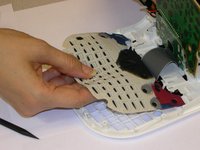
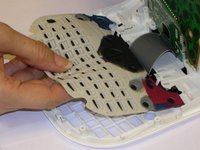
There is a plastic tab located on the back of the label maker near the top. The tab has ridges on it to help you identify where to press. Push on this tab to release the back of the label maker.
-
Gently pull the label maker apart - it will split in half.
-
-
-
-
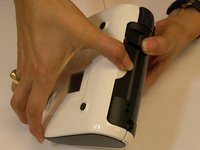
Turn the device to its side toward the bottom of the keyboard. Then pop open the case and remove the batteries.
-
-
-
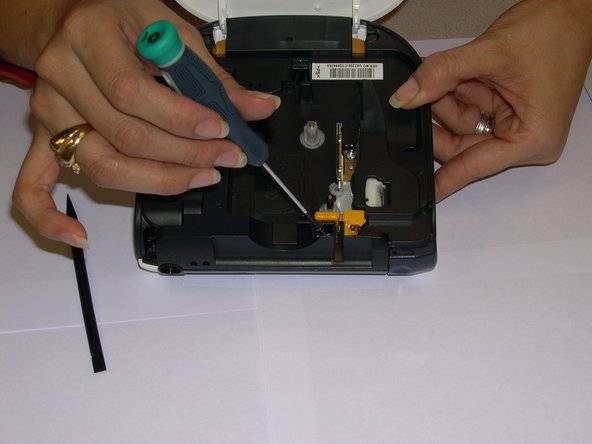
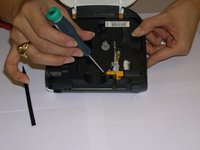
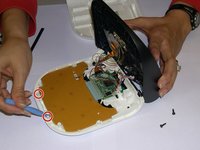
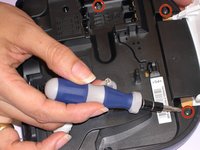
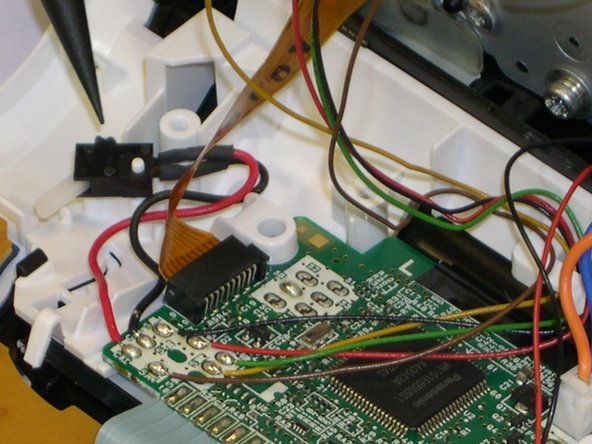
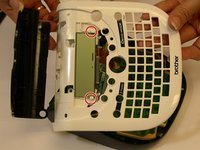
Hold the keyboard, making sure the four hooks are properly loose to avoid breaking them.
-
Pull it out gently but firmly.
-
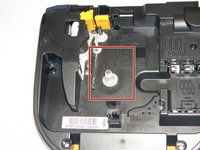
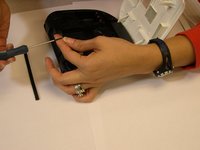
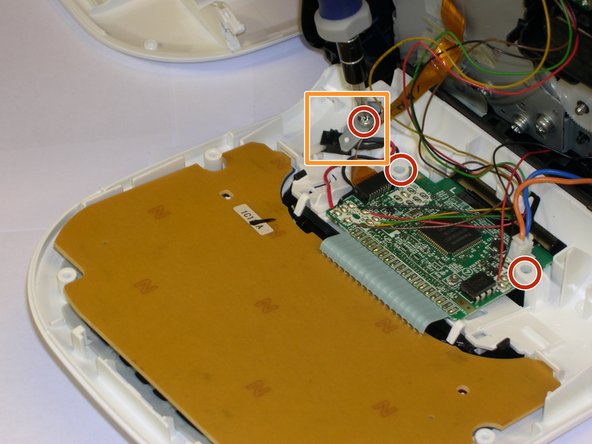
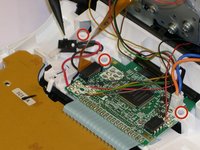
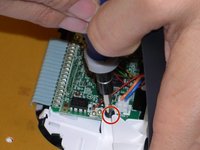
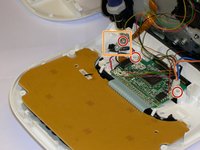
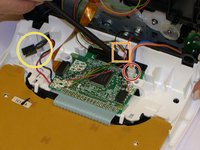
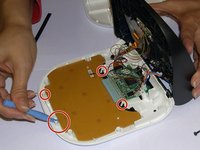
Make sure once it becomes loose, you can proceed to remove the LCD which is being held by two more hooks marked with orange circles. You will need the Spudger to hold them back while pulling the screen with your other hand.
-
-
-
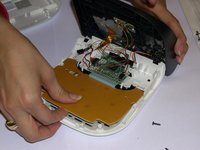
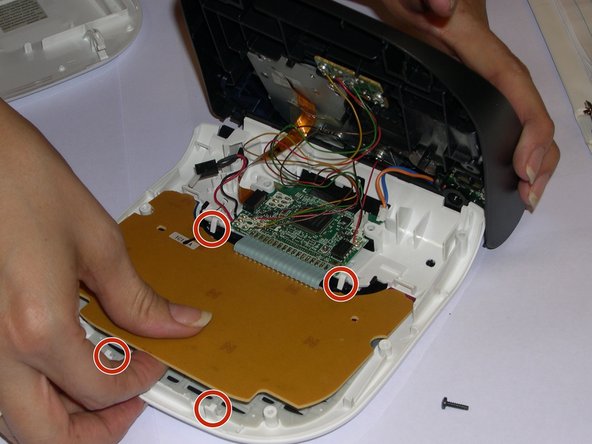
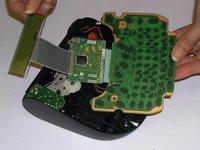
If the face plate doesn't get removed, it will be close to impossible to remove the LCD or you'll find yourself breaking some of the hooks that are holding it on place.
-
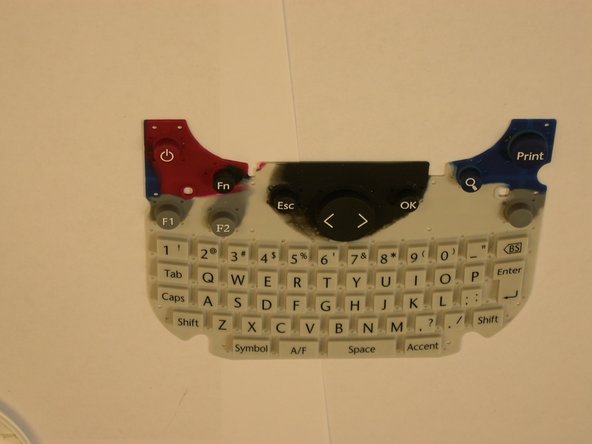
Remove and replace the LCD screen making sure the display data cable doesn't get damaged in the process.
-
Follow the steps backwards in the order they were removed, to be able to put the parts together and remain your printing job.
-


To reassemble your device, follow these instructions in reverse order.
另外一个人完成了本指南。
团队

Gateway, Team 1-4, Johnson Fall 2014 Gateway, Team 1-4, Johnson Fall 2014 的会员
GCC-JOHNSON-F14S1G4
3 名成员
创作了6篇指南