跳转到主内容

Boogie Board Rip Internal Antenna Replacement

你所需要的

  1. Boogie Board Rip Internal Antenna Replacement, Accessing the internal components: 步骤 1 中的图像 1,2 Boogie Board Rip Internal Antenna Replacement, Accessing the internal components: 步骤 1 中的图像 2,2
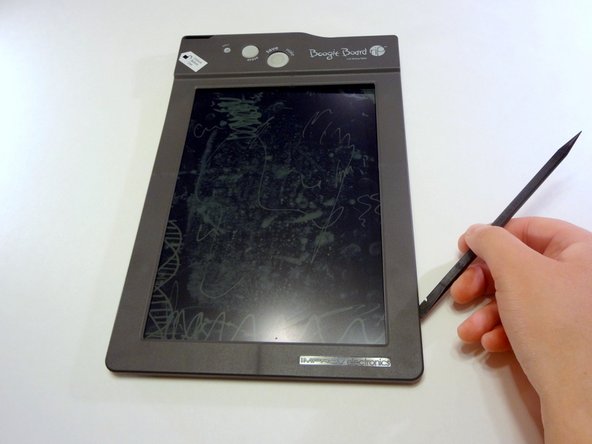
    • On the back of the device, remove the four 3/8" Torx head screws using the T-6 Torx bit.

    • A Torx bit is the piece that is inserted into a bit driver, also known as a screw driver.

  2. Boogie Board Rip Internal Antenna Replacement: 步骤 2 中的图像 1,3 Boogie Board Rip Internal Antenna Replacement: 步骤 2 中的图像 2,3 Boogie Board Rip Internal Antenna Replacement: 步骤 2 中的图像 3,3
    • Remove the stylus if it is in the housing at the top of the device.

    • Turn the device so you are looking at it from the top down.

    • Using your thumbs on each wall of the stylus housing, open the frame of the device by gently pulling the two sides apart.

  3. Boogie Board Rip Internal Antenna Replacement: 步骤 3 中的图像 1,3 Boogie Board Rip Internal Antenna Replacement: 步骤 3 中的图像 2,3 Boogie Board Rip Internal Antenna Replacement: 步骤 3 中的图像 3,3
    • Insert a spudger into the seam between the front and back plates of the frame. Unsnap the snaps around the entire frame of the device.

    • Remove the front face plate by pulling it straight up.

    • The unlock switch on the device's side might come off while undoing the internal snaps or removing the face plate. This is perfectly normal.

  4. Boogie Board Rip Internal Antenna Replacement: 步骤 4 中的图像 1,2 Boogie Board Rip Internal Antenna Replacement: 步骤 4 中的图像 2,2
    • Use a spudger (or gently bend the back plate of the device) to unsnap the snaps holding the screen in place.

  5. Boogie Board Rip Internal Antenna Replacement: 步骤 5 中的图像 1,2 Boogie Board Rip Internal Antenna Replacement: 步骤 5 中的图像 2,2
    • With a spudger, press against the lip of the connector closest to the wires to remove the battery connector from the motherboard.

  6. Boogie Board Rip Internal Antenna Replacement: 步骤 6 中的图像 1,2 Boogie Board Rip Internal Antenna Replacement: 步骤 6 中的图像 2,2
    • Gently lift the motherboard with a spudger or small object by inserting it in the seam between the back frame and the motherboard.

    • Remove the battery hidden behind the motherboard.

  7. Boogie Board Rip Internal Antenna Replacement, Remove the antenna connector from the motherboard: 步骤 7 中的图像 1,2 Boogie Board Rip Internal Antenna Replacement, Remove the antenna connector from the motherboard: 步骤 7 中的图像 2,2
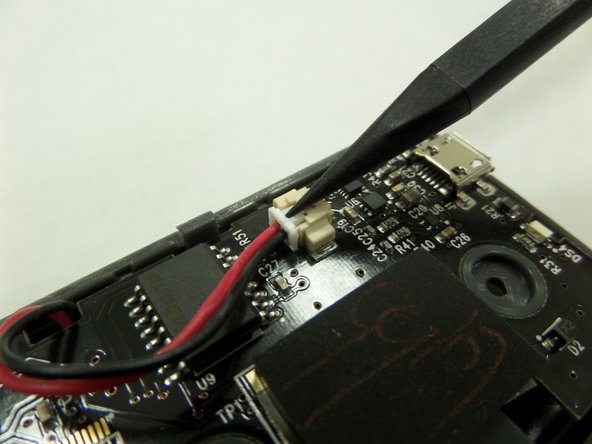
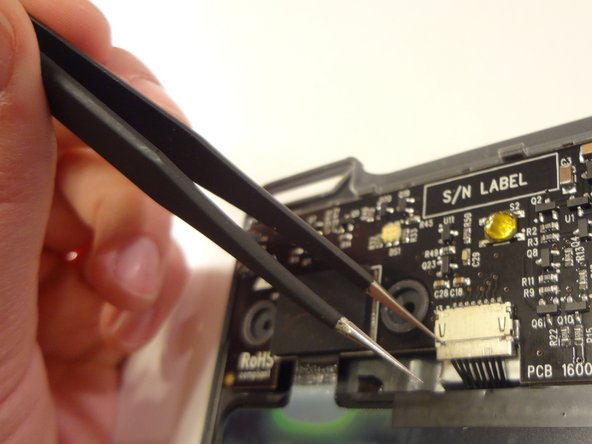
    • Use a pair of tweezers or a small, pointed object to gently pull the connector out on both the left and right sides.

    • Work out both sides evenly. The connector uses straight pins to attach to the motherboard. If the connector is not pulled out straight, you might have difficulty disconnecting the piece from the motherboard.

  8. Boogie Board Rip Internal Antenna Replacement: 步骤 8 中的图像 1,2 Boogie Board Rip Internal Antenna Replacement: 步骤 8 中的图像 2,2
    • Once you see an even white line of the plastic pin casing appear (about 1 mm), use your index finger and thumb to pull the connector straight out from the motherboard.

  9. Boogie Board Rip Internal Antenna Replacement, Remove internal components: 步骤 9 中的图像 1,3 Boogie Board Rip Internal Antenna Replacement, Remove internal components: 步骤 9 中的图像 2,3 Boogie Board Rip Internal Antenna Replacement, Remove internal components: 步骤 9 中的图像 3,3
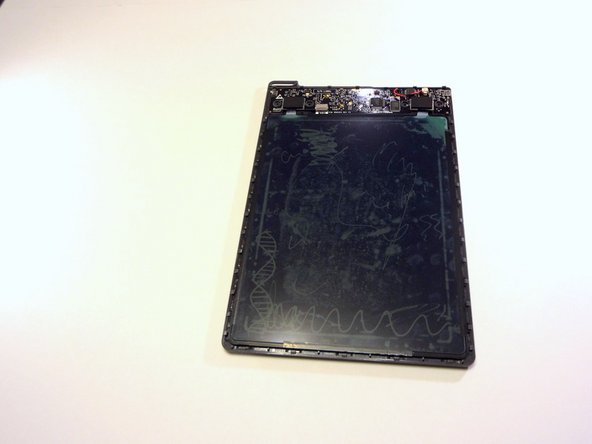
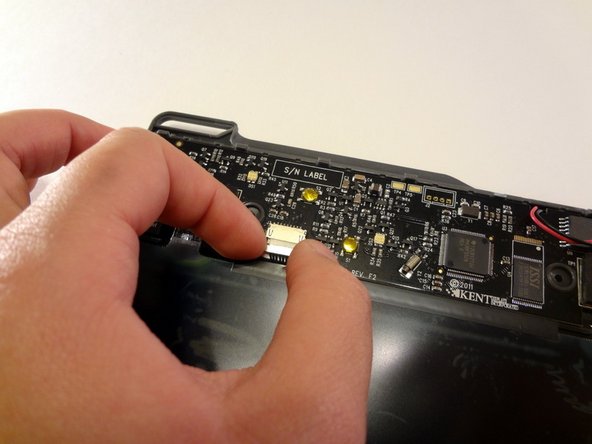
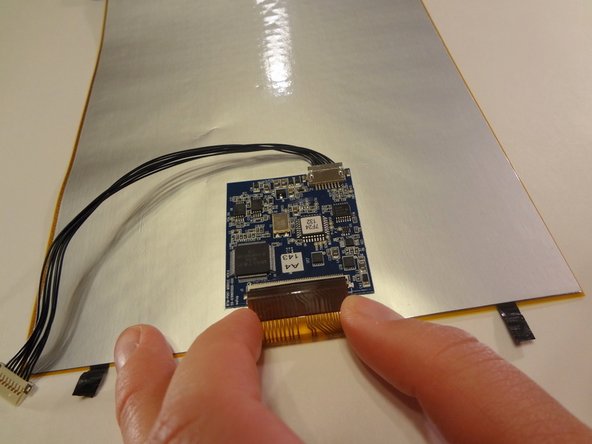
    • Using a spudger or prying tool, lift the connected screen and motherboard straight up to expose the gold-colored antenna taped to the back plate.

    • While removing the motherboard/screen, ensure the antenna connector cable is not damaged by guiding it through the open slot between the motherboard and the screen.

  10. Boogie Board Rip Internal Antenna Replacement, Remove electrical tape: 步骤 10 中的图像 1,2 Boogie Board Rip Internal Antenna Replacement, Remove electrical tape: 步骤 10 中的图像 2,2
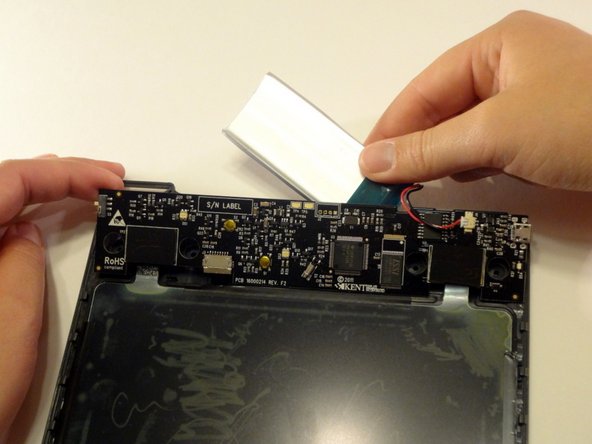
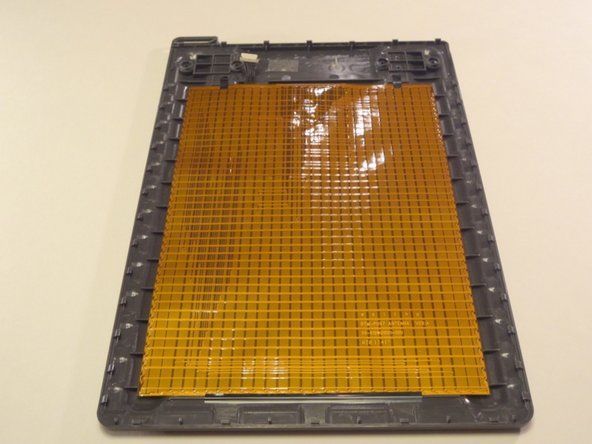
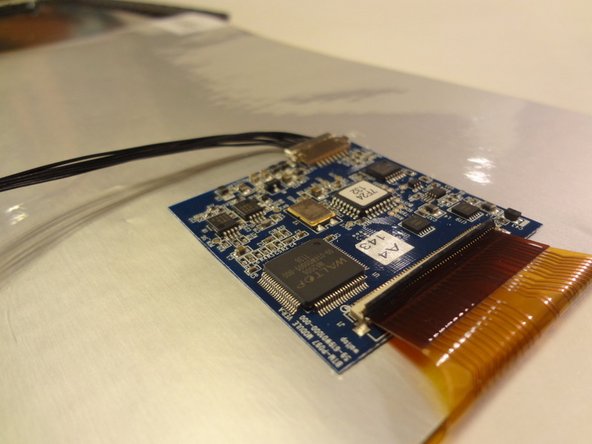
    • Using a spudger or your fingernail, remove the black electrical tape securing the antenna to the black plate.

  11. Boogie Board Rip Internal Antenna Replacement, Remove antenna transformer: 步骤 11 中的图像 1,2 Boogie Board Rip Internal Antenna Replacement, Remove antenna transformer: 步骤 11 中的图像 2,2
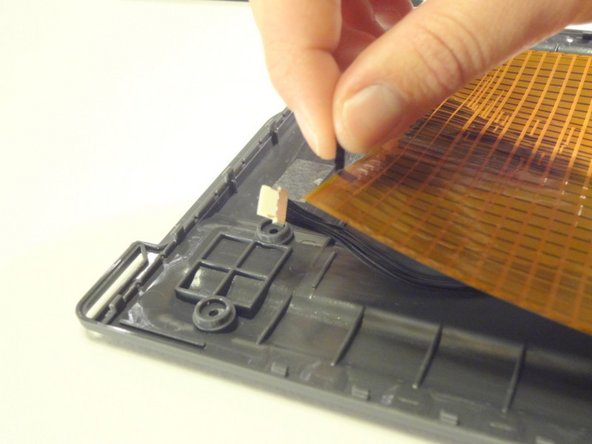
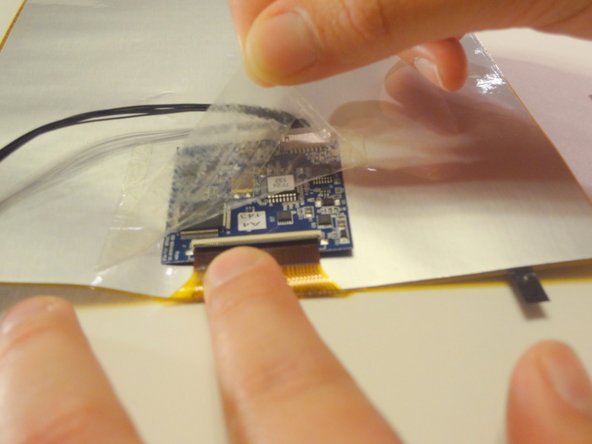
    • On the back side of the antenna, use a spudger or your fingernail to remove the transparent tape holding the transformer to the antenna.

  12. Boogie Board Rip Internal Antenna Replacement: 步骤 12 中的图像 1,3 Boogie Board Rip Internal Antenna Replacement: 步骤 12 中的图像 2,3 Boogie Board Rip Internal Antenna Replacement: 步骤 12 中的图像 3,3
    • Using a spudger or the nail of your thumb, lift the black cover securing the antenna to the transformer up and away from yourself.

    • Using your index finger and thumb, disconnect the antenna from the transformer.

  13. Boogie Board Rip Internal Antenna Replacement, Unattatch transformer from antenna.: 步骤 13 中的图像 1,2 Boogie Board Rip Internal Antenna Replacement, Unattatch transformer from antenna.: 步骤 13 中的图像 2,2
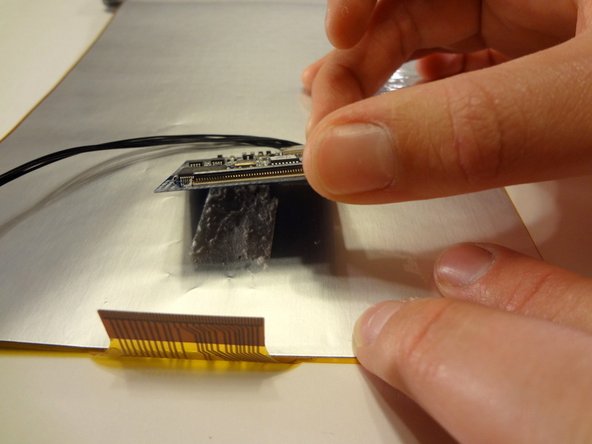
    • Gently pull apart the transformer from the back of the anenna.

    • The glue is weak enough to detach the two parts without damaging either item. Use care to remove the transformer slowly.

结论

To reassemble your device, follow these instructions in reverse order.

另外一个人完成了本指南。

Gareth

于09/09/14注册

384 声望

创作了3篇指南

团队

CSU Fullerton, Team 2-6, Bruce Fall 2014 CSU Fullerton, Team 2-6, Bruce Fall 2014 的会员

CSUF-BRUCE-F14S2G6

4 名成员

创作了6篇指南

0条评论

添加评论

浏览统计数据:

过去 24 小时: 0

过去 7 天: 2

过去 30 天: 4

总计 1,056