简介
A diffuser's fan and battery are common faults in a diffuser breaking down. The fan keeps the internals of the device, like the motherboard, from overheating. In this guide, we replace a fan from a Blossom Ultrasonic Essential Oil Diffuser ARM-510GY.
Before disassembling the diffuser, make sure there is no oil or water left in the diffuser and make sure the diffuser is unplugged.
你所需要的


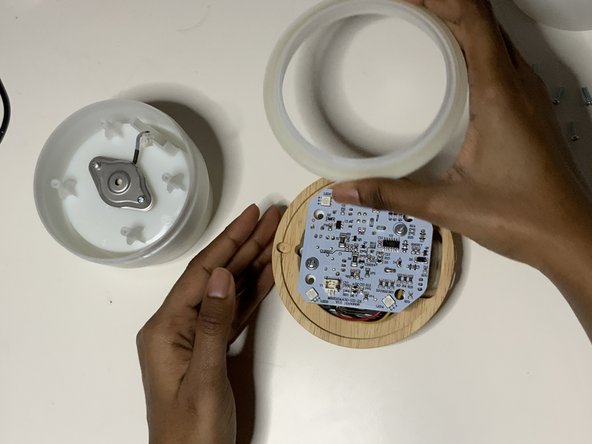
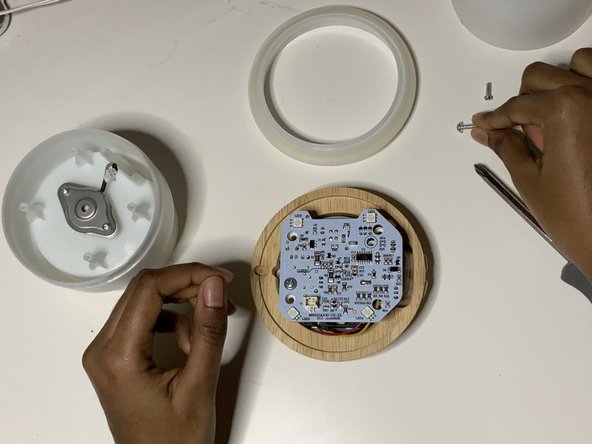


即将完成!
To reassemble your device, follow these instructions in reverse order.
结论
To reassemble your device, follow these instructions in reverse order.

团队

York University, Team R-17, Melo-Thaiss Winter 2022 York University, Team R-17, Melo-Thaiss Winter 2022 的会员
YORK-MELO-THAISS-W22SRG17
1 名成员
创作了2篇指南